Apple unveiled its stunning Mac Studio desktop computer at its spring conference, billed as a Pro-grade Mac mini, and as a work computer, the Mac Studio might make one wonder what it can do To this extent, today we will take you to unpack this brand new Mac Studio desktop computer, and we will test how some software runs on Mac Studio.
Mac Studio out of the box: taller Mac mini with more ports
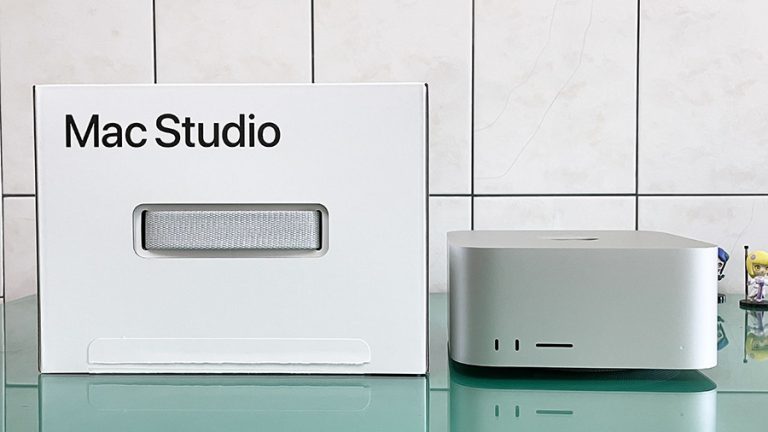
As always, Apple products are shipped in a brown cardboard box like this, which overall is a lot bigger than I thought it would be.
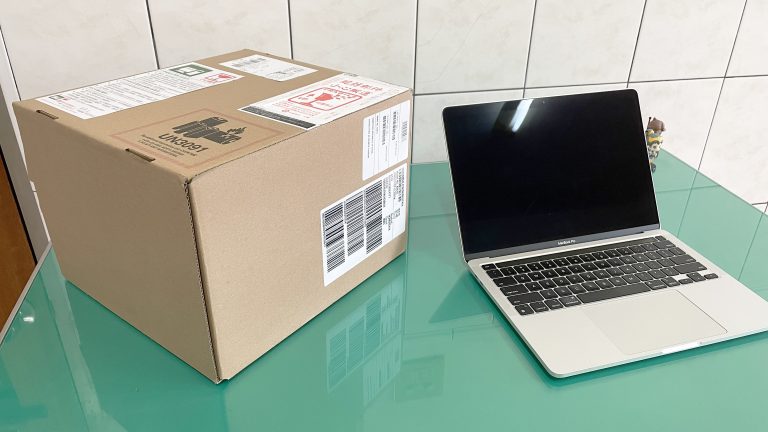
I have to say that Apple’s packaging design is really good. After the owner of this Mac Studio received the box from Apple, he took the box directly to the post office and sent it to the post office without any additional packaging or protective measures. Still in perfect condition after receiving it.

Even the packaging is very particular
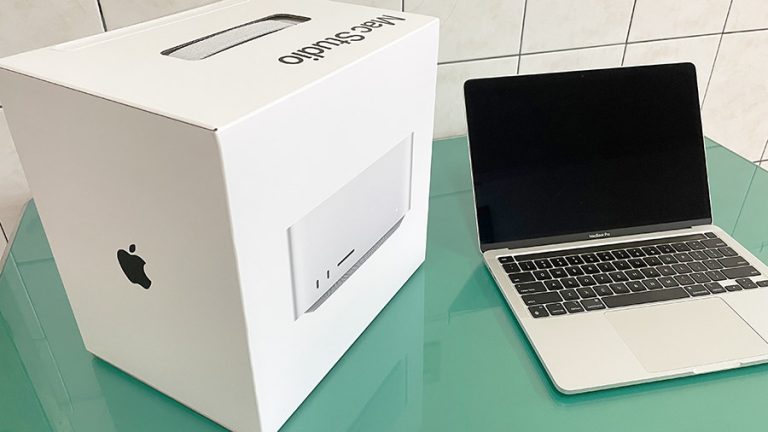
The official box for the Mac Studio is about the same size as the outer carton, and it doesn’t have any foil.
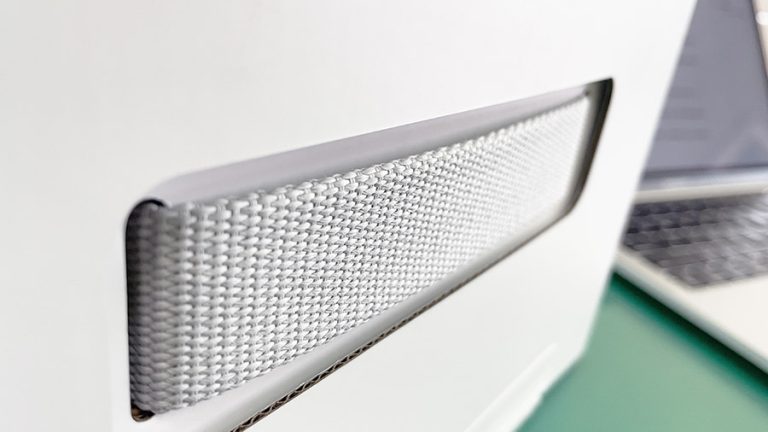
The top handle is made of woven material, which is the same as the packaging of the 24-inch iMac. The handle of the woven material is more durable and sturdy, and the most important thing is that it looks very textured, but it is a little awkward to use, and it is not very easy to pull.
Like the iPhone, because it does not use a plastic sealing film, you can officially open the box by tearing the adhesive strip.

After opening it, there are still layers of mechanisms, which are also designed to protect the body of the Mac Studio. According to the arrows, the anti-collision cardboard on the left and right is pulled aside, and the Mac Studio can be taken out smoothly.
“Not light” is my first impression
My first impression of Mac Studio is that it is “not light”, because there is a layer of non-woven protective cover, so the first impression is not the appearance, but the feel of holding it.
This Mac Studio is the M1 Max version, which is shown as 2.7 kg in Apple’s official data. If it is the M1 Ultra version, it will weigh 3.6 kg because it has a larger blower fan for heat dissipation.

It will be a bit difficult to store it when you grow taller
After removing the non-woven fabric covering it, there is nothing too surprising about the overall appearance. It is a slightly taller Mac mini… no, it is a much taller Mac mini.
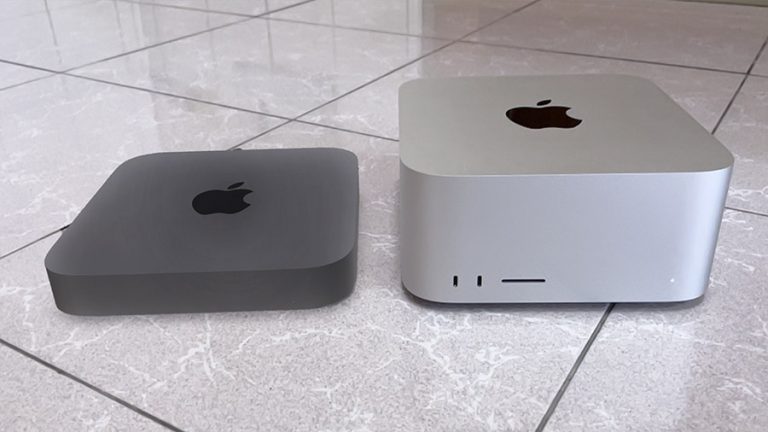
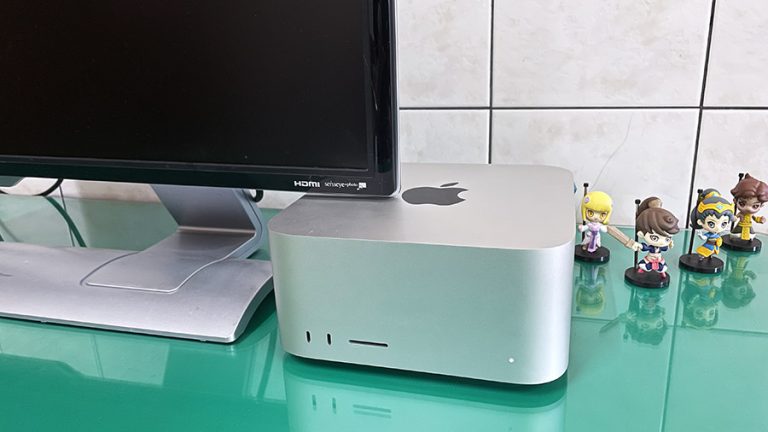
And I know a lot of people put their Mac mini on a shelf or under a computer screen, but this Mac Studio probably won’t let you do that, so if you’re the kind of person who has everything set where it goes, and the size is designed just right, then you may have to find a dedicated place for Mac Studio.
Holes in front and back
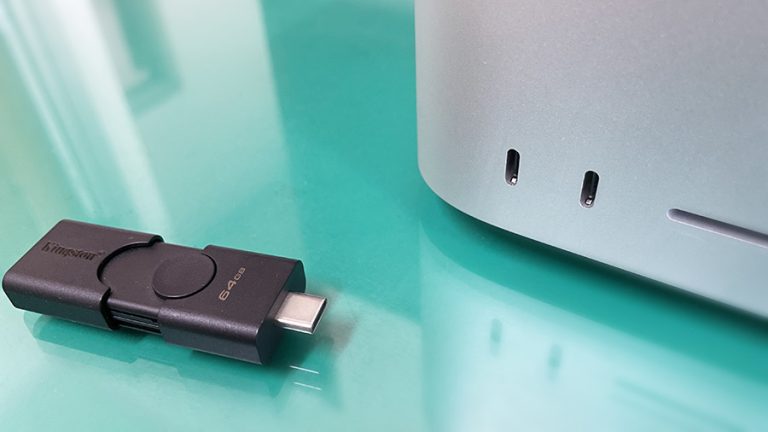
The front of the Mac mini is a completely clean surface without any openings, but the Mac Stuido has two Type-C ports on the front to meet the needs of professional users.
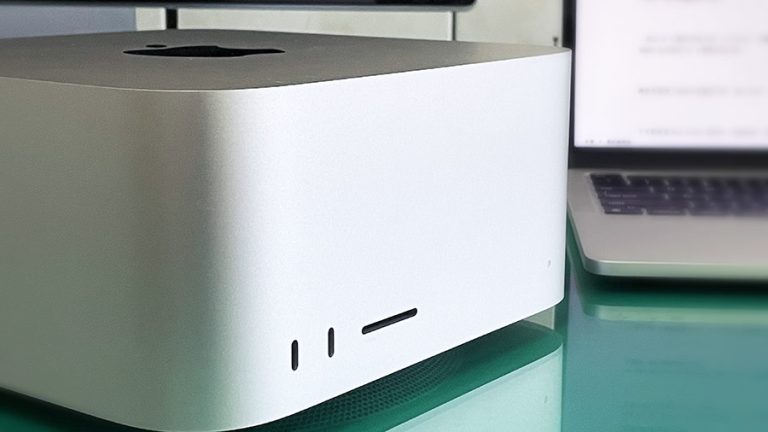
The M1 Max version of Mac Studio gives the USB-C specification, with a maximum transfer speed of 10GB per second; the M1 Ultra version is equipped with the Thunderbolt 4 specification, with a maximum transfer speed of 40GB per second.
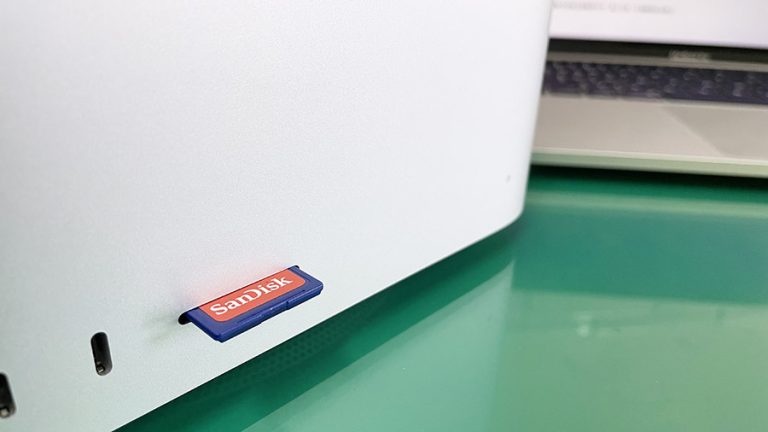
The SD card slot on the side supports SDXC cards (UHS-II). If you are taking pictures, you often need to use the SD card to transfer files to the computer. This design of the front SD card slot is really convenient.
Turning to the back, it looks completely different from the front. At the top is a large vent for heat dissipation.
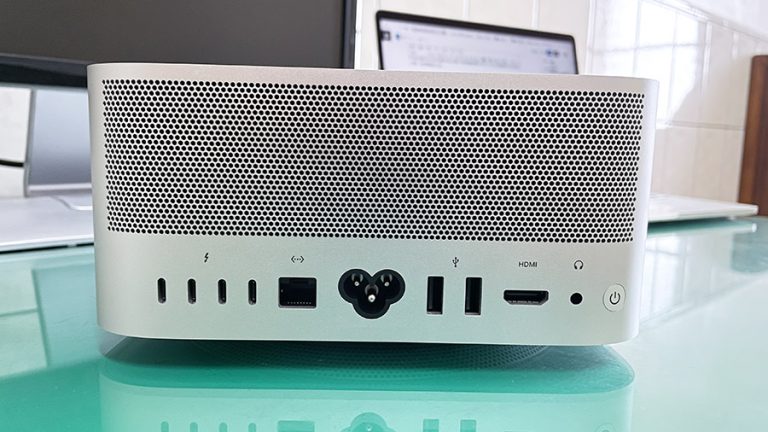
The bottom half is a bunch of ports provided by Mac Studio, including:
- Four Thunderbolt 4 (up to 40Gb/s) and support the following specifications
- DisplayPort
- USB 4 (speed up to 40Gb/s)
- USB 3.1 Gen 2 (up to 10Gb/s)
- One 10 Gb Ethernet, supporting 1 Gb, 2.5 Gb, 5 Gb and 10 Gb Ethernet
- Two USB-A ports for speeds up to 5Gb/s
- an HDMI 2.0
- One 3.5mm headphone jack
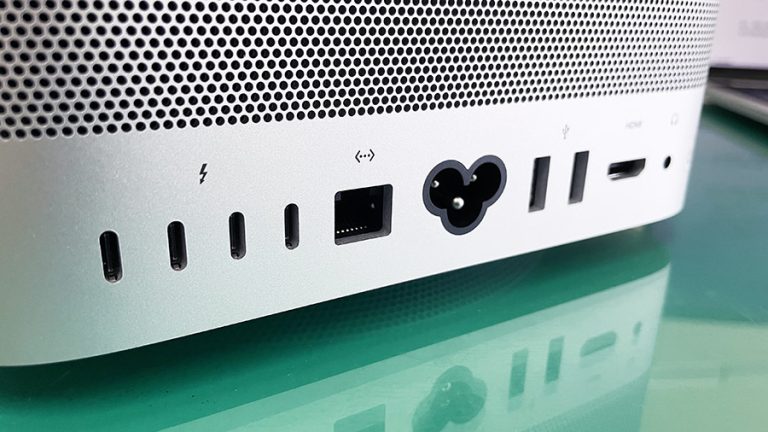
Four Thunderbolt 4s are really useful for those with external monitors that support USB-C specifications, especially the Mac Studio’s HDMI only supports version 2.0, and the update rate is only 4K@60Hz. If you want to go up to a higher update rate, remember to connect to the Thunderbolt hole.
In addition, since the heat dissipation is mentioned above, by the way, the cooling system of the Mac Studio is not only blows the hot air out, but also diverts the cold air, so that the cold air can be blown/sucked in from the hole below, Take away the hot air to achieve the effect of convection, heat dissipation, and cooling.
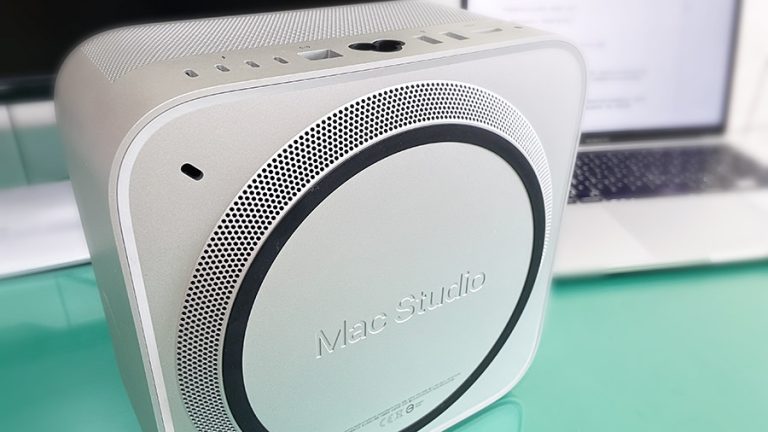
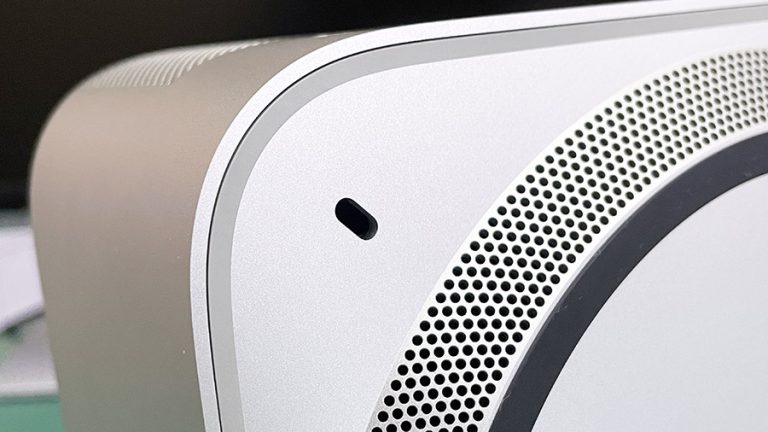
As for the black oval hole in the upper left corner of the bottom, it is a place where an anti-theft lock can be installed, but ordinary people may not need to use it.
Some peripheral accessories
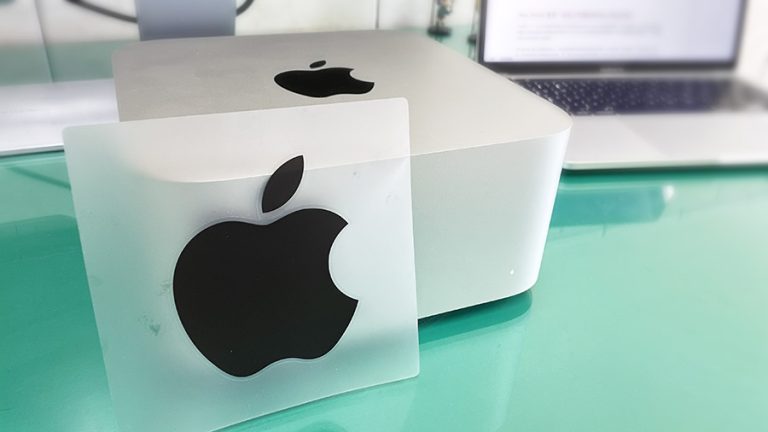
The entire Mac Studio only comes with two accessories that can be introduced. One is this sticker, which is different from the previous white stickers. The professional-oriented Mac Studio presents a black sticker.
The other is the power cord. The power cord that comes with Mac Studio is made of braided material, which is soft and bendable. I personally like it very much. Compared with the general power cord wrapped with insulating plastic, the braided power supply that comes with Mac Studio is made of woven material. The line is very useful in the part of storage and the whole line.
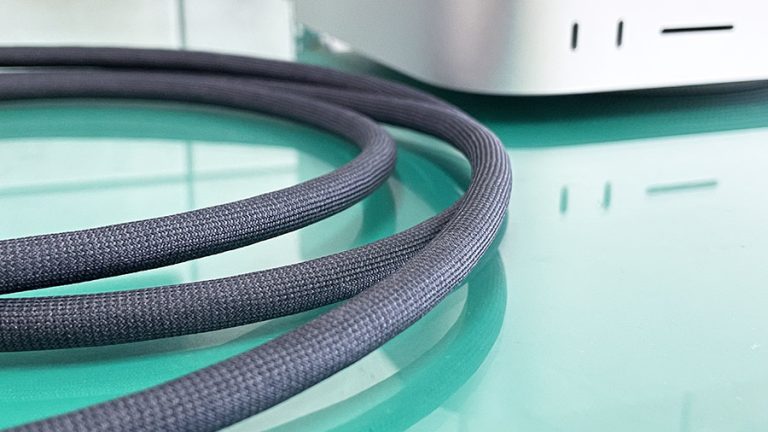
There will be no trouble with the power cord of insulating plastic that has been straightened or bent.
Mac Studio Test: Are these jobs suitable for Mac Studio?
Let me first explain that this out-of-the-box evaluation is not intended to test the limits of this Mac Studio, because most people, even most professional workers, may not really use the performance of the top-level Mac Studio. To be completely drained, this must only be done by very professional users with a considerable scale of work.
So this time I plan to test from the perspective of consumers with a few professional needs, including editing, image output, 3D modeling, 3D calculation, image processing and even sound effect processing…etc. How the software and different work contents are executed in this Mac Studio are provided for your reference.
Final Cut Pro test
We made a 30-minute 4K video in ProRes 422 HQ format without any color correction, special effects, no subtitles, and no Background Render. 5 minutes, is quite efficient.
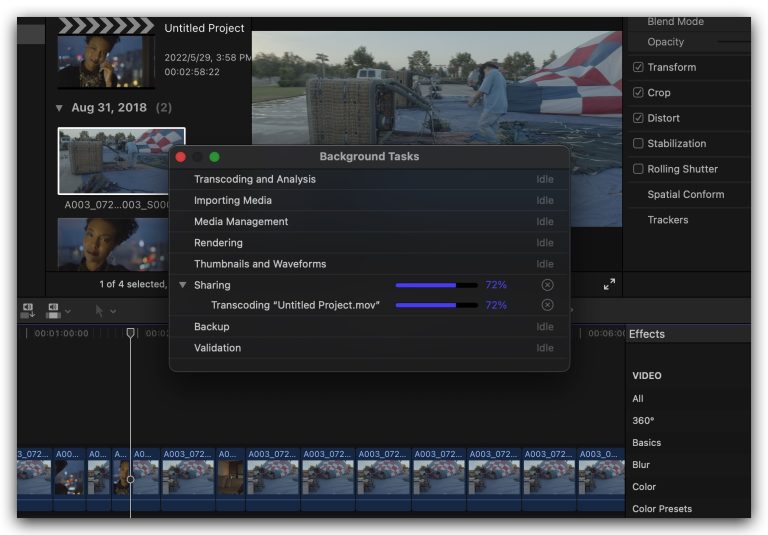
Then we added a blur effect to the whole video. The blur effect is quite efficient, but the final result is also finished in 5 minutes.

We also use the effect of Timecode as a test after adding subtitles. The final output time is also within 5 minutes, so no matter whether there are special effects or subtitles, the impact is not great.
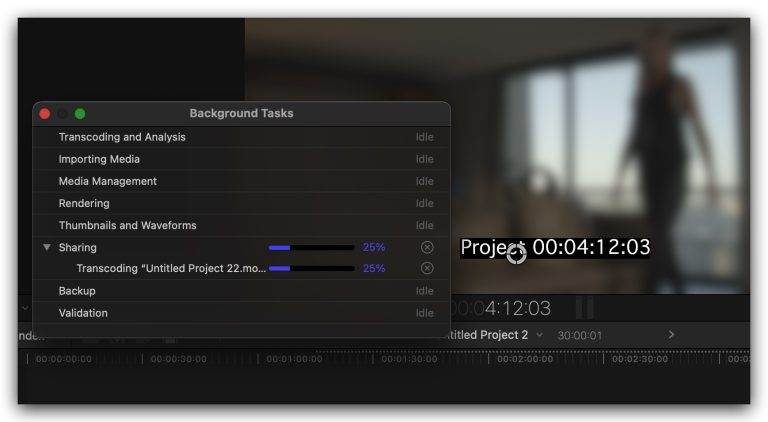
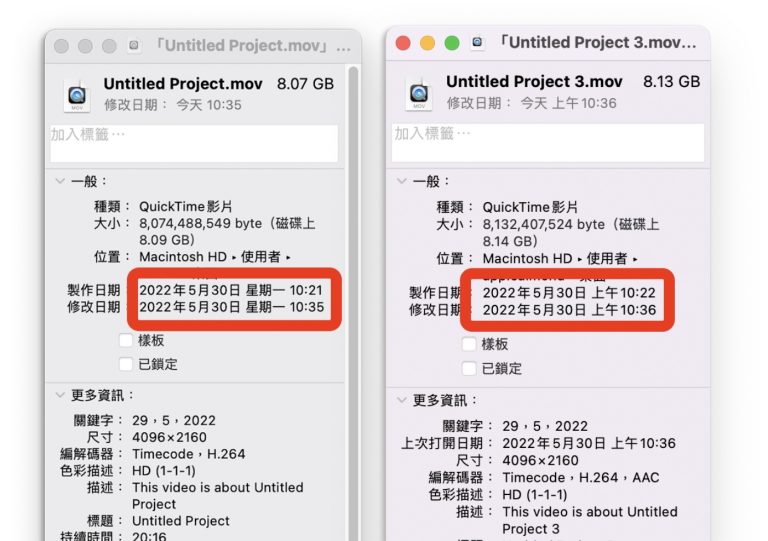
We also found interesting things during testing. If you output a 20-minute ProRes 422 video to H.264 format, Mac Studio takes 14 minutes, and the M1 version of the MacBook Pro also takes 14 minutes.
As for how many tracks you said multi-track work can go to? I also tested it, the same material, with the same blur effect, the Final Cut Pro on Mac Studio can reach up to 32 tracks, and if it goes on, it will not be able to play smoothly. You can see the number of seconds in the video below. Already used to jumping.
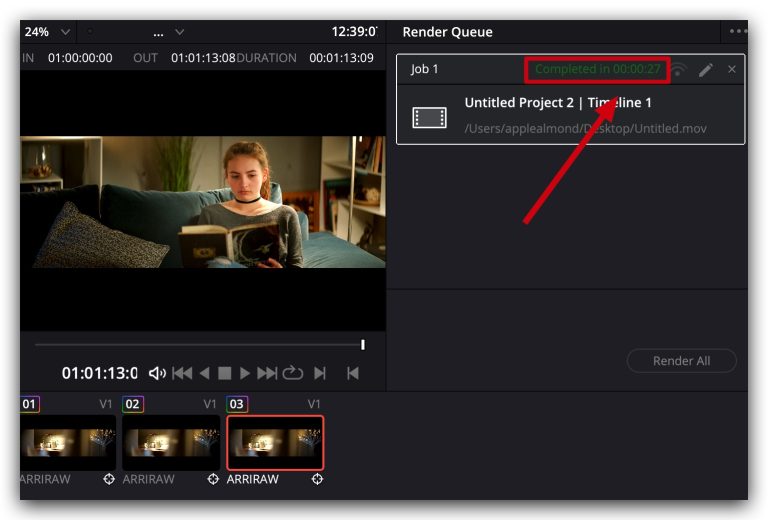
Davinci Resolve Test
If I use Davinci Resolve to test the performance of Mac Studio, it takes about 27 seconds to put a LUT on a 1-minute 4K high-definition RAW file shot by Arri and output it to ProRes 422 HQ.
PhotoShop test
We found a RAW file in 8K ARW format shot by Sony, and added some different special effects, including a quite heavy lens blur effect, a watercolor photo effect, also adjusted the color, brightness, and contrast of different layers, plus some Mask, and give a circle of shadows, using 10 layers overall.
It takes 6 seconds to export to a PSD file; 1 minute and 52 seconds to export to a PNG file with medium compression; other than that, other files like JPG and Targa are almost saved in seconds.

Maya test
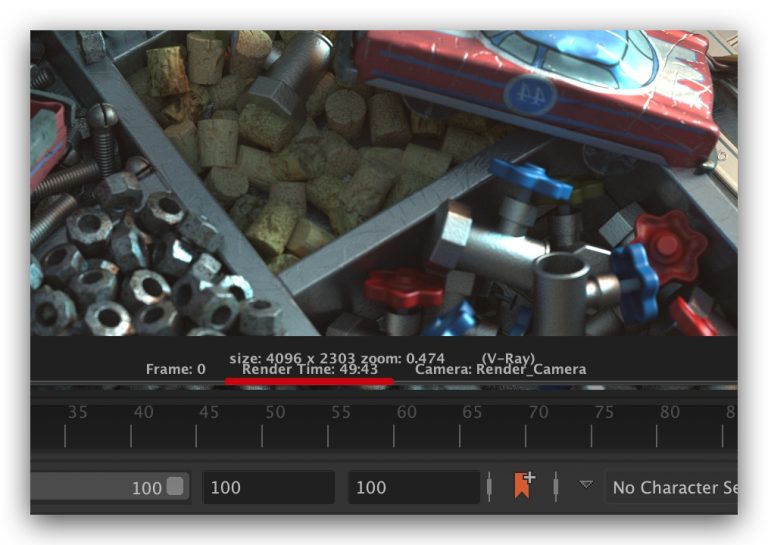
Then we used Maya with V-Ray to test the performance of Mac Studio when working with 3D software.
The files we tested have a total of 2.38 million faces, dismantled UVs and applied materials, and used Global illumination, 3 Direct Lights and 1 Sphere Light.
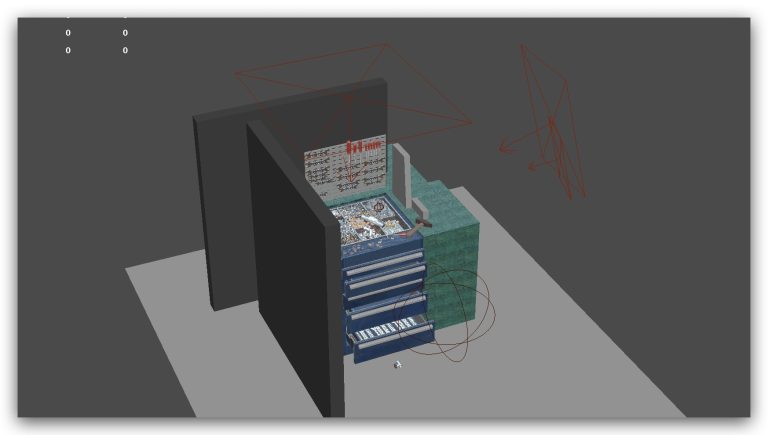
On the instant rendering IPR results of V-Ray, the waiting time is not long, and it can almost be said that it will not affect the work. I personally think the effect is quite good.
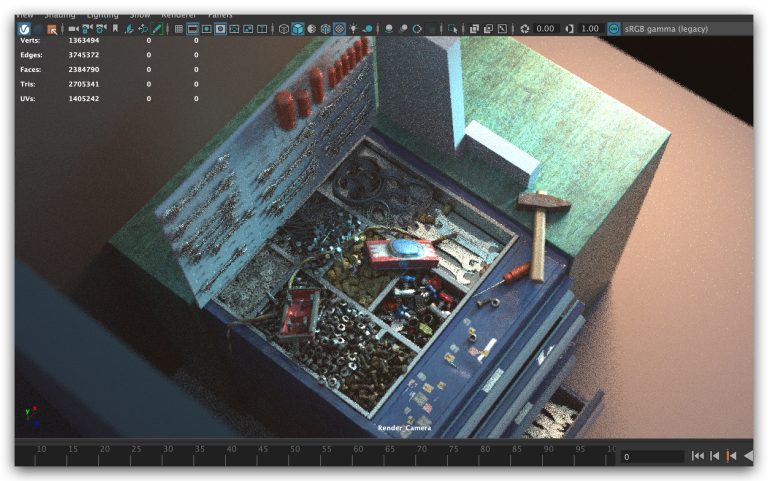
In the case of Render, it took about 50 minutes to output a 4K image file using Brute force’s GI Engine with a minimum sampling of 8, but if it is an HD 1920 x 1080 image file, It takes 11 minutes.
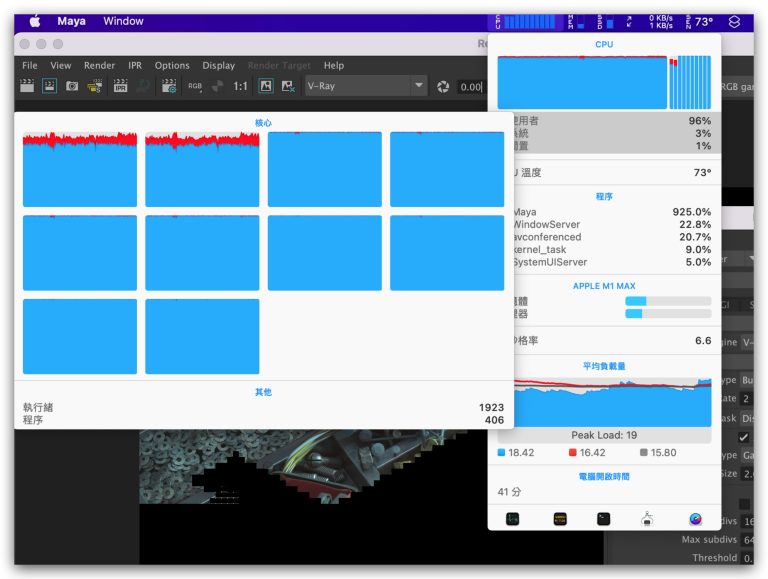
In the process of Rendering, we can also see the CPU usage from the chart given by the iStat App, because V-Ray in Maya uses the CPU calculation chart, so basically the CPU of each core is full state.
Blender test
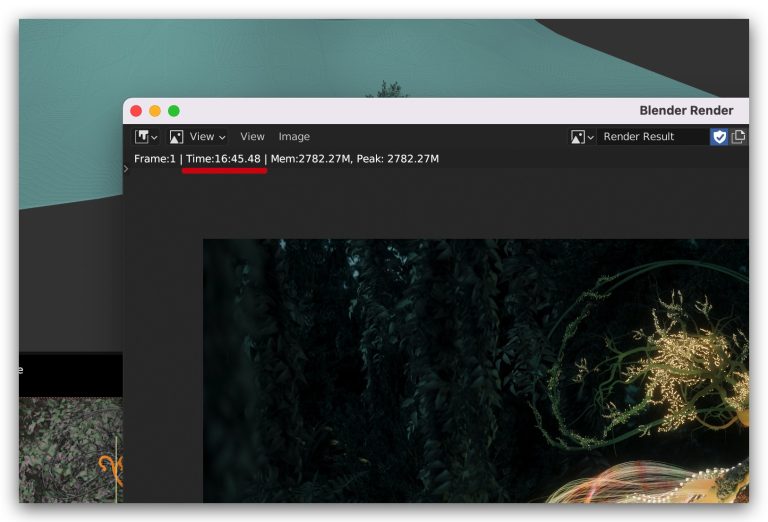
Because V-Ray on Maya uses CPU to calculate graphics, we finally tested Blender, a 3D software, the new version of Blender 3.1 supports GPU calculation of M1 series.
We downloaded the Sample file officially provided by Blender. If there are netizens who want to test, we will provide you with the link to the file. You can test it yourself and see if it is calculated on your own computer. There is no gap.
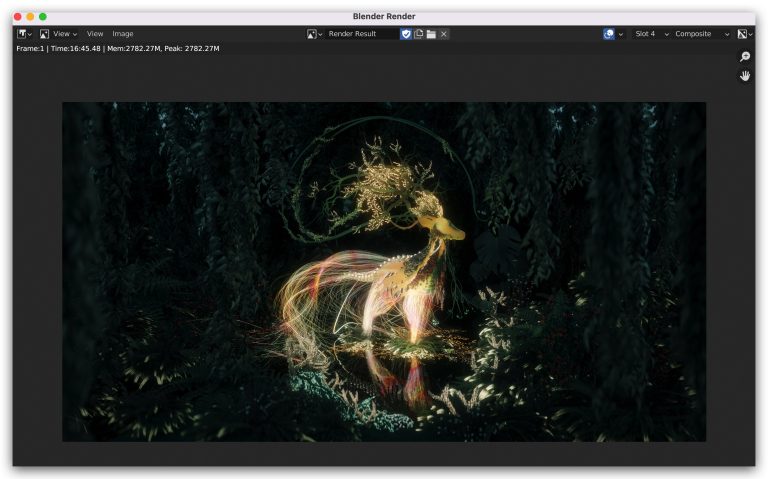
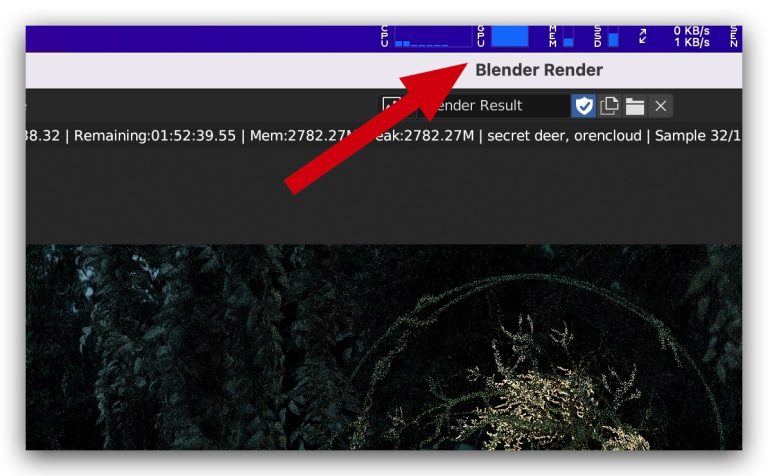
We output a 4K image file. In the case of using the CPU to calculate the image, it takes about 1 hour. Because the focus is on the GPU calculation, I didn’t wait for him to finish running it. In the case of the GPU calculation, You can see that the GPU usage is also full.
Overall, it took about 17 minutes to output the 4K image of this file in Blender using Mac Studio’s GPU.
Summarize
Although the Mac Studio tested this time is not the M1 Ultra version of the top gauge, but the M1 Max version, the memory is also a basic 32GB, but the overall use effect is not bad, whether it is in file conversion, output, dimming and color matching, Making simple special effects, making 3D graphics… etc. are actually quite enough.
If your work is based on Final Cut Pro X, Davinci Resolve, then I think the upgrade to Mac Studio is worth it, even the most basic M1 Max version of Mac Studio is better than buying a MacBook Pro 16″ M1 Max version Inexpensive, especially Mac Studio provides a large number of external interfaces, which is more convenient for many jobs that require multiple monitors, external hard drives, and need to collaborate with others through the network, plus M1 Max or M1 Ultra The built-in ProRes accelerator is very helpful when dealing with ProRes files.
However, if the working environment is mainly based on 3D special effects, I still recommend that Windows devices are better, both in terms of support and the richness of plug-ins are better than those on the Mac system.
If this article is helpful for you, please share this article with your friends on social media. Thank you!!
This article is based on the personality of the reviews. You are responsible for fact-checking if the contents are not facts or accurate.
Title: Review of Mac Studio’s M1 Max version: Is it enough? What you will find out by observing the actual software implementation effect