
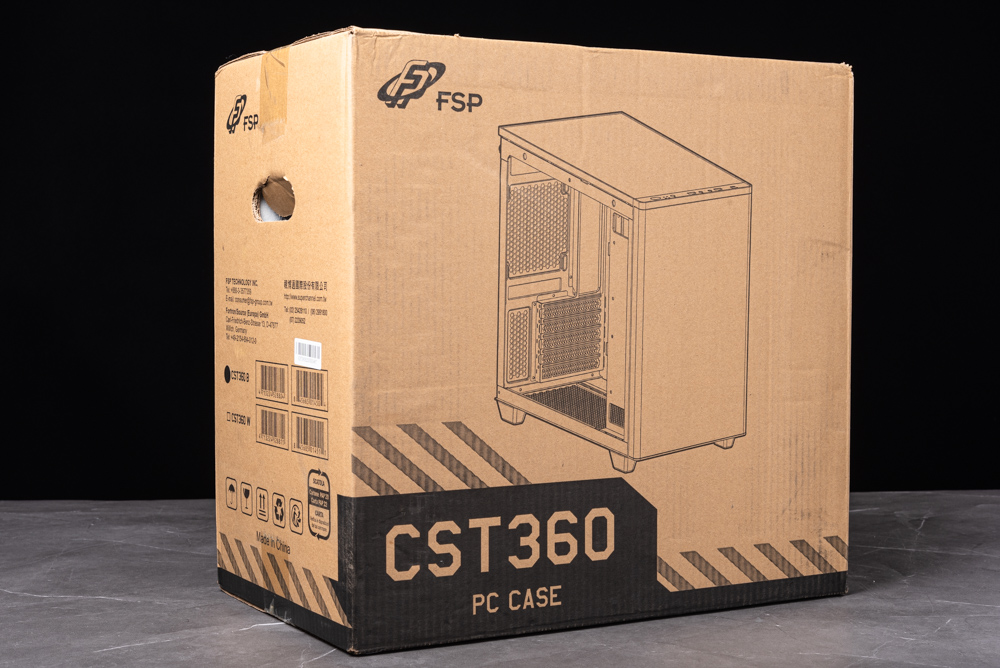
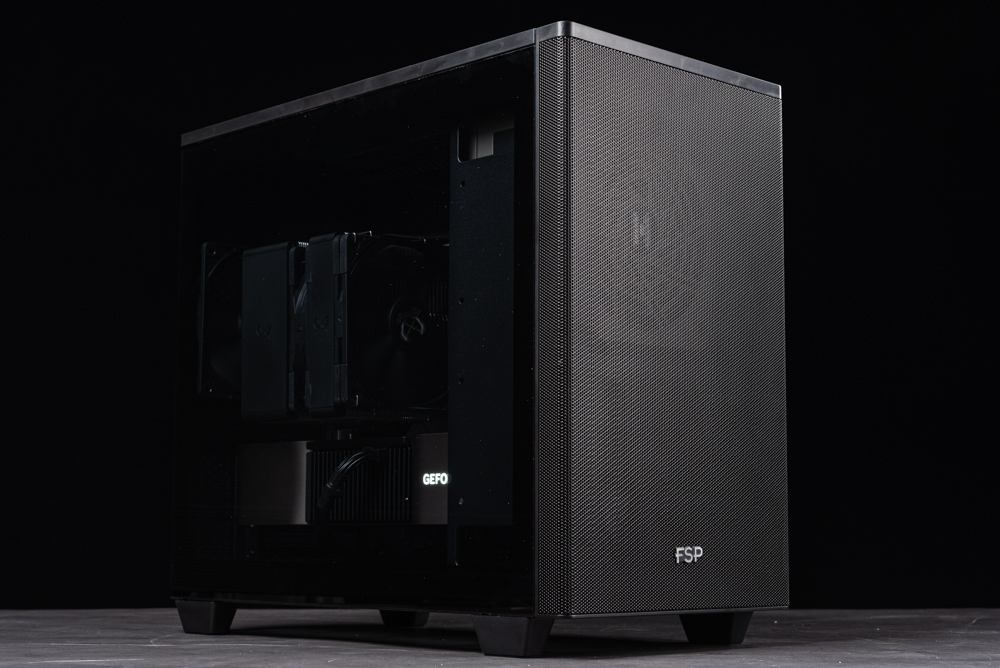
The affordable M-ATX compact case, “CST360(B)”, has been introduced by FSP, a leading power supply producer, in a sleek black color. It features a front door panel fully covered in mesh, complemented by an equally neat full-mesh top design. The front power supply configuration is paired with an M-ATX motherboard, allowing space for as many as six 120mm fans, two 3.5″ and three 2.5″ storage devices, as well as 370mm long graphic cards and 165mm tall tower cooling fans.
Specifications
- Material: 0.7mm SPCC
- Color: Black
- Dimensions: 428 x 220 x 381mm
- Motherboard Compatibility: Micro-ATX, Mini-ITX
- Front I/O Ports: 2 x USB3.0, Type-C, Power Button
- PCIe Expansion Slots: 5
- Storage Options: 2 slots for 3.5″ drives, 3 slots for 2.5″ drives
- Pre-installed Fans: Front 1 x 120mm, Rear 1 x 120mm
- Additional Fan Support: Front 1 x 120mm, Top 2 x 120mm, Rear 1 x 120mm, Bottom 2 x 120mm
- Radiator Support: Top 240mm
- CPU Cooler Height Limit: Up to 165mm
- Graphics Card Length Limit: 370mm
- Power Supply Compatibility: ATX12V, up to 150mm
- Dust Filter: Yes
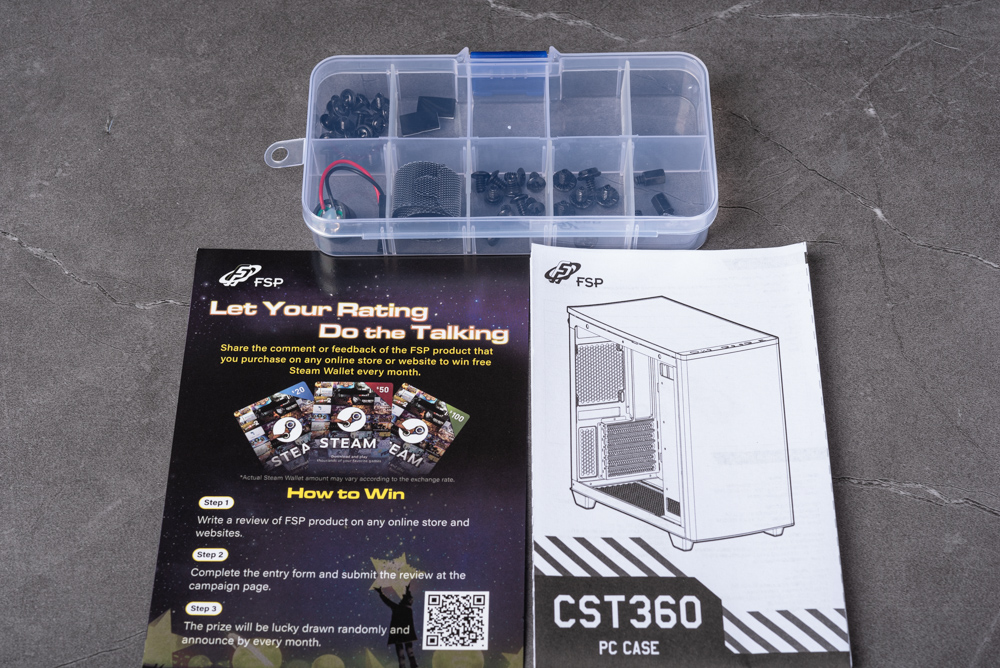
FSP CST360(B) Case unpacking / small case with neat mesh on the front and top good expansion
Small cases with M-ATX motherboards are sufficient to fulfill the expansion requirements of the majority of gamers. In the realm of compact case designs, M-ATX cases have become trendy for relocating the power supply to the front, utilizing a hanging design. This approach allows the small M-ATX chassis to maintain a reduced footprint while still offering ample space for graphics cards, cooling systems, and storage devices.
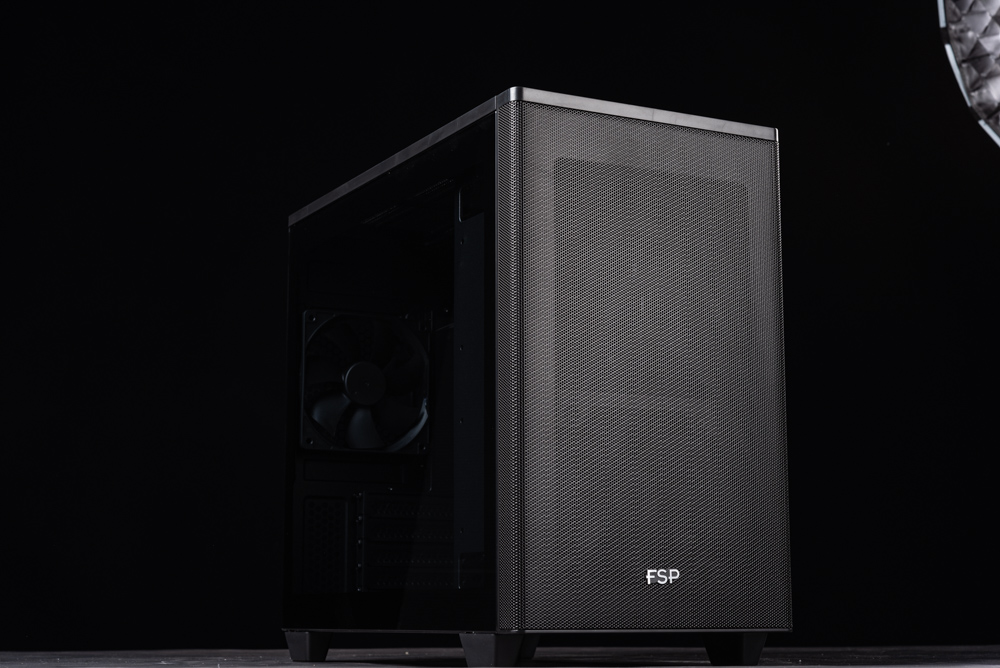
The FSP CST360 compact case, available in black and white, features a completely meshed front door panel and top surface, ensuring an effective cooling airflow. Its dimensions of 428 x 220 x 381mm make it smaller compared to standard ATX cases, yet it still supports Micro-ATX and Mini-ITX motherboards and has room for 5 PCIe cards.
For the CST360, it’s advisable to pair it with a short FSP power supply of 150mm in length in the front. This configuration permits the installation of graphics cards up to 370mm long, including the substantial RTX 4090. The CPU tower fan height can be up to 165mm, and there are slots for six 120mm fans, with the front and rear fans already pre-installed.
While the case only supports a 240mm radiator for integrated water cooling on the top, this is a typical limitation for compact cabinets. In terms of storage, there’s room for two 3.5″ and three 2.5″ devices. Along with the M.2 expansion capability on the motherboard, this layout can accommodate the installation needs of most players.
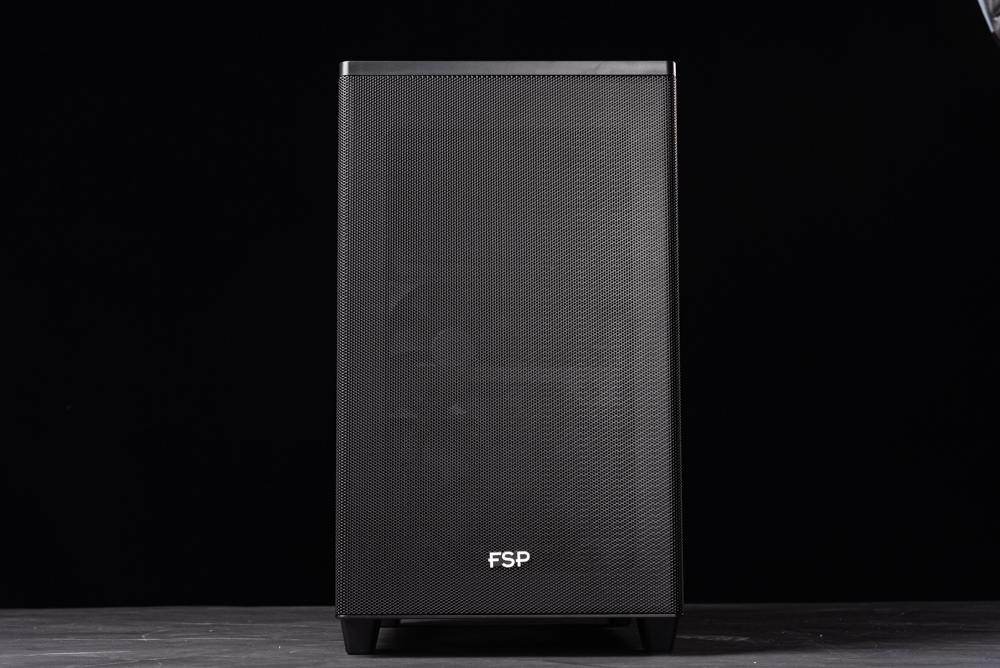
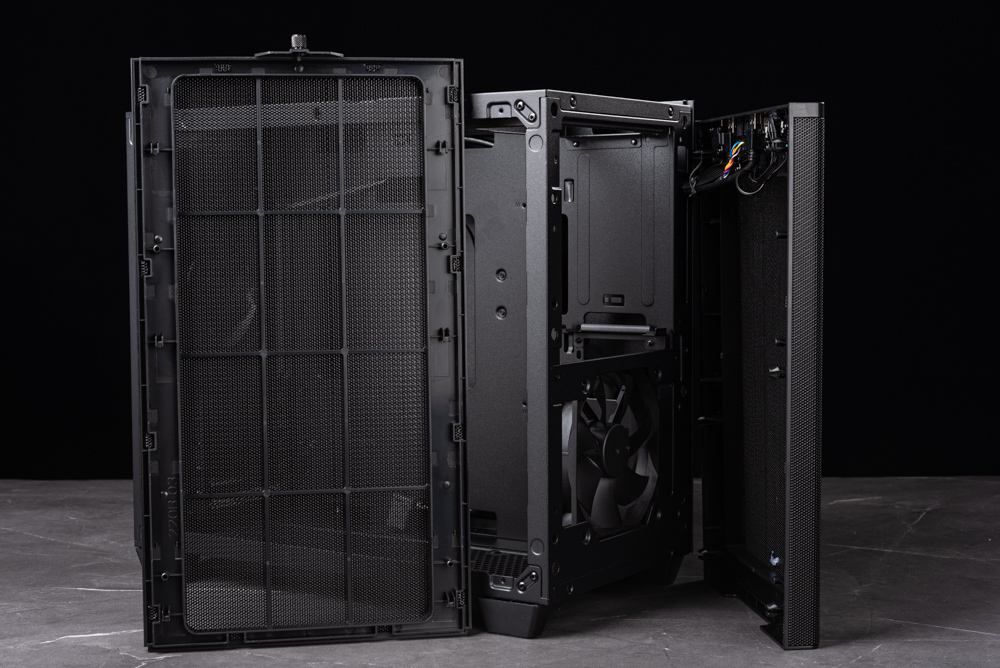
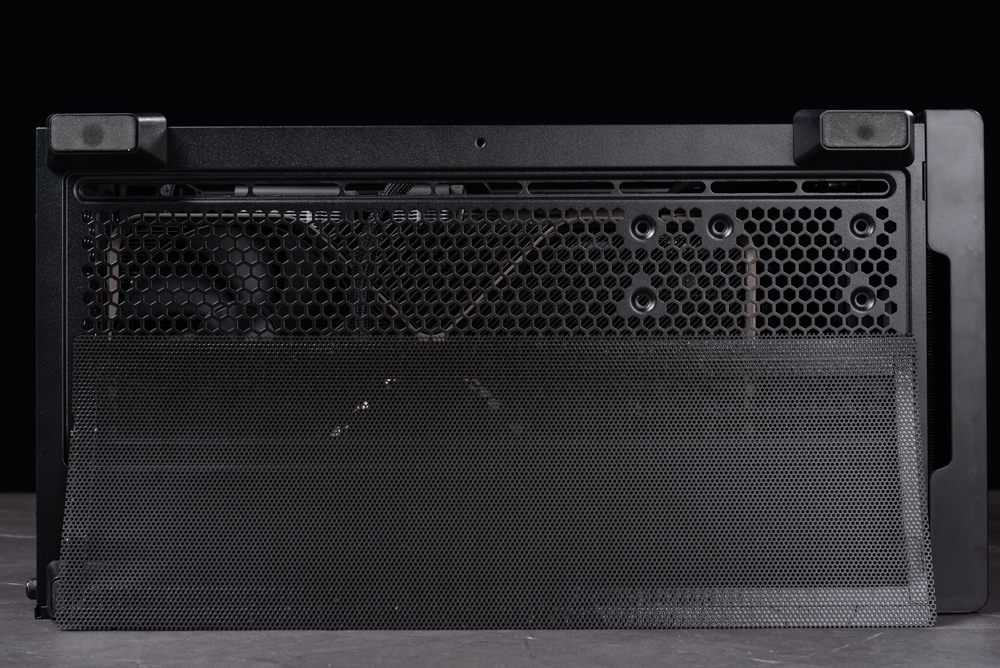
The FSP CST360 chassis features a full-mesh design on both the front door panel and the top, allowing for sufficient airflow to cool the system, aligning with the prevalent design trends for heat dissipation. However, there is no dust-proof filter incorporated into the front or top of the case. This is understandable, as the mesh door panel itself offers a basic level of dust protection. Adding a dust-proof filter would likely compromise the cooling efficiency by obstructing the airflow.
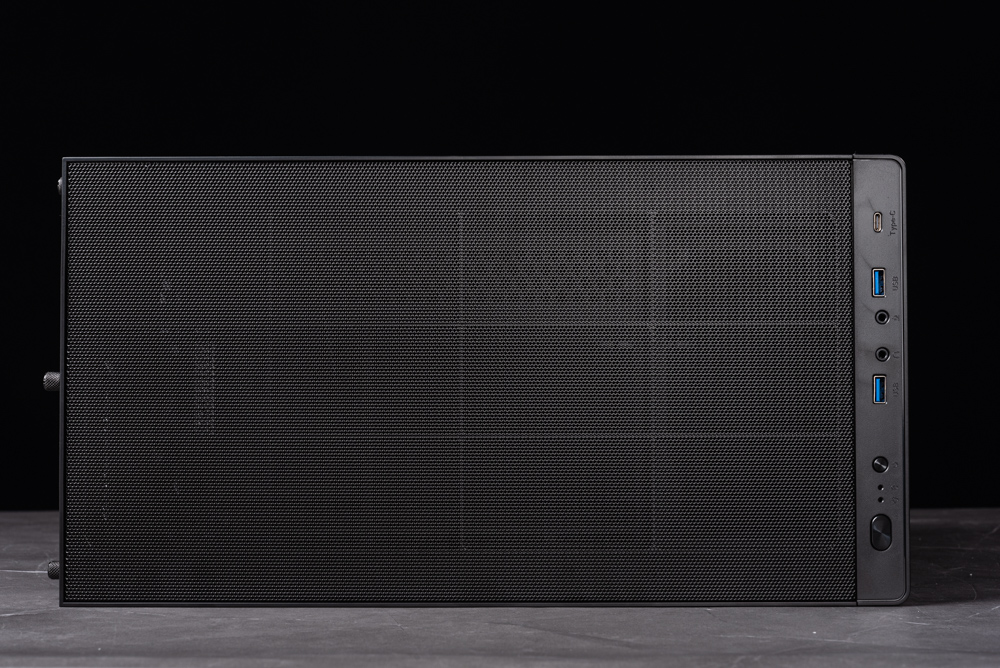
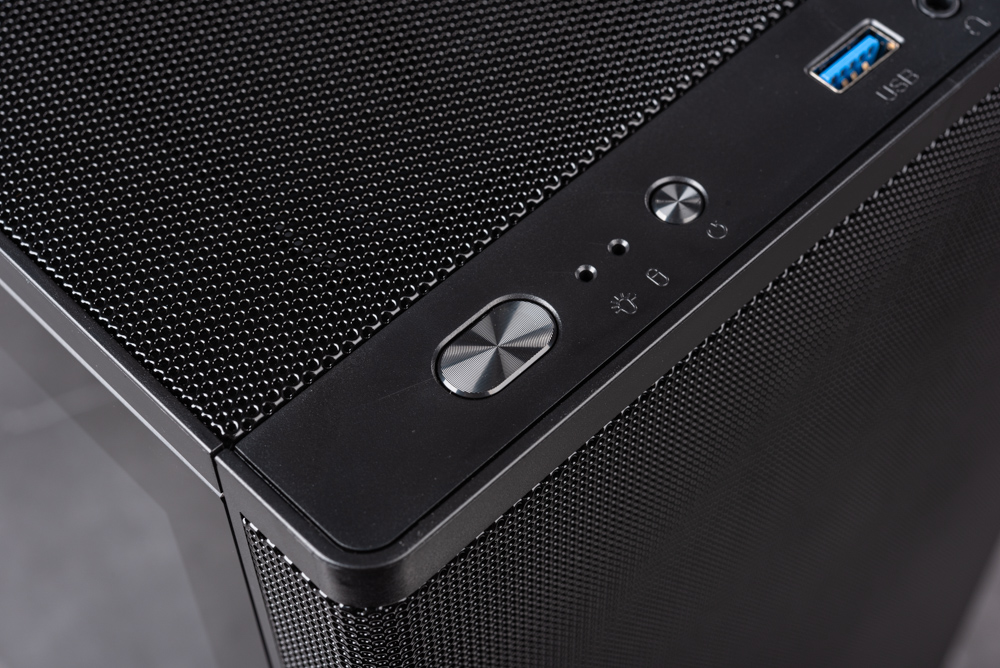
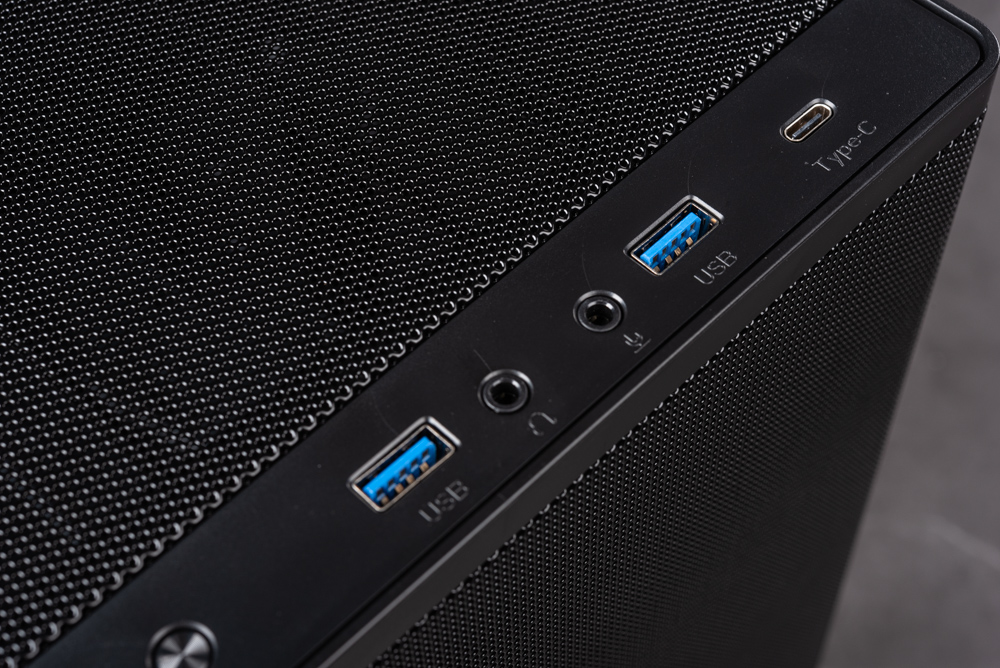
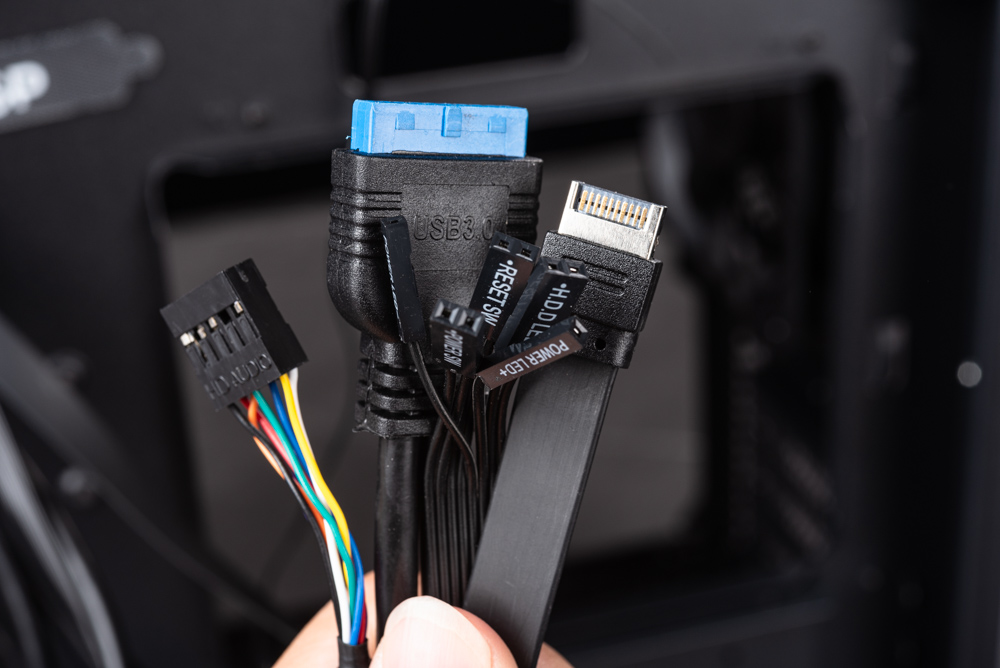
The front I/O panel of the case is positioned above the door panel, and it’s equipped with a power button, a reset button, an indicator light, two USB 3.0 ports, a USB-C port, and 3.5mm jacks for both headphones and a microphone.
Non-perforated tempered glass, anti-drop groove, upper screw fixing hole
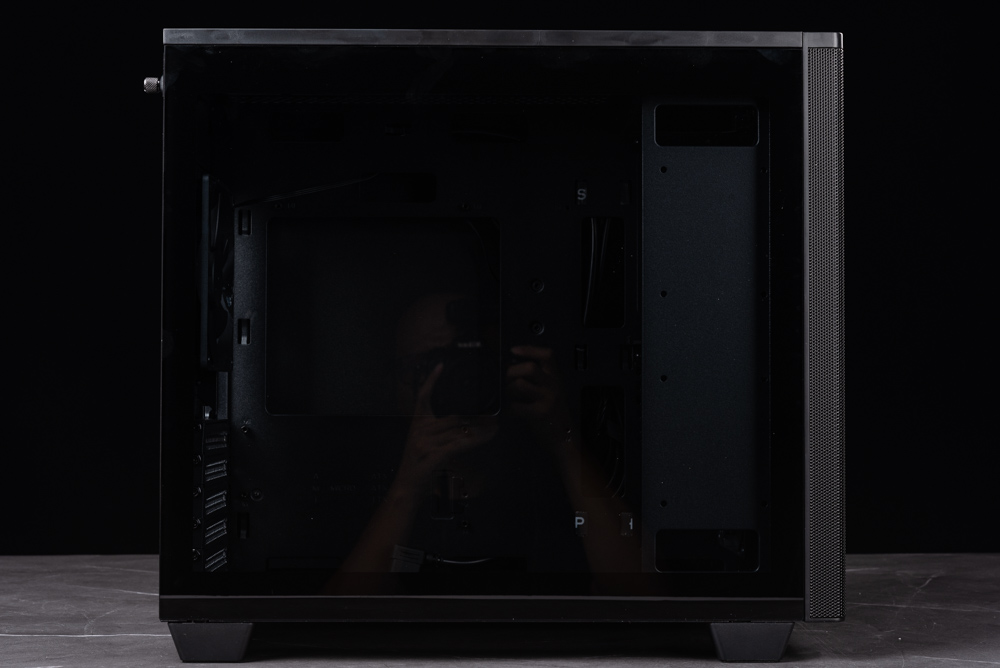
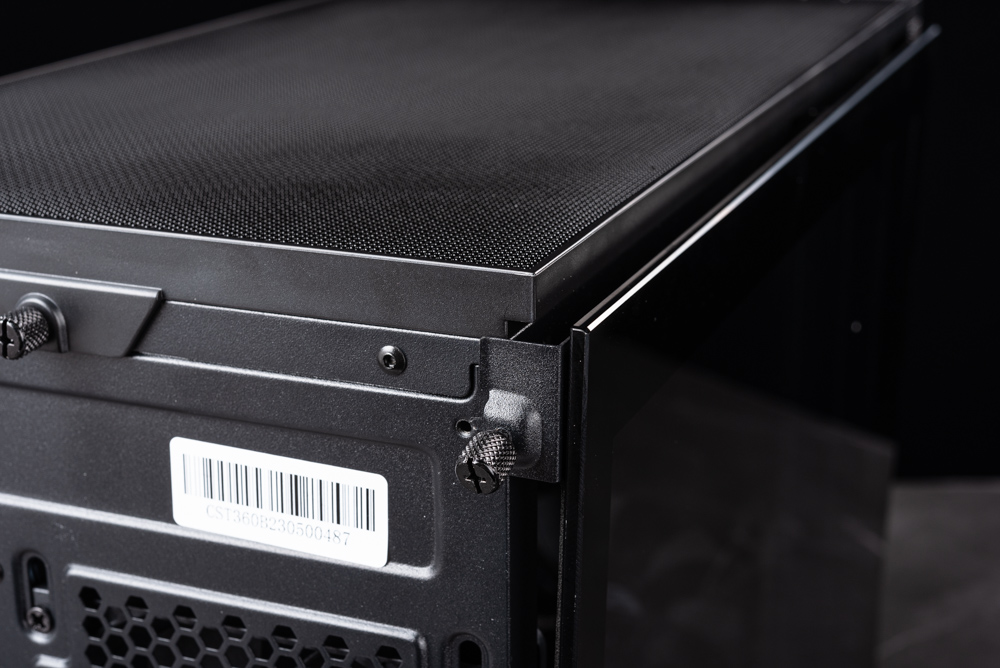
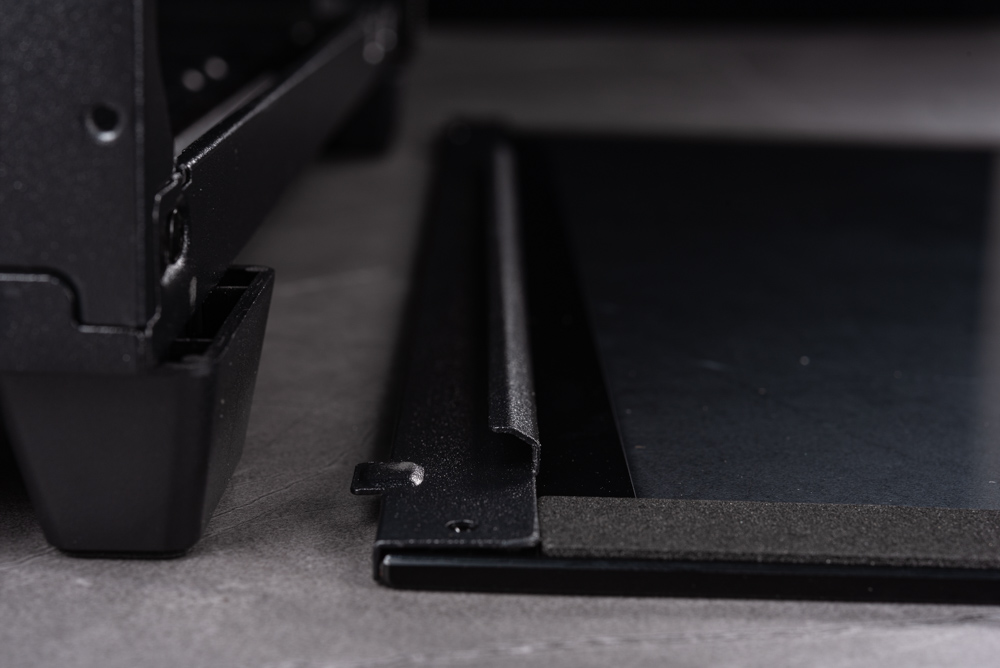
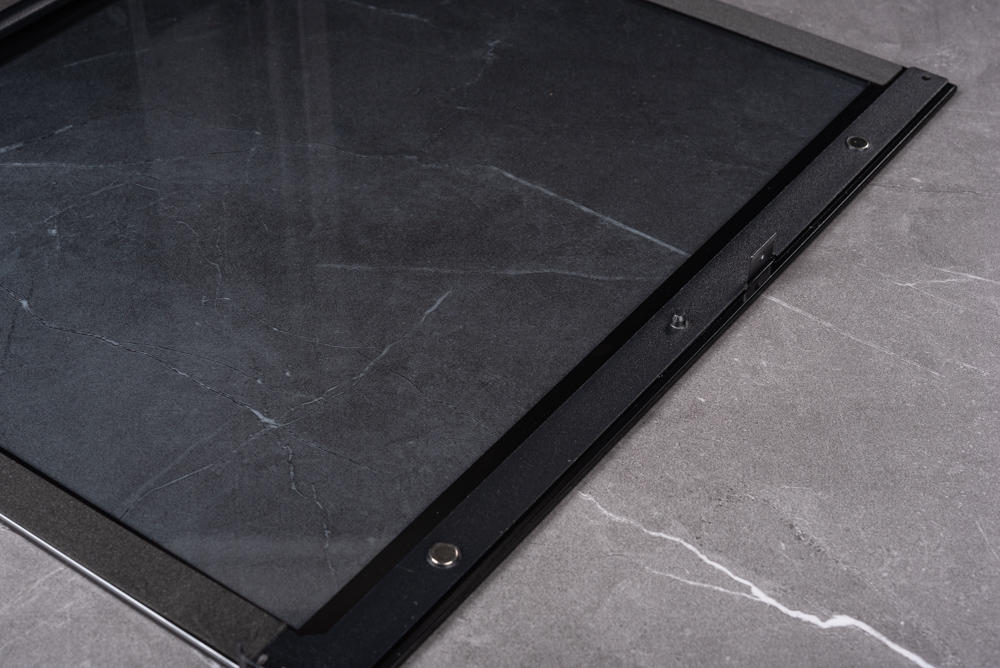
The left-side glass of the FSP CST360 case is fashioned from non-perforated tempered glass, with the black variant featuring a black edge and tinting. The disassembly and installation of the glass side cover is quite straightforward – just loosen the thumb screw at the back, and thanks to an anti-drop groove design, it simplifies the assembly process for newcomers to DIY.
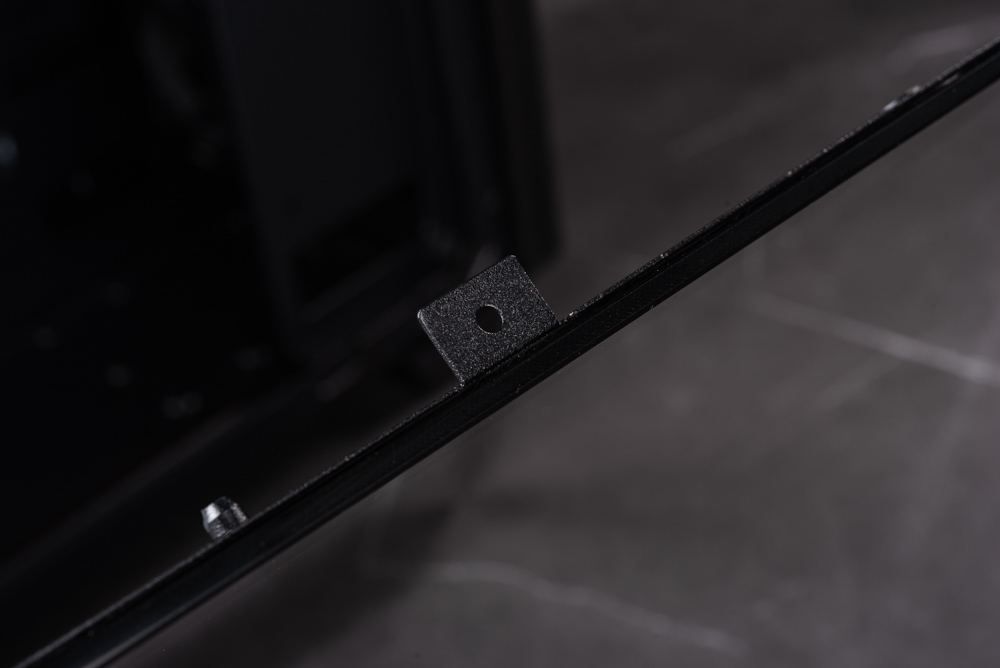
The glass side is framed with metal edge bars on the top and bottom, rubber pads on the left and right to minimize impact, and L-angle screw lock holes on the upper metal edge bars. The top screws are securely locked, ensuring stability and safety during shipping.
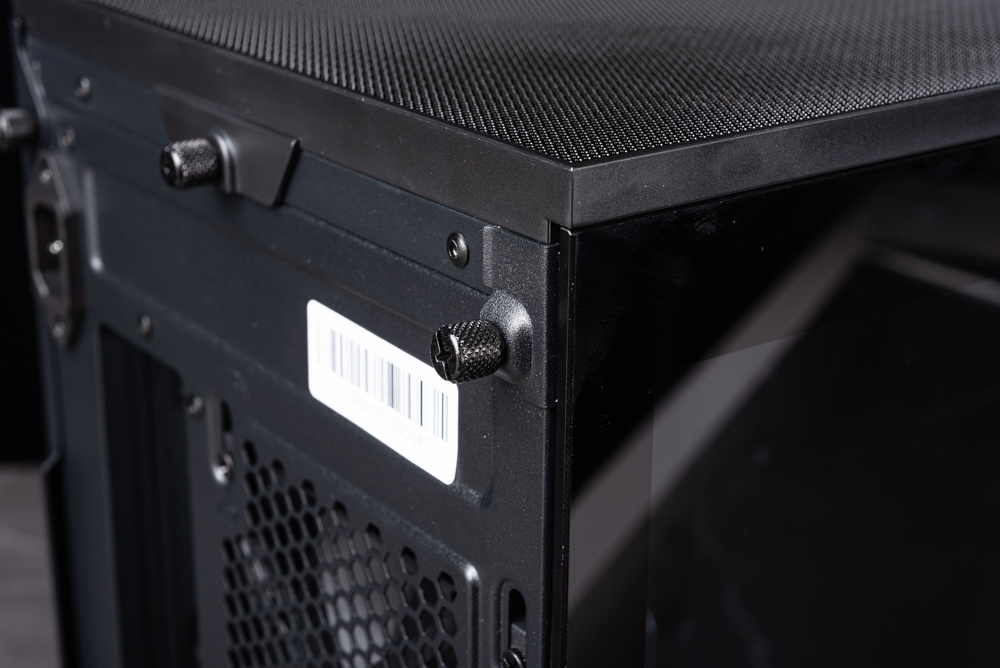
Once the screws are loosened, the panel opens outward as expected, and thanks to the anti-drop groove design, there’s no need to worry about the glass accidentally falling.
Front power supply, 6 x fan positions, 370mm graphics card support
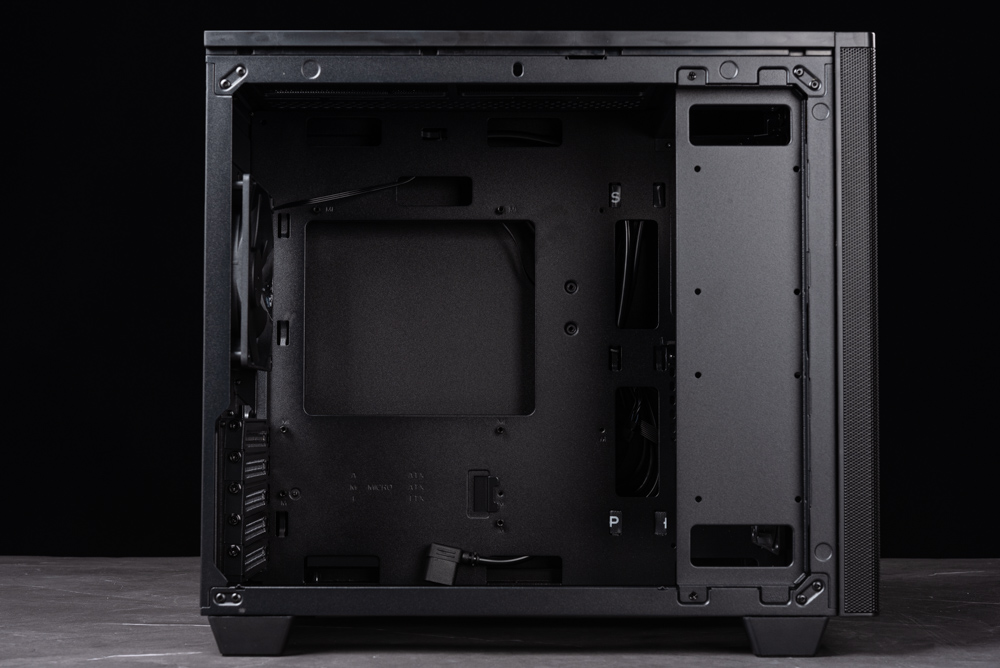
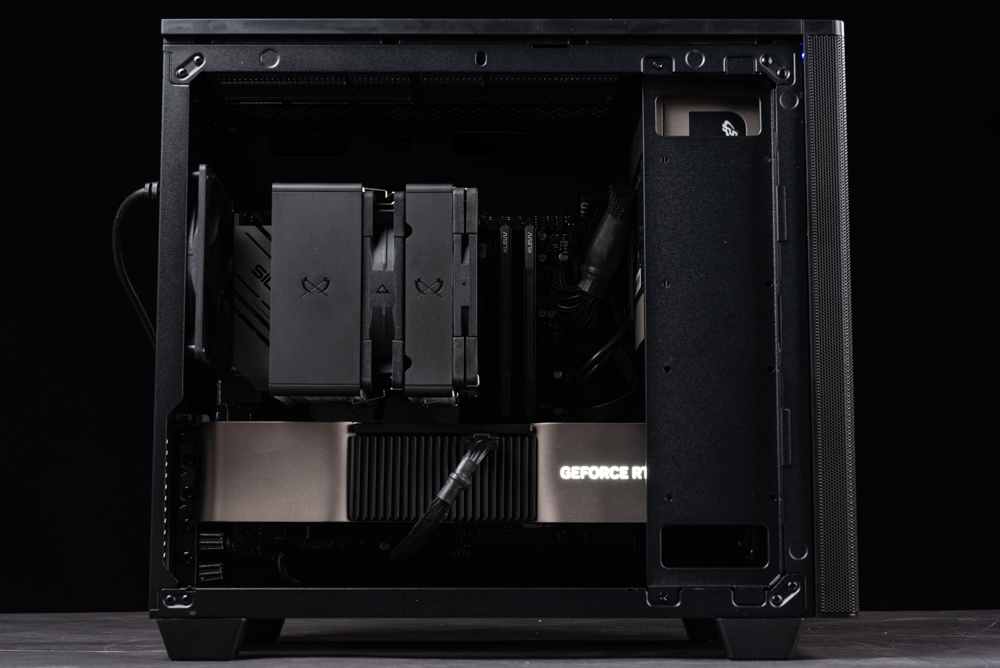
The internal layout of the FSP CST360 chassis features a front power supply design, and as such, there’s a removable baffle on the right front with two spaces for 2.5” devices on top. Removing this baffle allows full visibility of the interior space.
The CST360 offers ample upper room to accommodate 240mm water cooling or a pair of fans. There’s also enough space in the lower part to fit two additional 120mm fans. With sufficient openings designed for routing power cables, players are afforded an excellent opportunity for neat cable management in their DIY assembly.
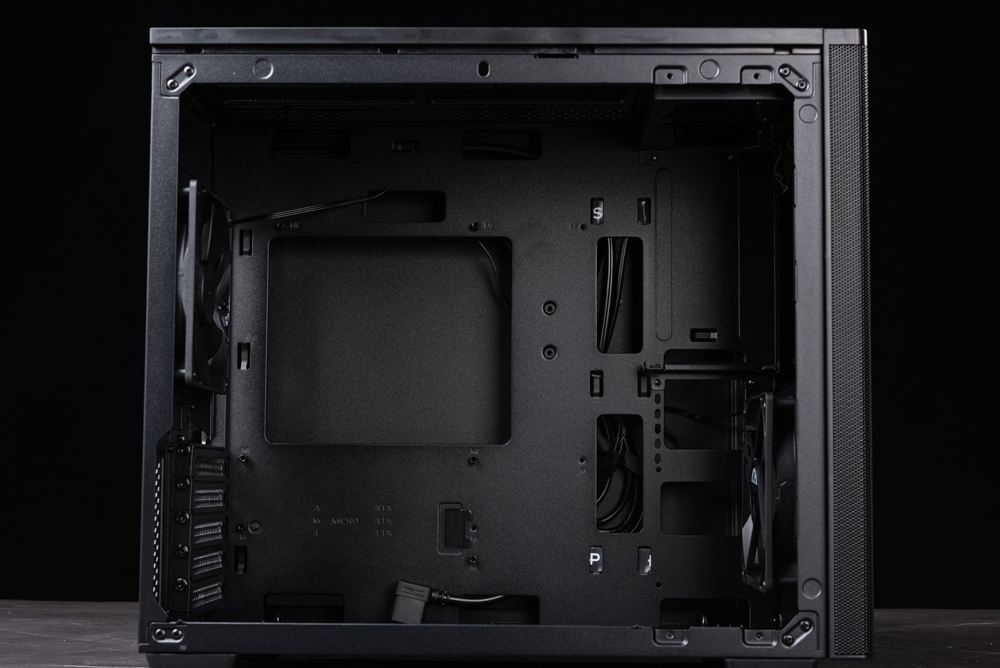
The front door panel and upper mesh top cover of the chassis can be taken off directly, but since the front I/O is located on the door panel, care must be taken with the wiring when disassembling this part. Additionally, a 120mm fan is already pre-installed at the front, so there’s no need to remove the front door panel for installation.
Regarding the bottom of the case, it comes with a magnetic filter and offers space to accommodate cooling for two 120mm fans.
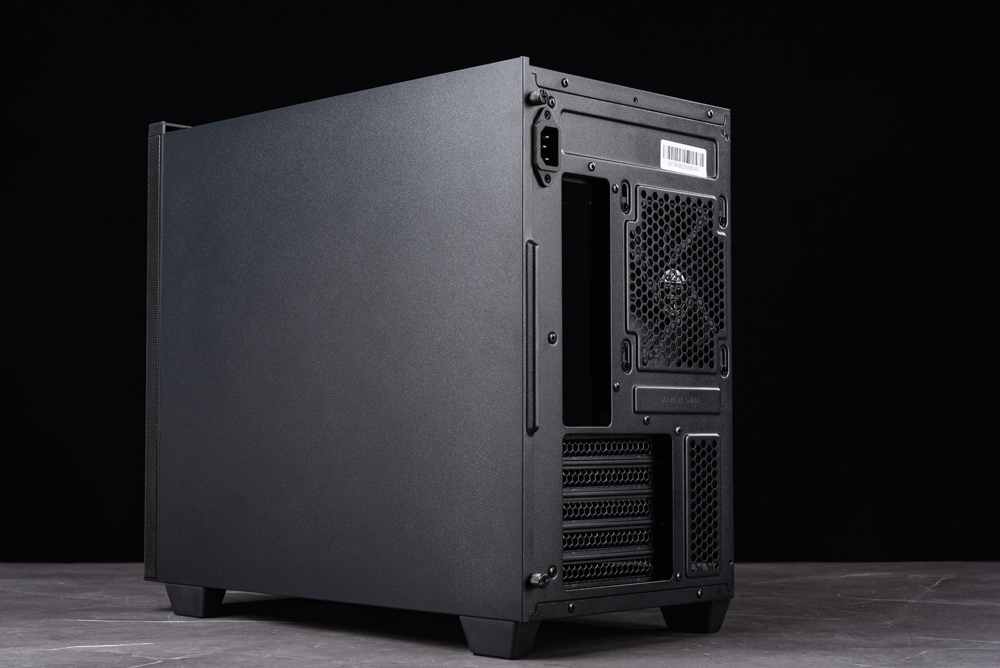
From the rear view of the case, there’s a noticeably large space above the motherboard I/O that can accommodate a 240mm water cooling system, along with room for a rear 120mm fan. There are essentially 5 PCIe slots available for installation. The right side of the case, it features basic metal side panels.
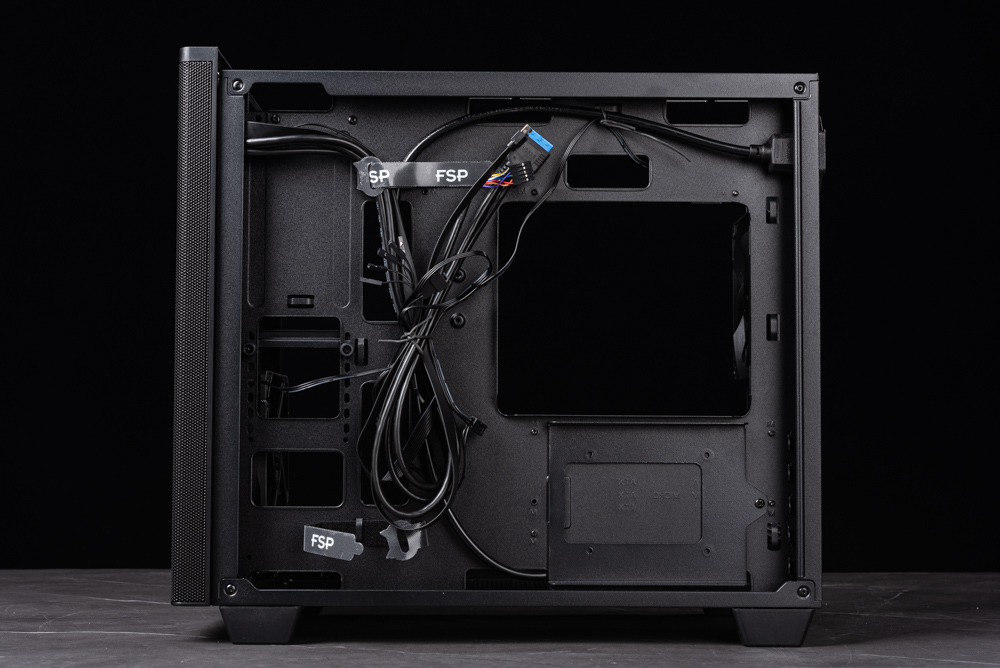
Regarding the cable management space on the right side of the case, it’s equipped with 2 FSP Velcro strips to secure the wires. There are front panel pins, power extension cables, and 2 pre-installed fans that are connected using PWM serial cables. This leads to the actual assembly of the machine.
FSP CST360(B) assembly sharing/ Suggest FSP 15cm power supply, install fan below
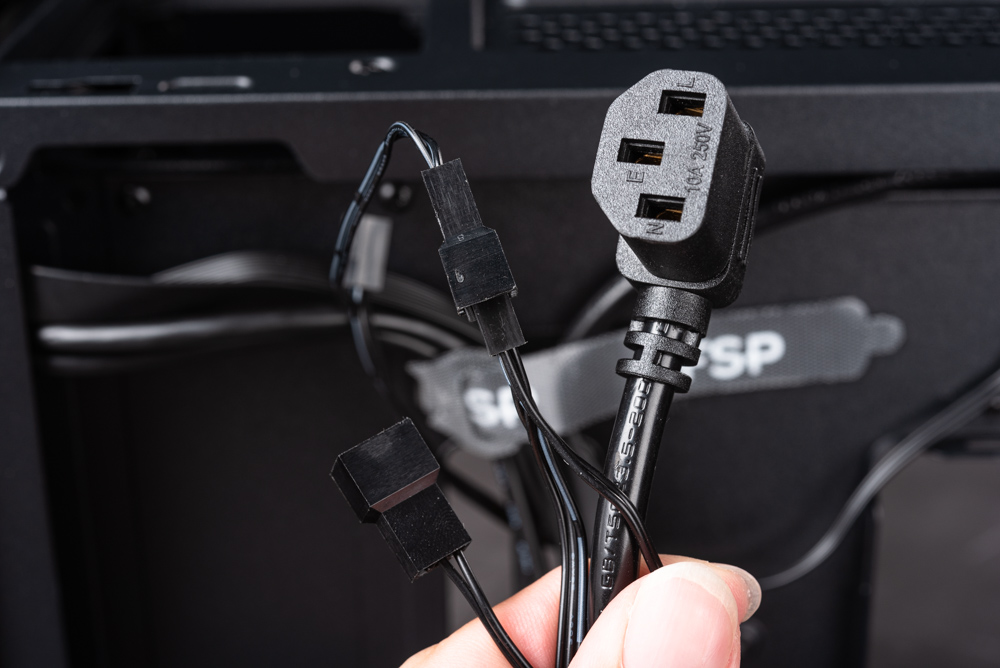
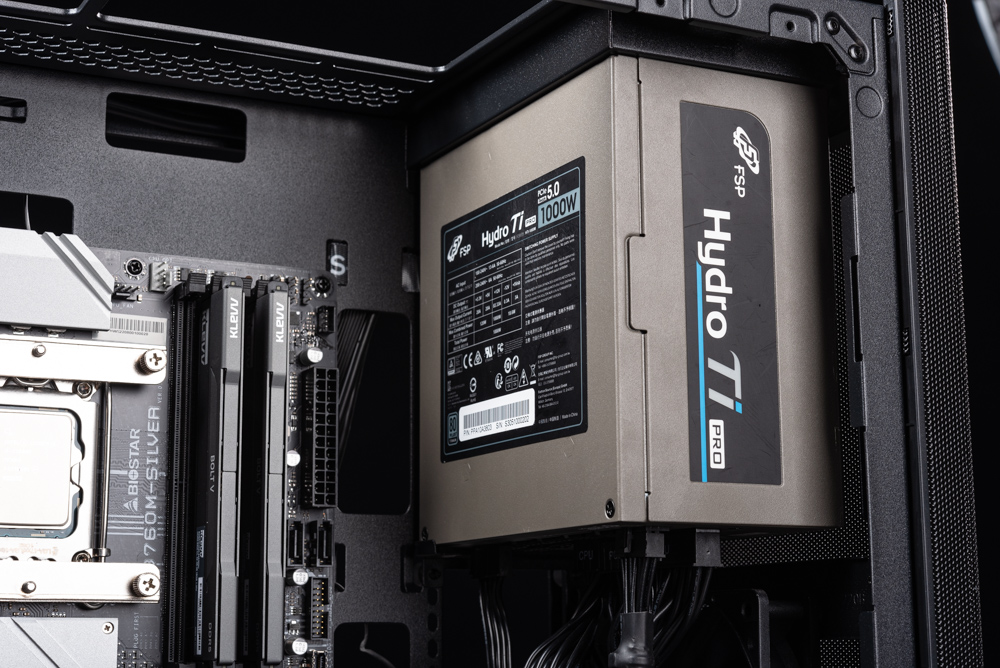
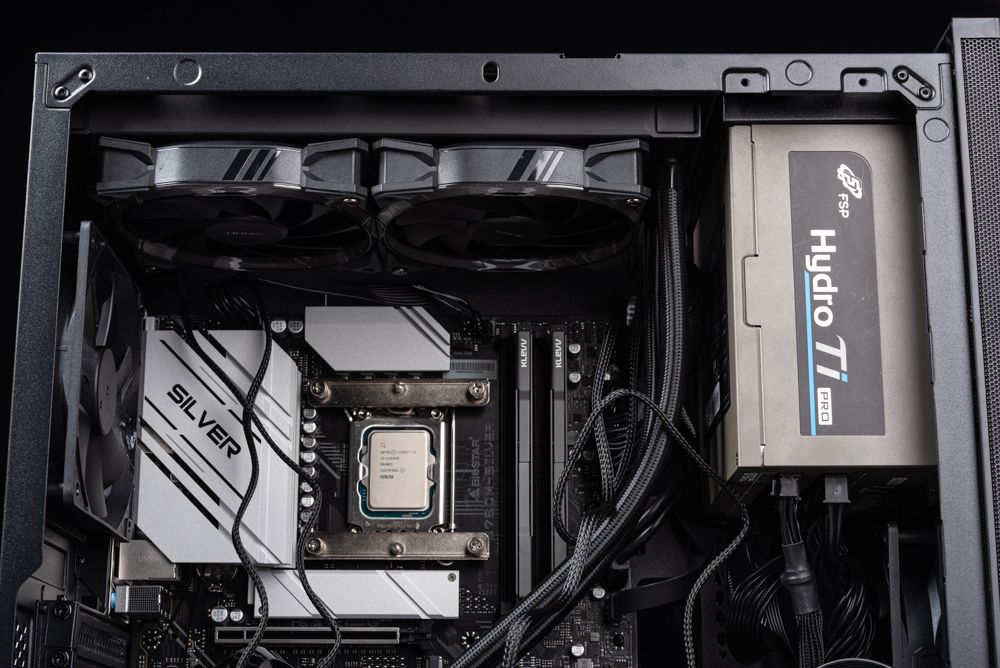
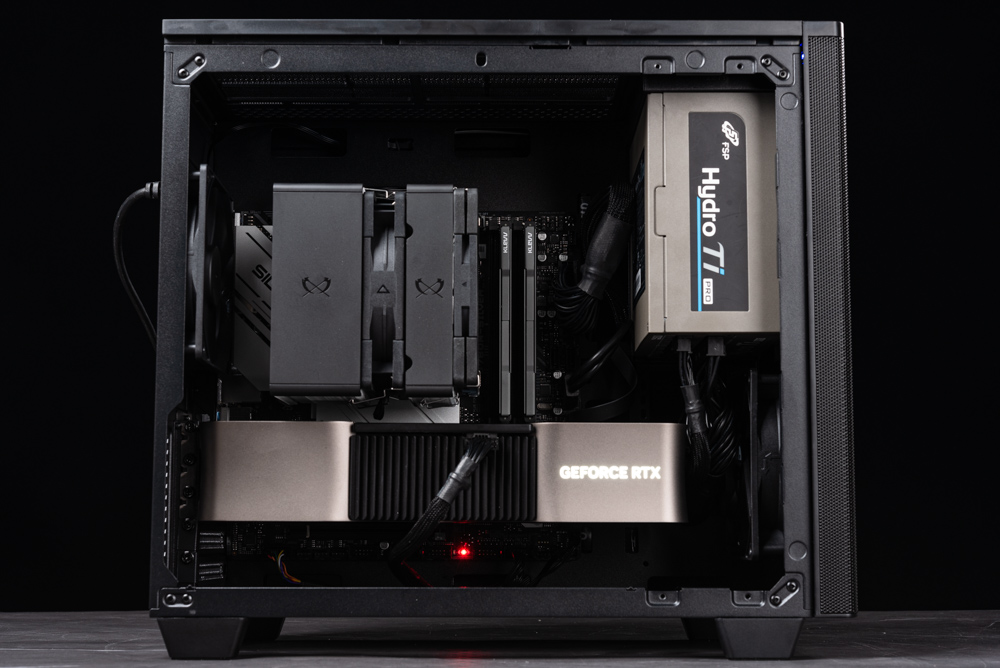
The FSP CST360 features a front power supply design, and due to the relationship with the front pre-installed fan, the power supply length must not exceed 15cm. Thus, it’s advisable for users of this case to pair it with an FSP power supply that includes an AC extension cord, which will help avoid any interference issues related to the extension cord’s prefix. For instance, the FSP Hydro Ti PRO 1000W power supply, utilized in this context, is a fitting choice.
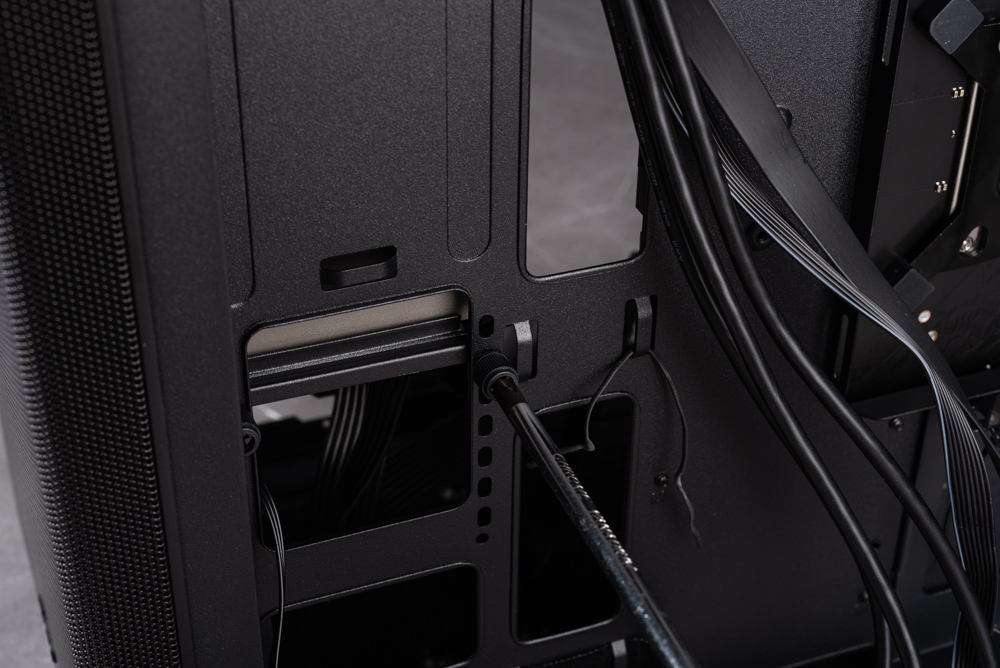
During the installation of a 15cm power supply, you can begin by loosening the screws located behind the power bracket. After positioning and installing the power supply, the screws can then be tightened to secure it in place.
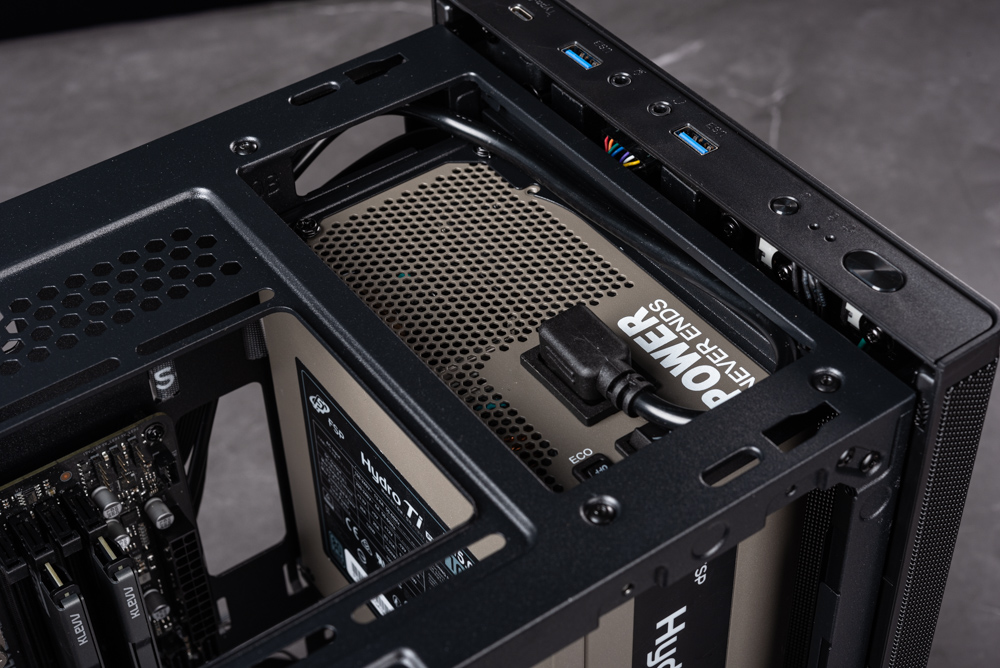
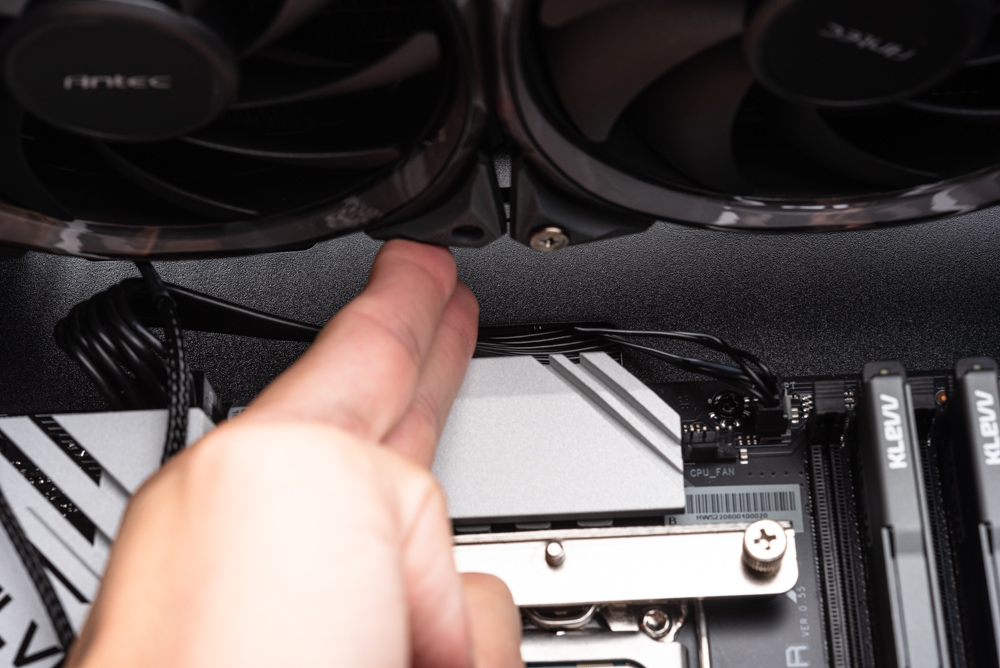
In a practical installation test with the FSP CST360, when mounting a 240mm radiator at the top, there is still a two-finger gap allowing for connections to the I/O on the top of the motherboard. However, considering it is a compact case, it’s advisable for players to follow this sequence for a smoother installation process: motherboard > power supply > connection of power cable and case cable > storage device > heat sink > graphics card.
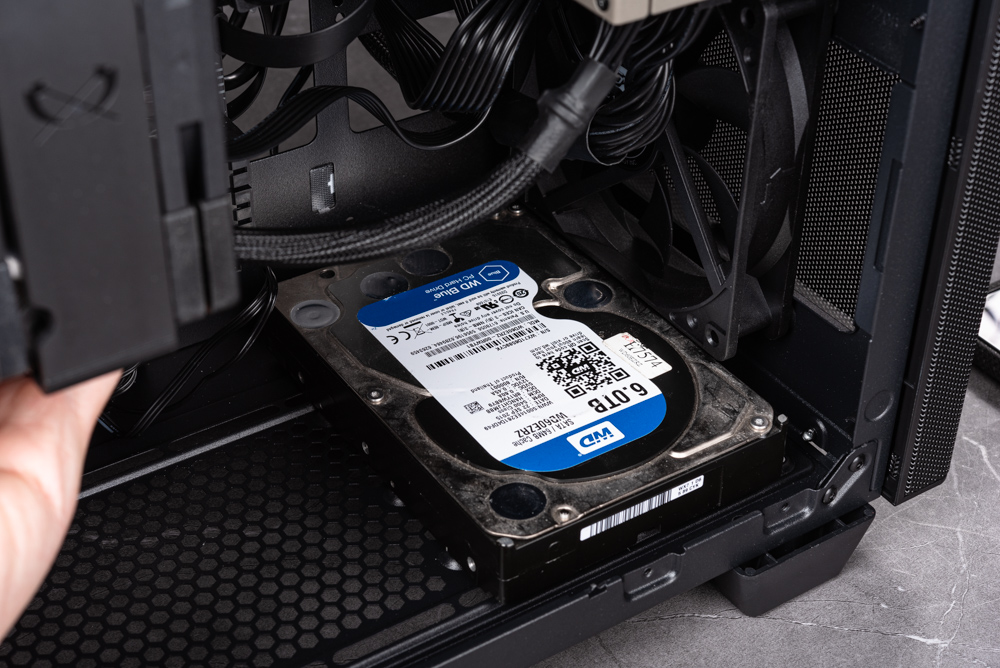
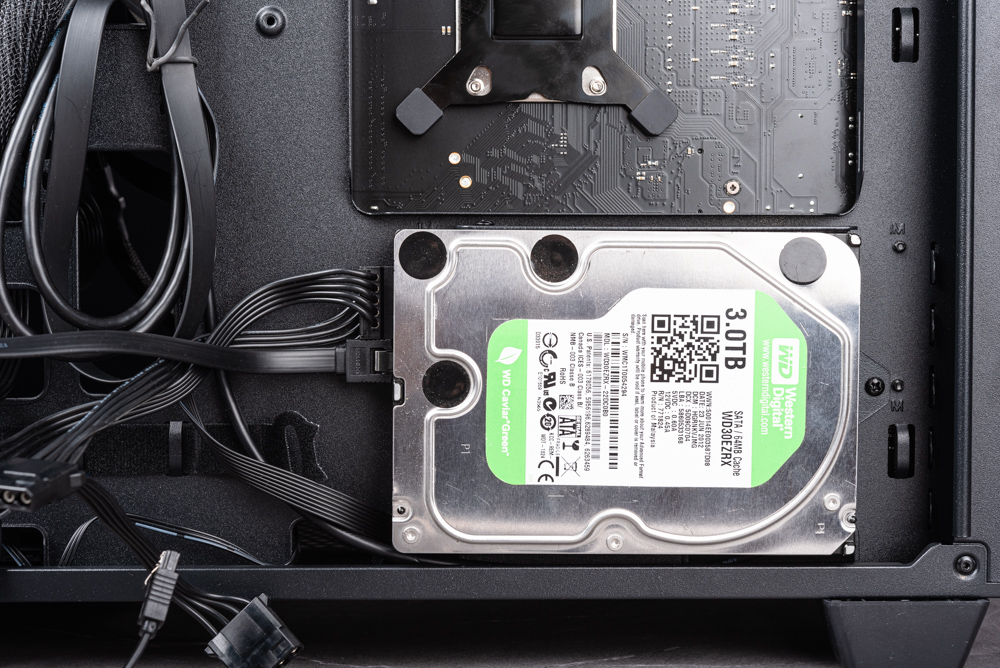
Regarding storage space, initially, the lower right corner on the left side of the case can accommodate either 3.5” or 2.5” devices, making efficient use of the available space. However, if there’s only a single 3.5” HDD to be installed, it’s advisable to place it in the specialized space designated at the rear of the case.
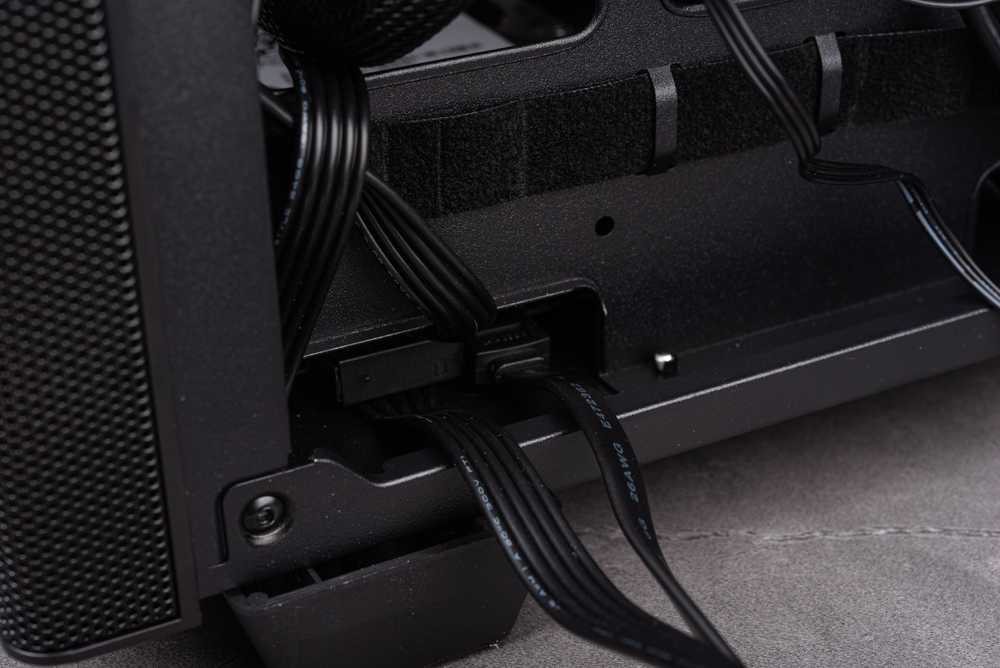
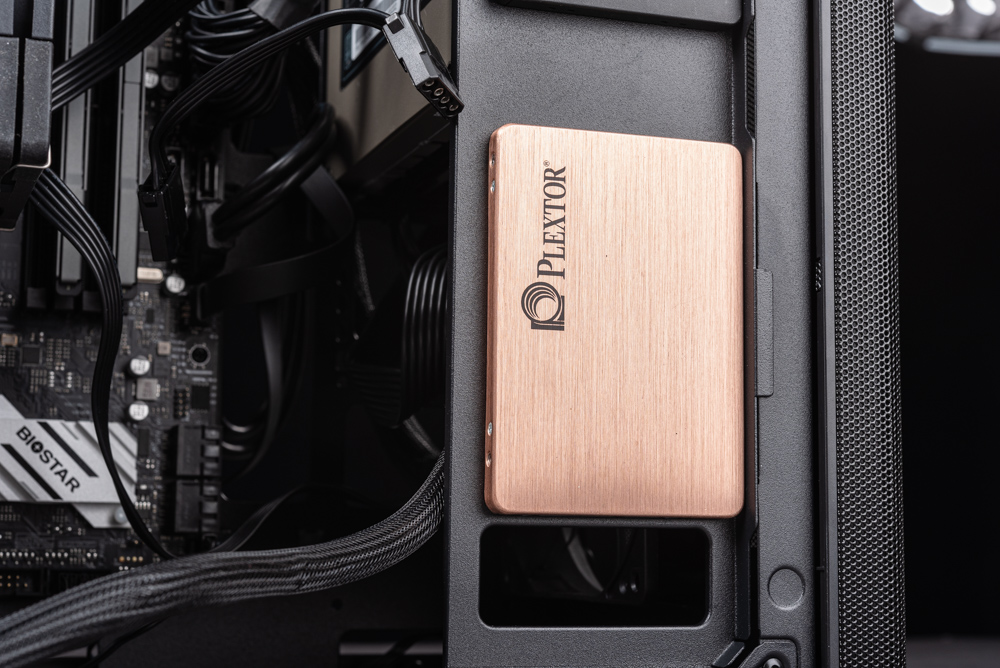
On the front baffle, there are two 2.5” installation slots. However, since the power supply is situated behind the installation area of the upper slot, managing SATA cables and power cables in that space can be relatively challenging. Therefore, it’s recommended to initially install devices in the lower space. If a second 2.5” device is to be used, it can be mounted in the installation area above the baffle.
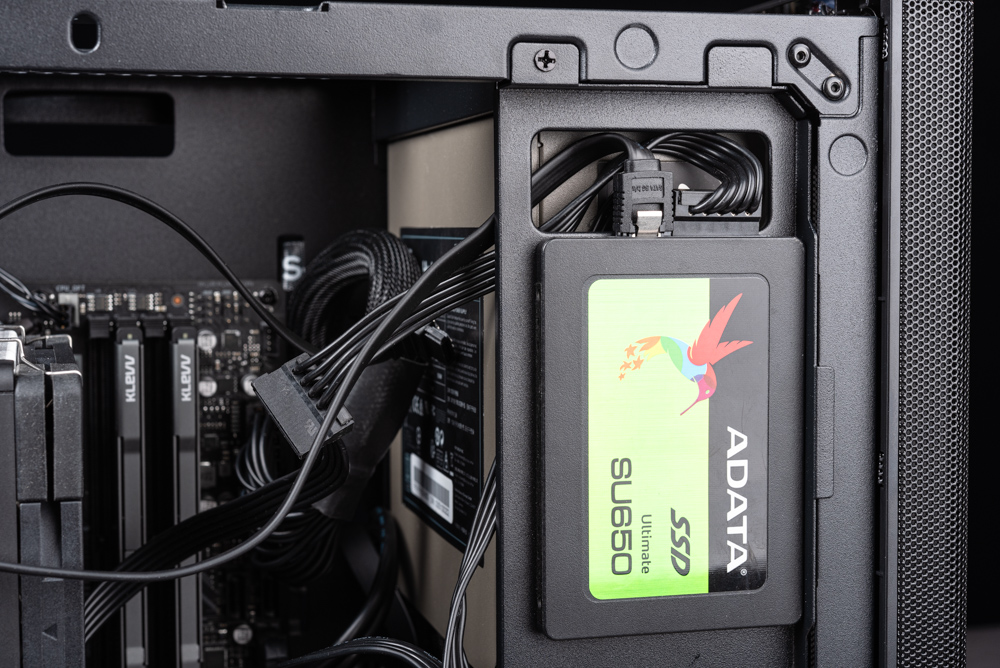
The 2.5” installation area located above the baffle offers limited cable management space, as it is situated close to the power supply.
The actual assembly process of the FSP CST360 is relatively straightforward. By ensuring compatibility with the power supply space and adhering to the installation order of motherboard > power supply > connecting the power cable, chassis cable > storage device > radiator > graphics card, users can enjoy a satisfying and smooth DIY installation experience.
Summary and heat dissipation test
The FSP CST360 offers impressive expandability within its compact M-ATX form factor, but this is contingent on utilizing the “ATX 15cm PSU” component. While the CST360 can accommodate a longer power supply, doing so would necessitate sacrificing the front 120mm installation spot and reducing the length allowance for the graphics card.
To ensure optimal expansion compatibility, the specifications for the CST360 prioritize the use of FSP’s proprietary 15cm long power supply. This provides compatibility with a CPU tower fan height of 165mm, graphics card length of 370mm, and top-mounted 240mm integrated water cooling, satisfying the needs of most players.
For storage devices, the recommended approach is to utilize the 3.5” HDD space at the rear and the 2.5” SSD space under the left side of the chassis. If more storage is required, the 3.5” HDD can also be placed in the left front right bottom of the chassis, with an additional 2.5” SSD atop the baffle. However, these placements require a certain level of DIY cable management skills.
In practical testing with an i5-13600K fixed at P-Core 5GHz and E-Core 3.9GHz, PL Off, using the Scythe SCFM-3000 dual-tower dual-air radiator, CPU temperature reached 99°C under Cinebench R23 multi-core burn-in, whereas in the 3DMark Time Spy Stress Test simulating gaming conditions, CPU was at 77°C and GPU at 74.2°C.
The observed performance is within acceptable ranges, especially considering that the Scythe SCFM-3000 tower fan previously tested at a lower limit of around CPU 180W for heat dissipation. However, for enhanced cooling within the CST360, adding a 120mm intake fan both at the top and bottom of the case would be beneficial. This would create separate upper and lower cooling zones divided by the graphics card, each with its own intake fan, which would lead to improved heat dissipation during gaming.
In Taiwan, the black version of the FSP CST360 is priced at only $1,790, with the white model costing $100 more. For enthusiasts of M-ATX small and mid-sized cases, this price point represents good value for money. The design of the CST360, with its full network opening, is both neat and appealing, offering simplicity with a touch of elegance.
If this article is helpful for you, please share this article with your friends on social media. Thank you!
This article is based on the personality of the reviews. You are responsible for fact-checking if the contents are not facts or accurate.
Title: Unboxing the FSP CST360(W) case / A compact M-ATX case with front power supply; even the RTX 4090 can be accommodated