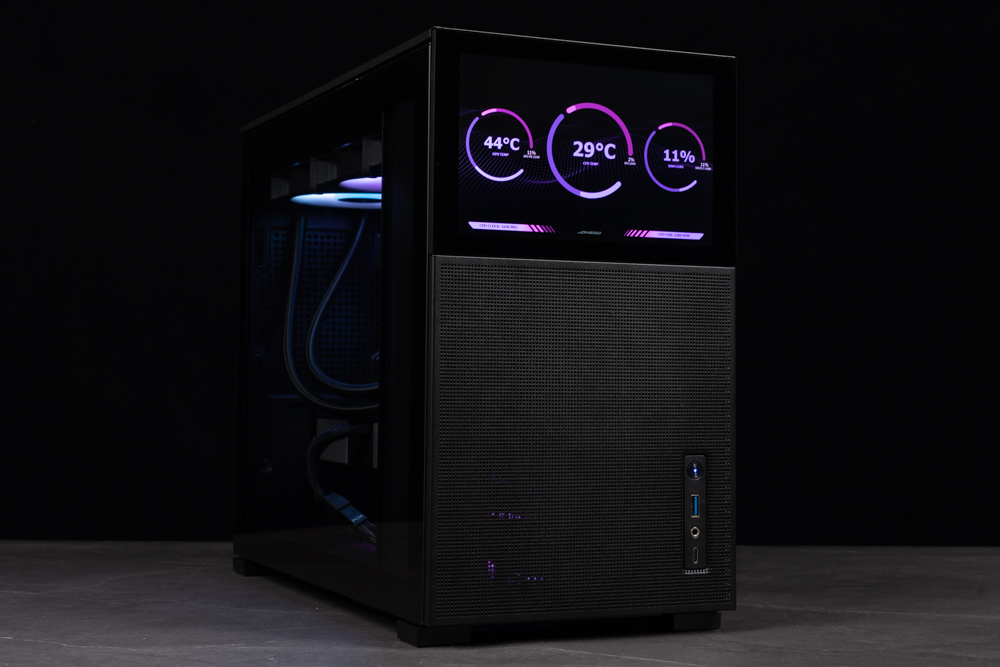
Lately, the PC DIY market has experienced a surge in the “display craze.” Numerous enthusiasts purchase small screens as case embellishments, which can be used to monitor computer performance or display favorite GIF images, similar to screens on CPU water-cooling heads. Josebo followed suit by introducing the D31 MESH SC display edition, becoming the first brand to incorporate a screen into the case, eliminating DIY hassles. More importantly, its affordable pricing—starting at 3,290 yuan (display version) and 1,999 yuan (MESH version)—has captured significant market attention.
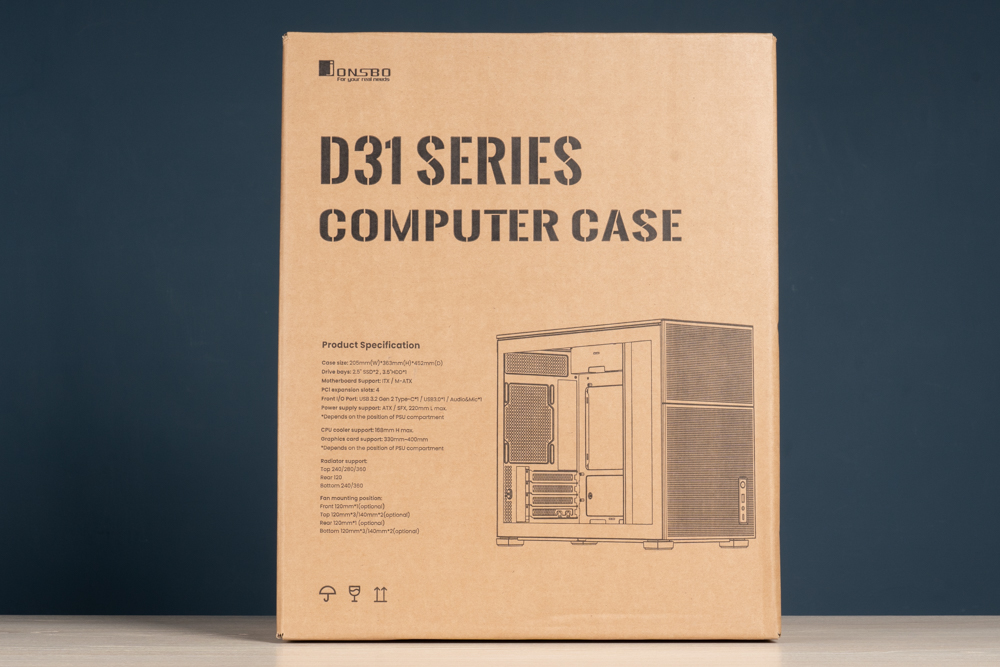
Jonsbo MESH SC Display Edition Specifications
Material: 0.6+0.7mm steel plate, glass
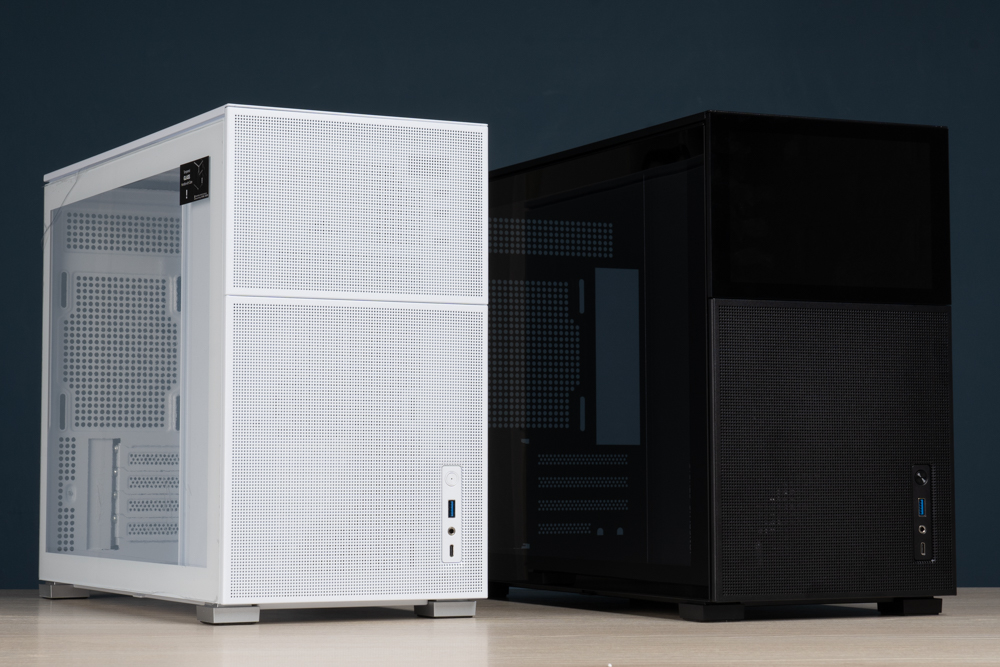
Color: Black/White
Dimensions: 205×347.5×440 mm
Net Weight: 6.4 kg
Motherboard Compatibility: Micro-ATX, Mini-ITX
Front I/O Ports: USB3.2 Gen 2 Type-C1 /USB3.01/Audio & Mic*1
PCIe Expansion Slots: 4
Storage Capacity: 1 x 3.5″, 2 x 2.5″
Pre-installed Fans: None
Fans: Top 3 x 120mm, rear 1 x 120mm, bottom 3 x 120mm, front 1 x 120mm (14cm PSU, first level hanger) cooling
Radiator: Top 360mm
CPU Cooler Height: < 168mm
GPU Length: 330-400mm, depending on PSU length
Power Supply: ATX
Dust Filter: Bottom
Screen Specifications:
Size: 8-inch TFT-LCD
Resolution: 1280×800
Brightness: 300cd/m2
Contrast: 1000
Refresh Rate: 60Hz
Interface: MINI-HDMI (video), TYPE-C (power supply)
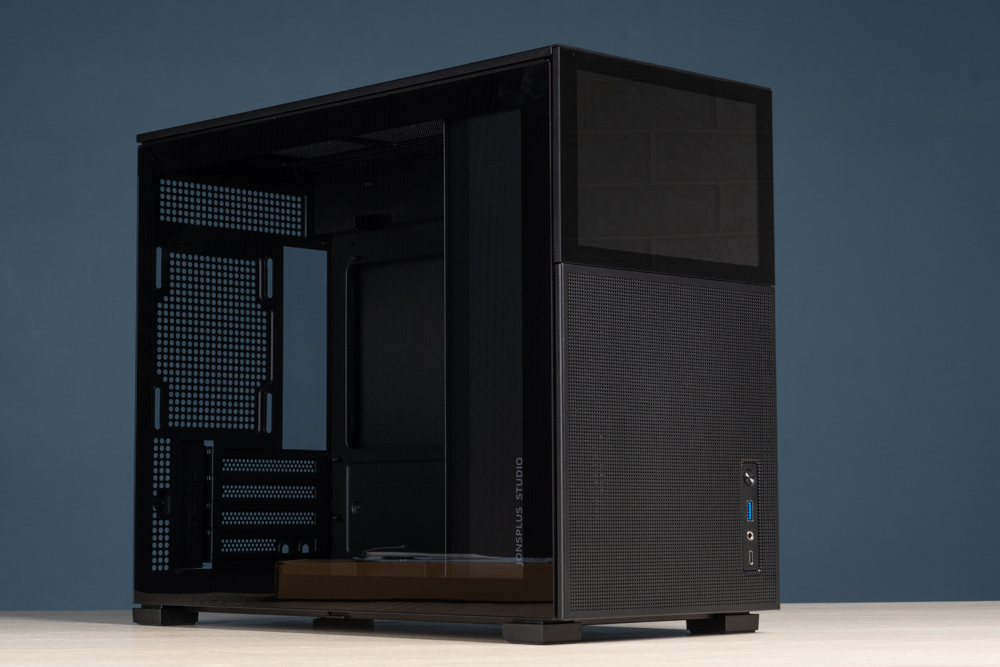
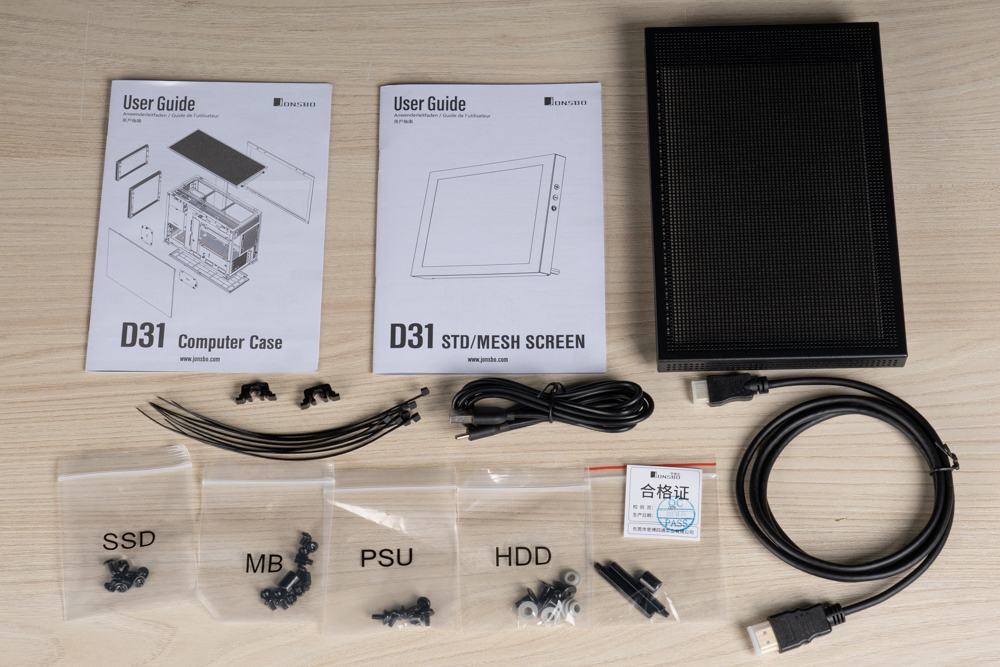
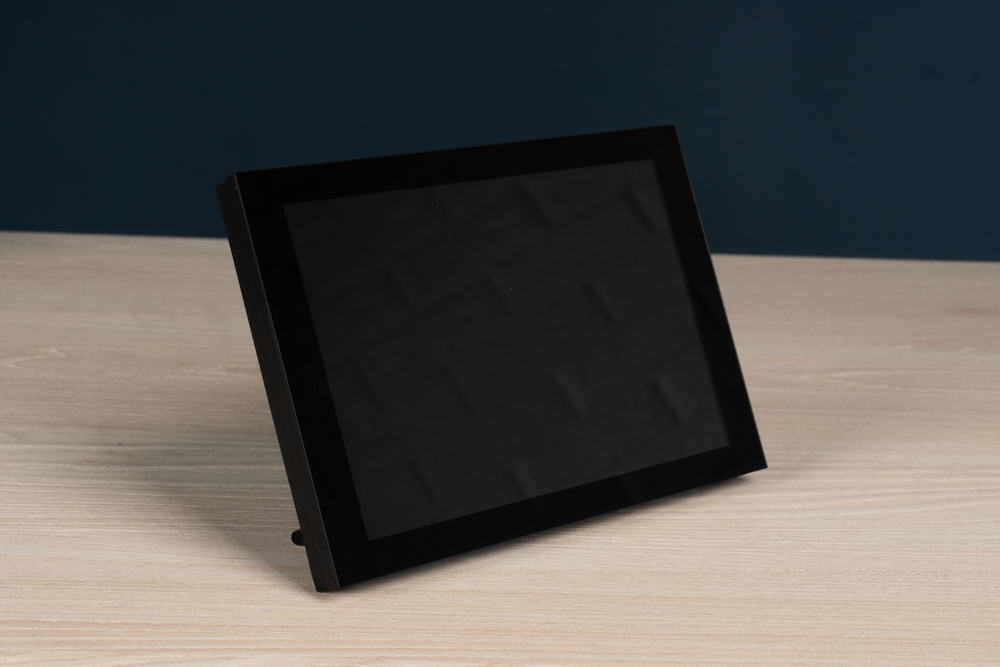
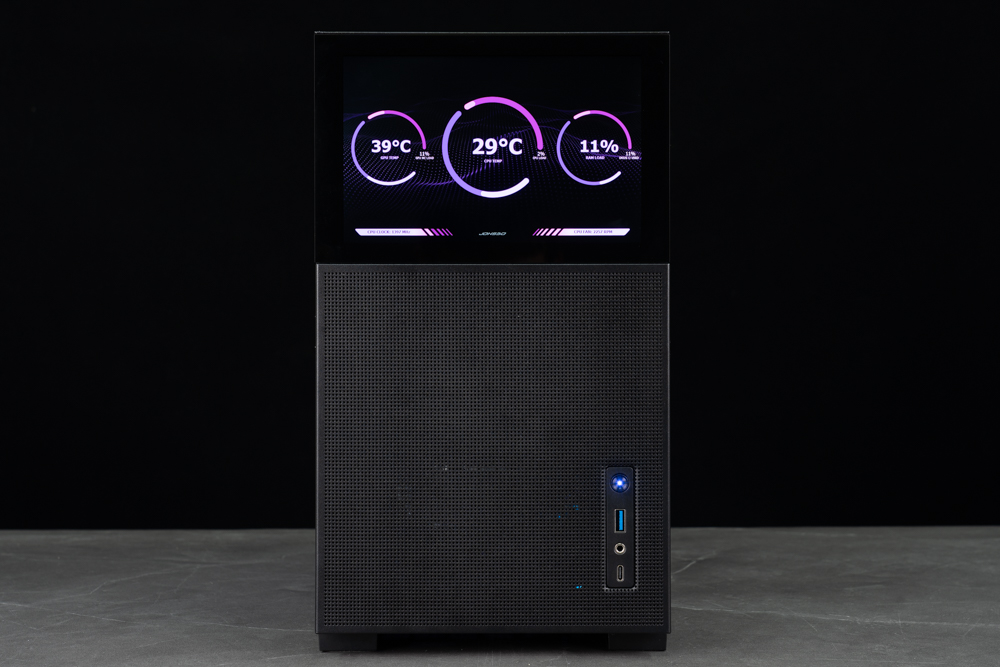
Jonsbo D31 MESH SC screen version out of the box
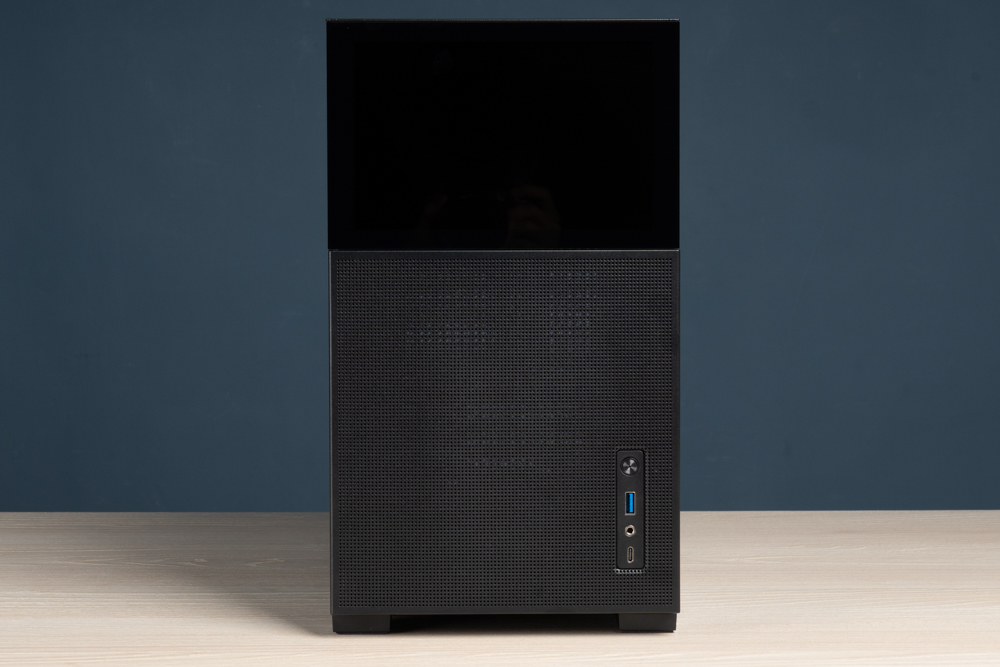
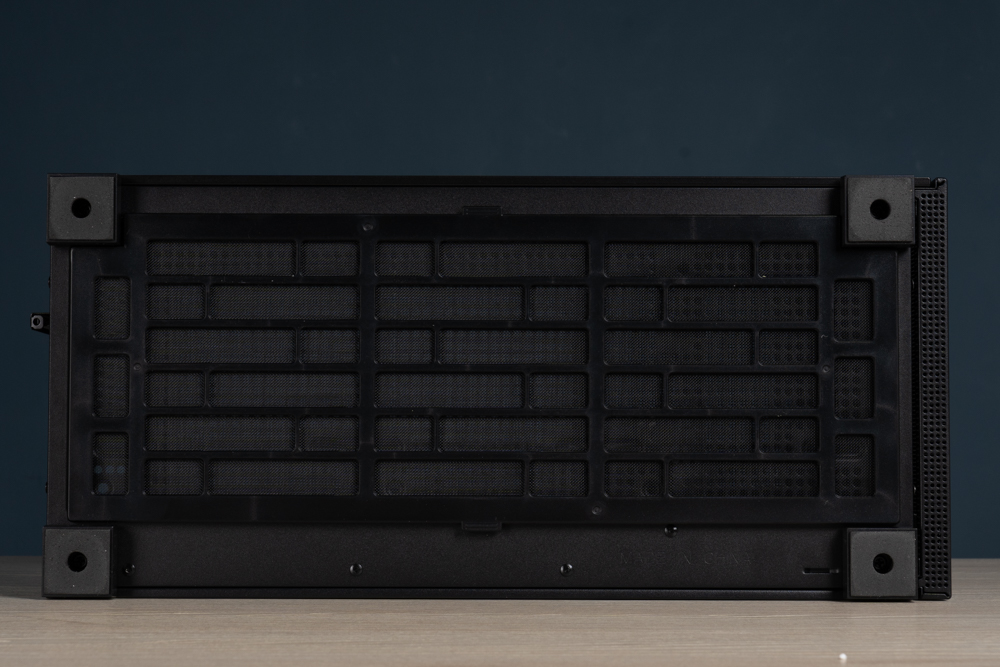
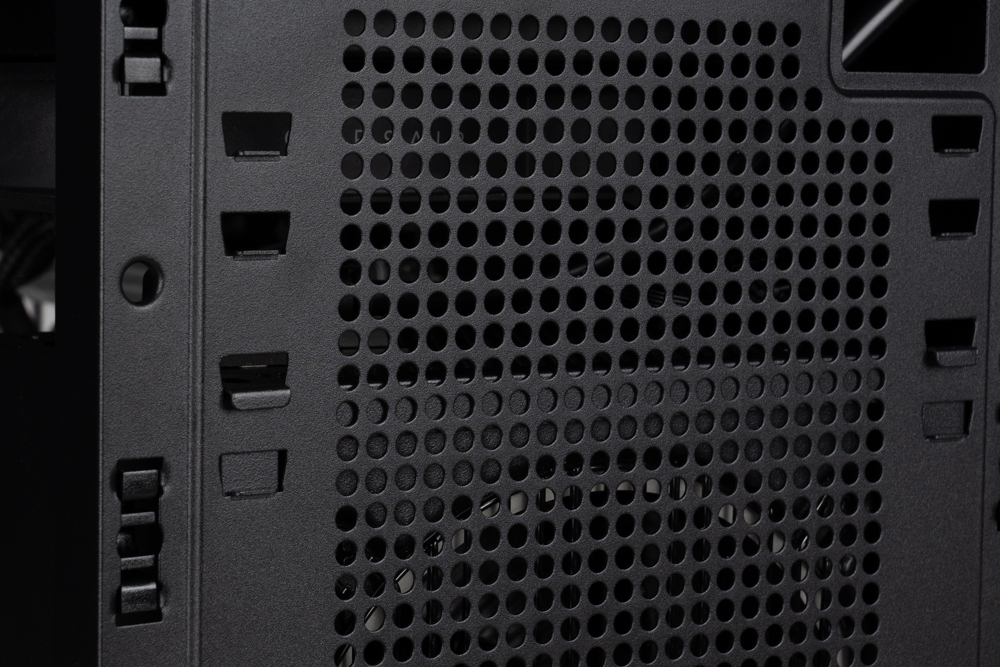
The D31 features Jonsbo’s characteristic minimalist design. Instead of the usual top, a screen is incorporated, while the MESH version includes two sturdy MESH panels that won’t sag when pressed. The top also utilizes a dense mesh panel, with a dust filter only provided at the bottom, likely due to the cooling airflow design, which has a bottom air intake and an upper air exhaust. The glass side panel is secured by an upper latch and lower tenon design, making it easy to open by pulling from the top and then lifting.

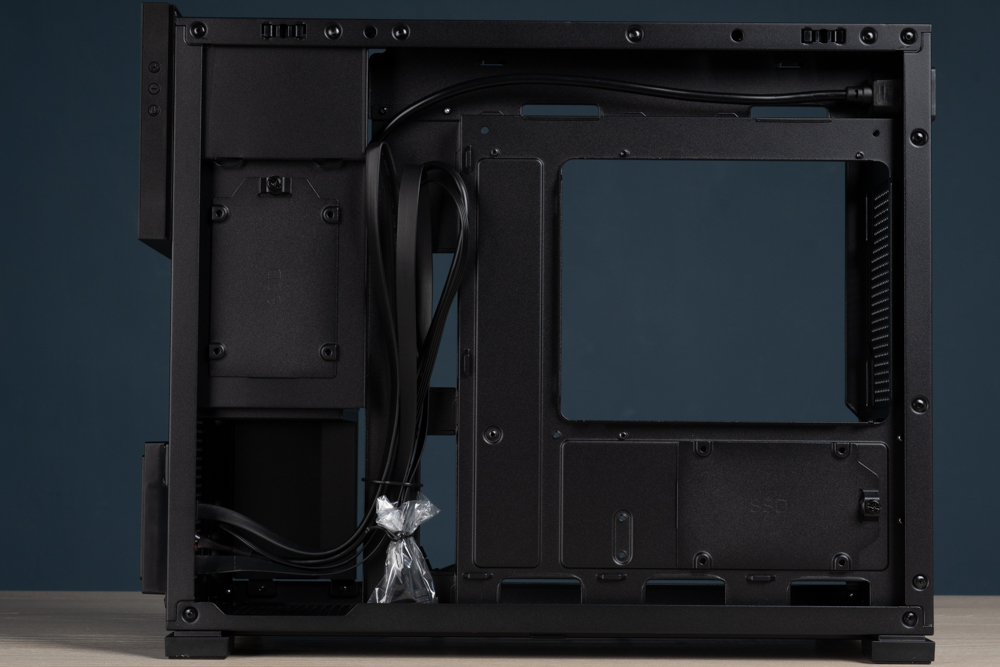
Internal installation space introduction and installation test
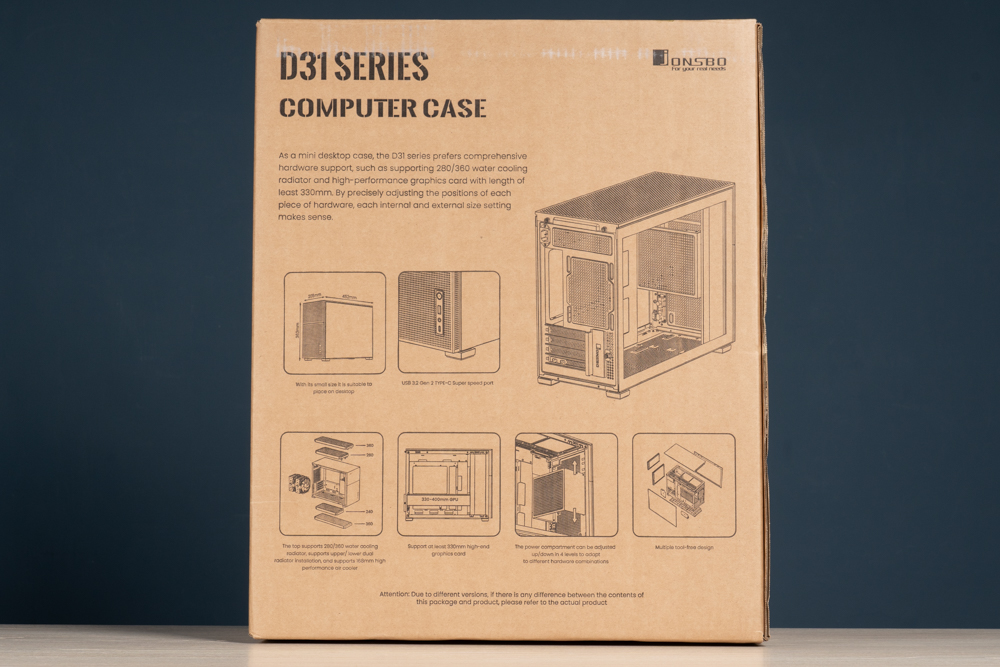
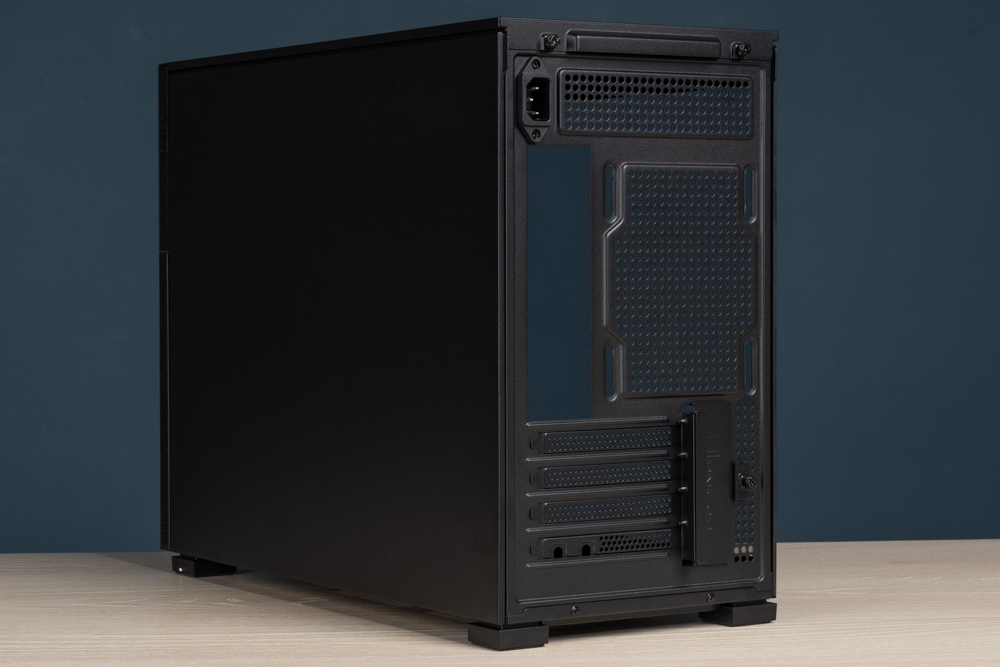
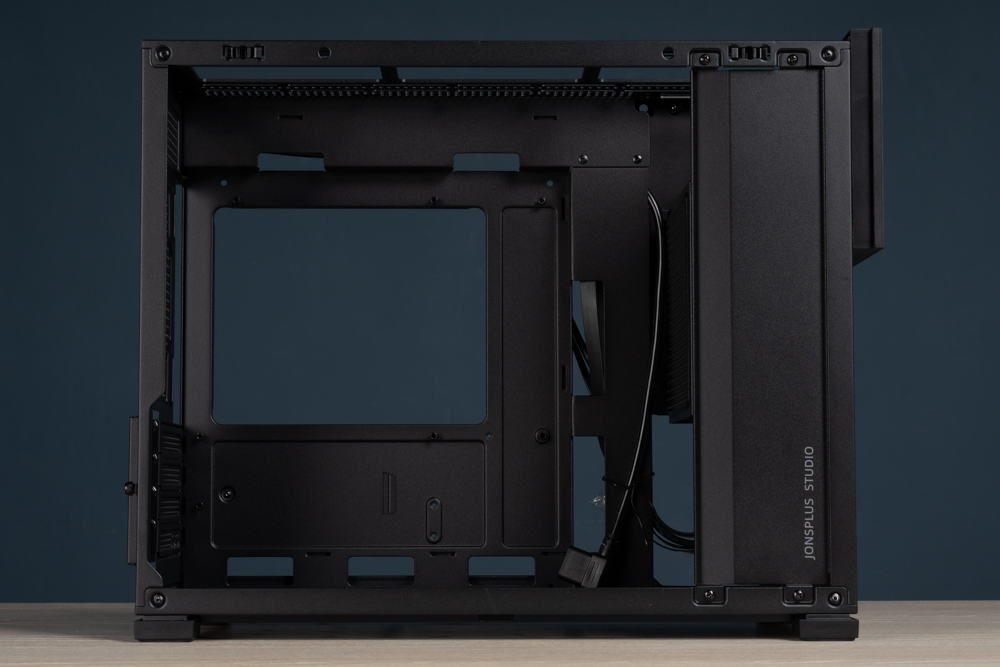
The D31 is a compact M-ATX case featuring a front power supply. Its most significant difference from the previously released D30 is the ability to install a 360mm water cooling system on the top. For those wanting to use an ATX motherboard, the larger D41 is also an option.
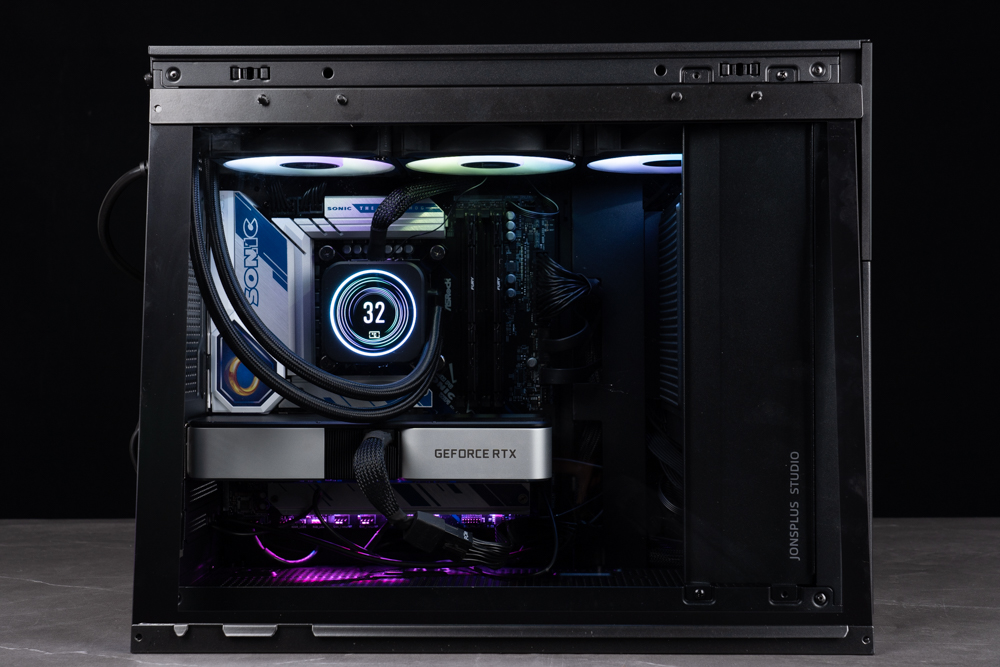
With dimensions of 205×347.5x440mm, the D31 isn’t exactly small, but it can accommodate a 360mm water cooling system, ATX power supply, and a 330mm graphics card simultaneously, catering to the needs of most mainstream gamers. It also supports two 2.5-inch HDDs and one 3.5-inch HDD (though installing a 3.5-inch HDD will sacrifice one bottom fan). The available space for a top 360mm water cooling system is ample, and mainstream models can fit. There is enough room for a 330mm graphics card with the power supply; however, for graphics cards larger than 330mm, you’ll need to use an SFX/SFX-L power supply or forgo the 360mm top water cooling system.
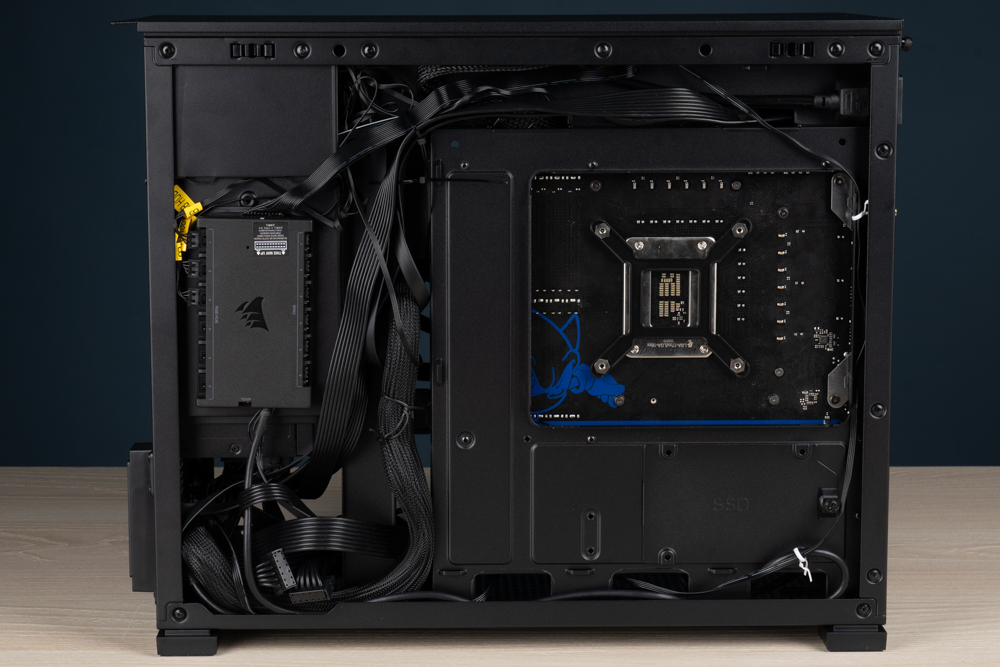
Up to three fans can be installed on the top and bottom, with one fan position each at the front and back. This means the case can hold a maximum of eight fans. However, installing water-cooled fans isn’t practical, as front fans would be obstructed by the power supply.
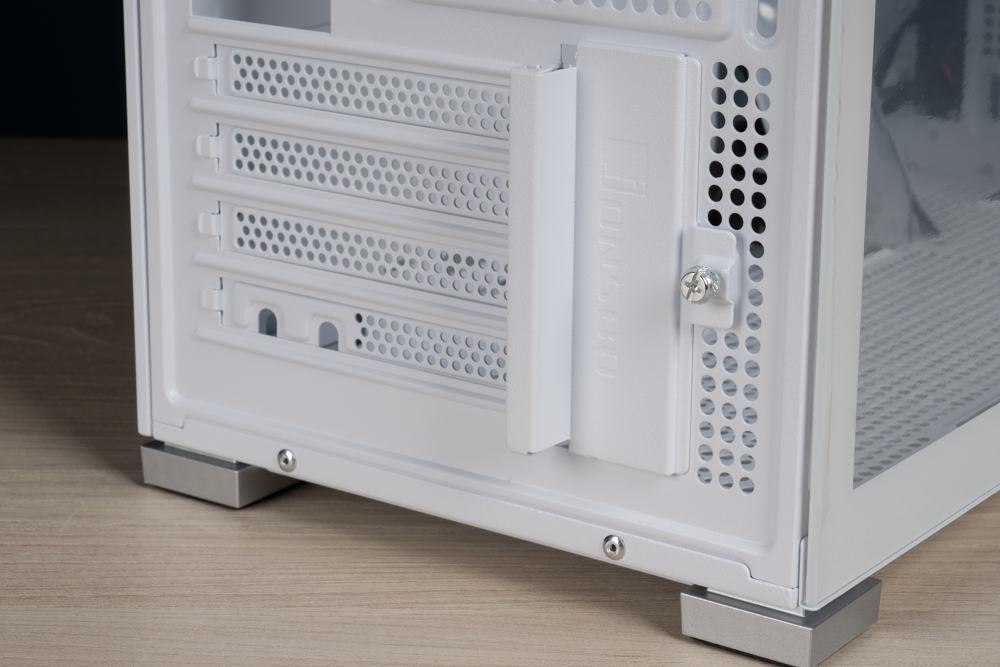
For installation, it’s recommended to install the top water cooling system after mounting the motherboard, followed by the power supply. Following this sequence will make installation less challenging. The power supply position has four adjustable height levels. When using a 360mm top water cooling system, the top two levels will conflict, so it’s suggested to install it at the third level. In this configuration, the graphics card length should be no more than 33cm.

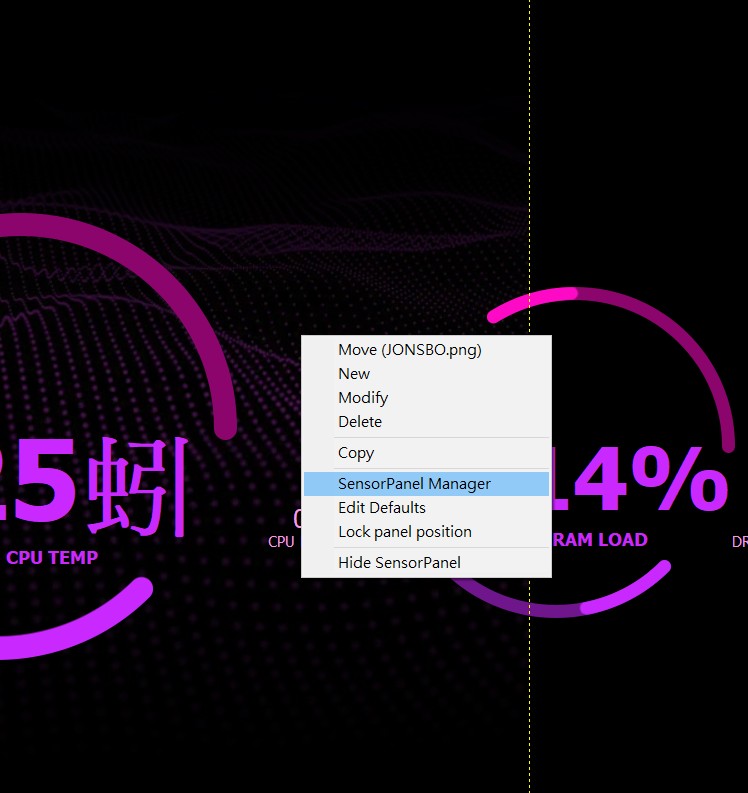
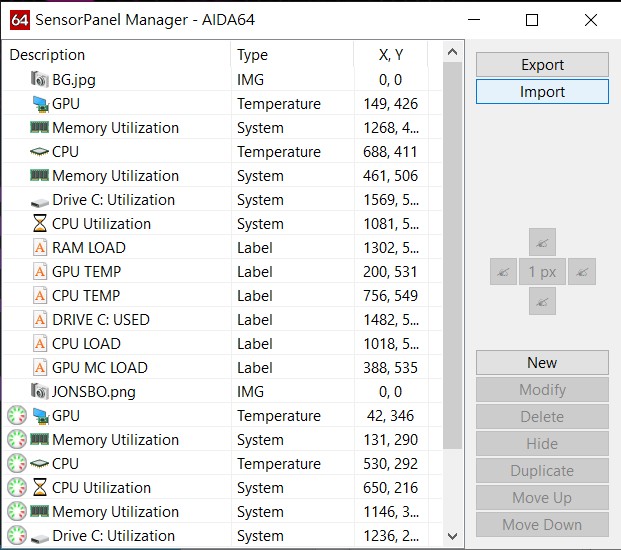
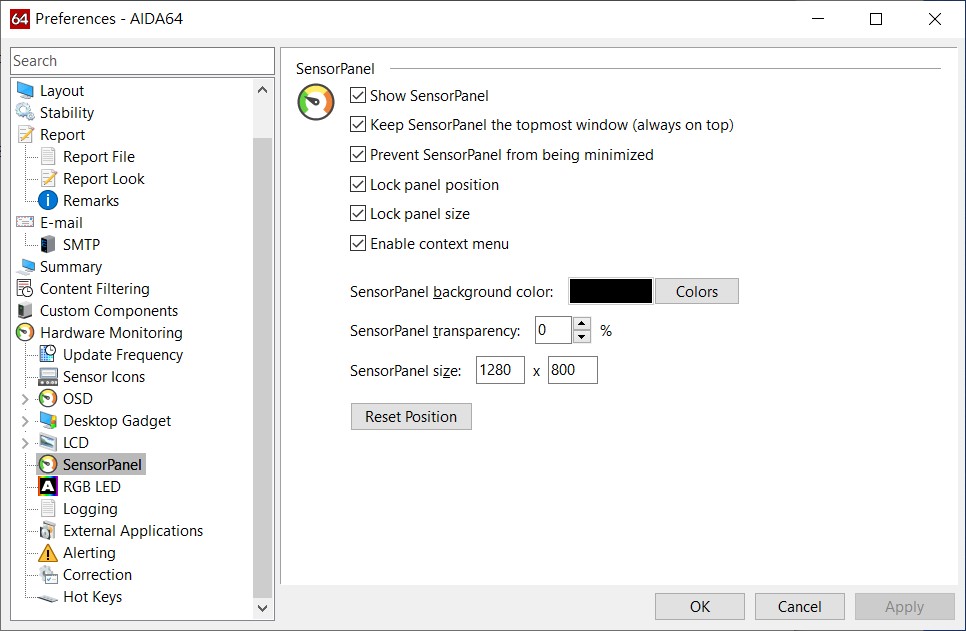
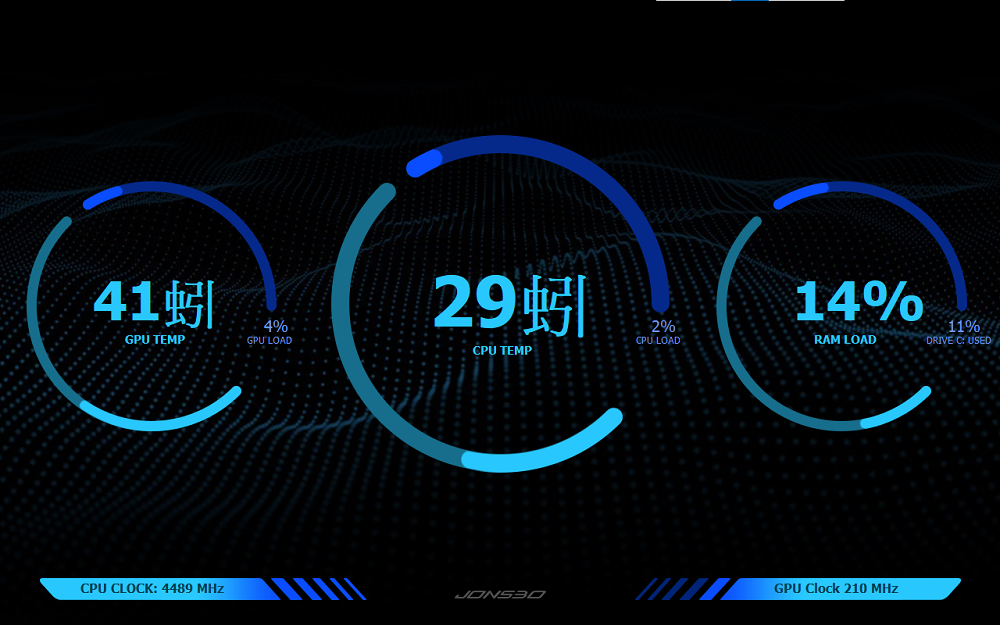
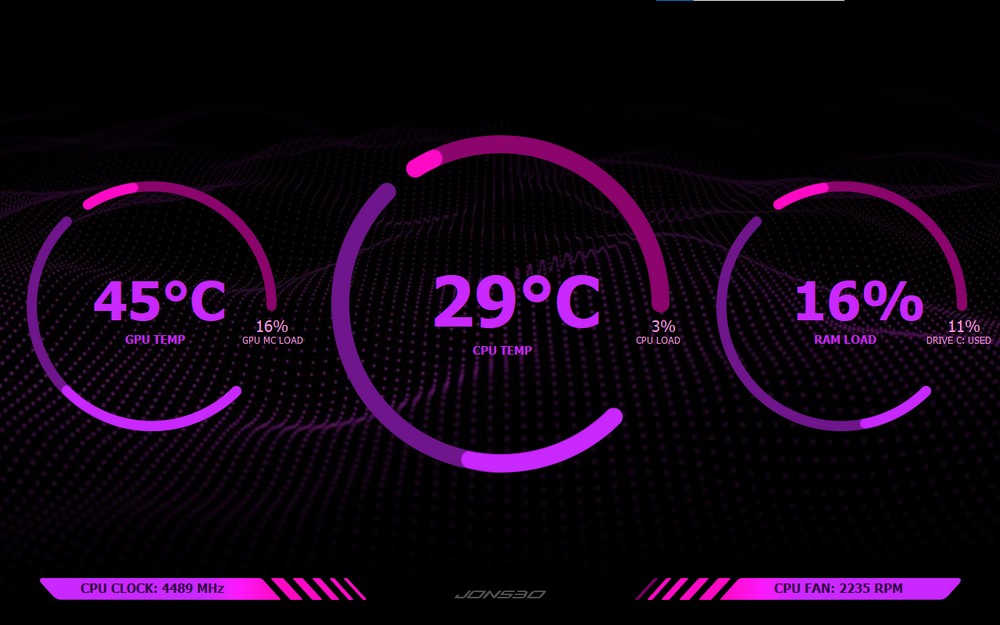
Screen monitoring software introduction and experience
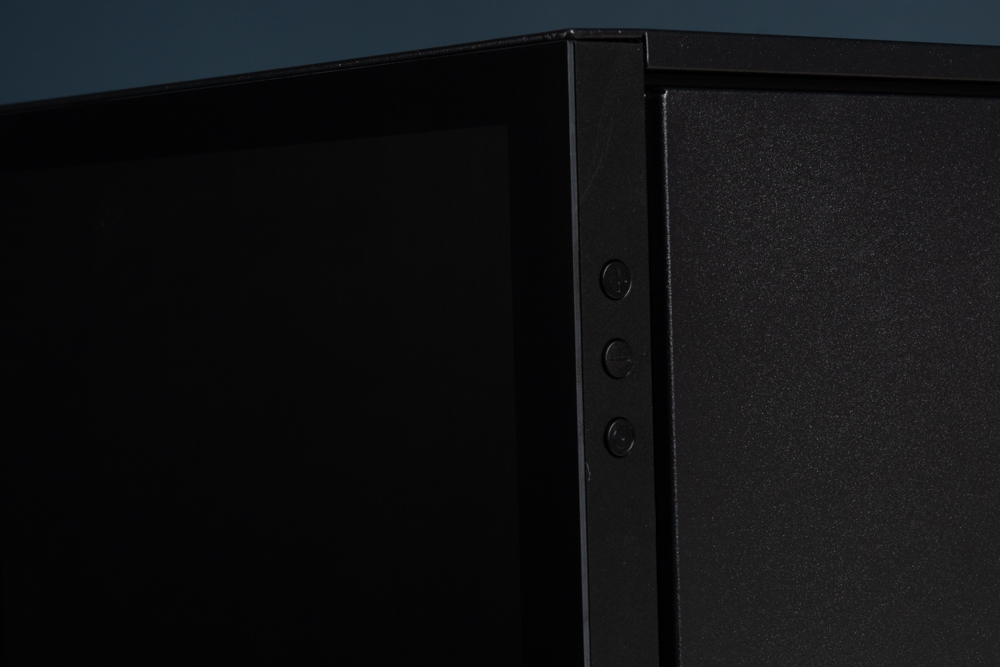
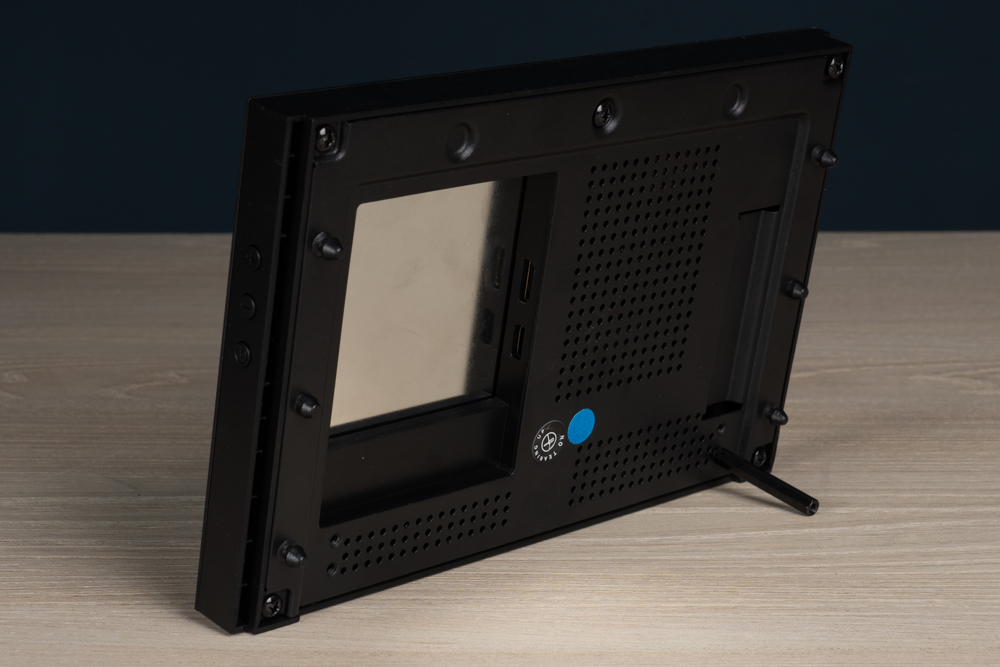
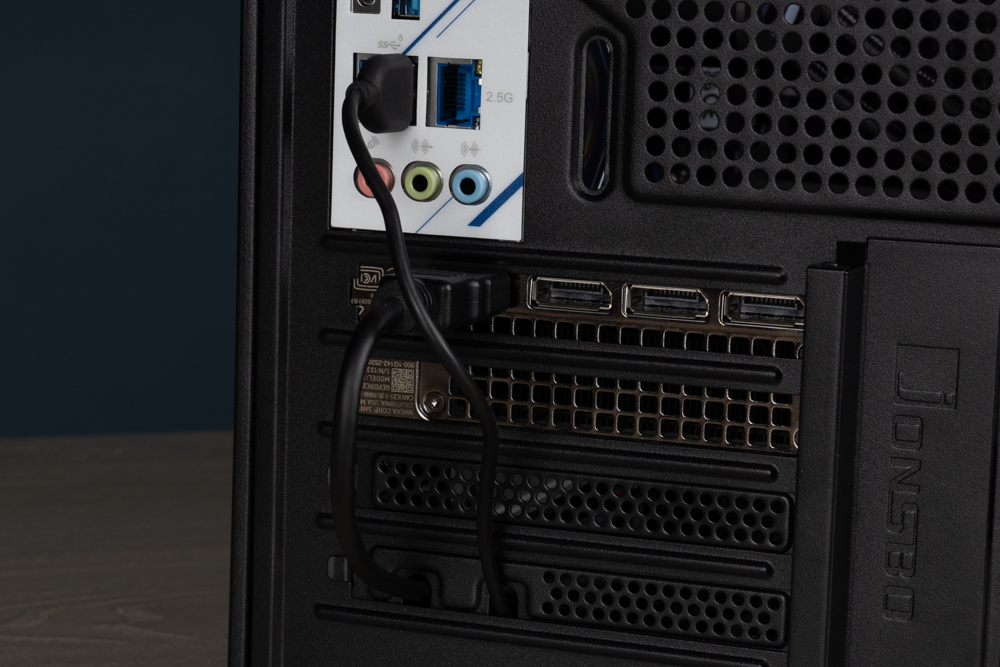
The standout feature of the D31 display version is, of course, the screen itself. Boasting a resolution of 1280×800, it outputs via MiniHDMI and is powered by a TYPE-C connection (with the included cable). The screen can be connected to the computer through two small openings at the bottom of the bezel. The MESH version of the front panel is also provided for replacement, allowing the screen to be removed and used as an external display if desired.
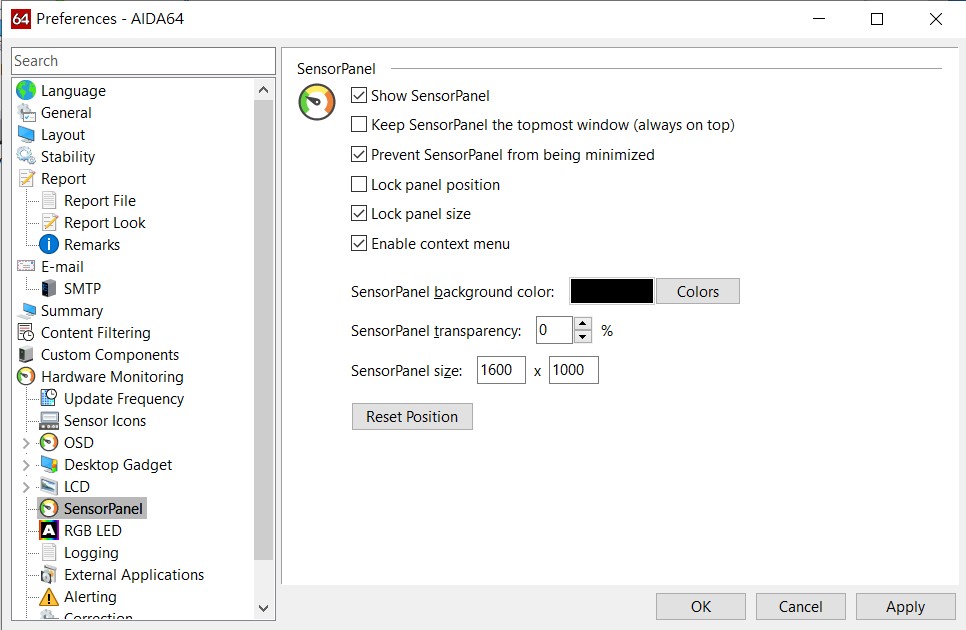
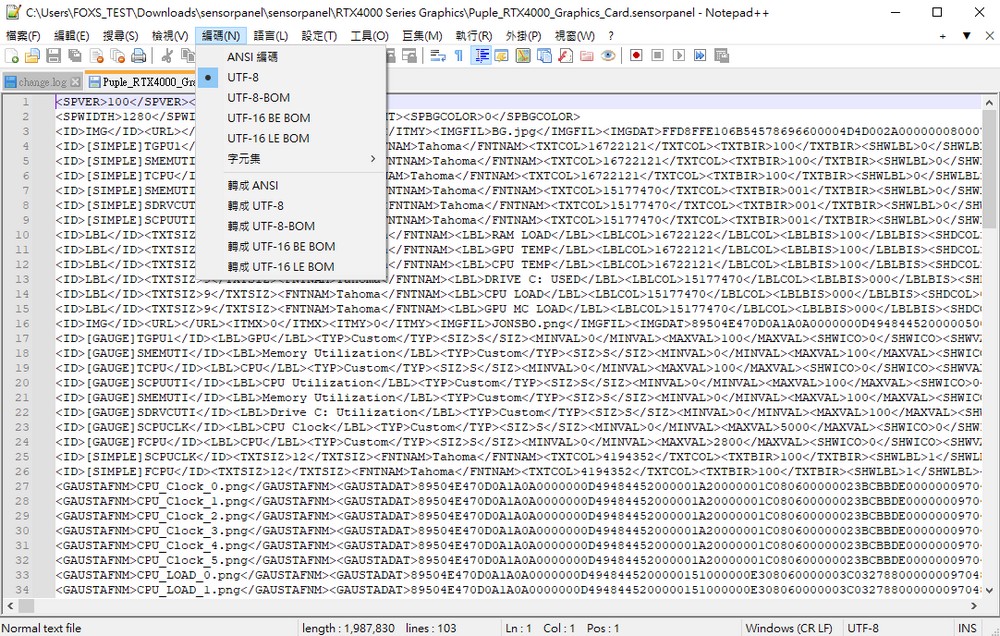
In order to utilize the screen for monitoring purposes, you’ll need to download the files supplied by AIDA64 and Jonsbo.


Thermal Performance Test
CPU: Intel Core i7-12700F
Motherboard: ASRock B760M PG SONIC WIFI
Memory: Kingston FURY Beast DDR5 6000 32GB
Graphics Card: RTX 3060 Ti FE
Water cooling: CORSAIR H150i ELITE LCD
Test method: Use AIDA64 FPU and Furmark to test the maximum temperature of CPU and GPU baking machine for 10 minutes respectively.
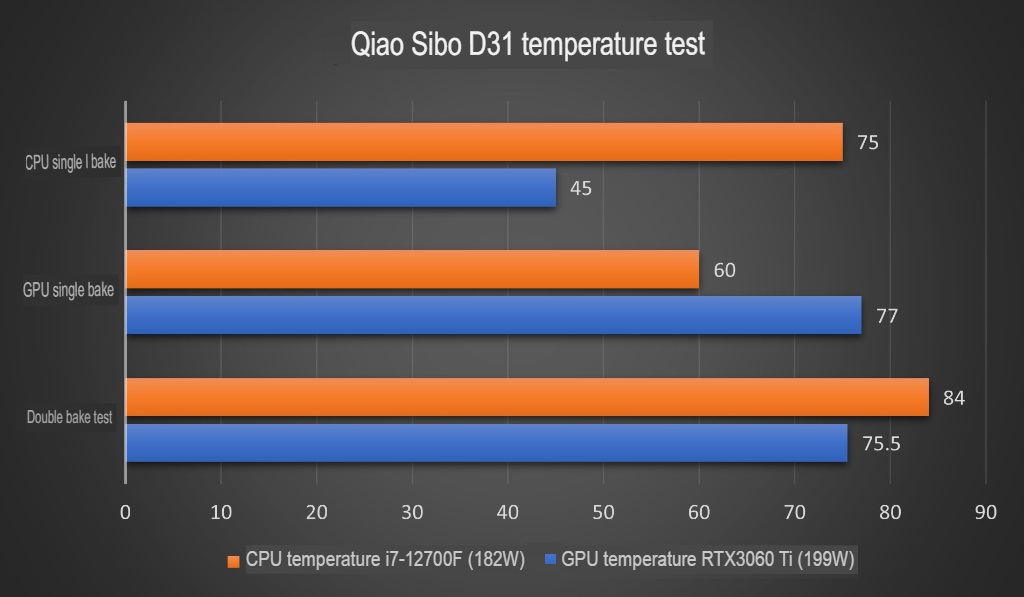
The test results indicate that the D31’s MESH screen performs effectively, maintaining proper temperature control, with minimal influence between CPU and GPU temperatures. Although the configuration used in this test is not particularly high-end, the entire system relies on only three water-cooled fans for heat dissipation. If an additional three fans were installed at the bottom, it could easily handle even a flagship configuration without any issues.
Summary
The Jonsbo D31 MESH SC display version has become a popular model due to its excellent craftsmanship, appealing design, and highly competitive price. It also functions as an external monitor. The version without a screen is attractively priced as well. The case installation is relatively simple, with a sturdy frame and well-placed wiring holes. Overall, there are no glaring weaknesses.
There are, however, some aspects of the D31 that could be improved. For example, the method for connecting the screen to the host could be enhanced, such as connecting the power supply to the motherboard’s USB 2.0 and modifying the output cable. Additionally, the power supply bracket currently has only four adjustable positions for space utilization. It would be ideal if it could be adjusted to support both a 360mm water cooling system and a 40cm graphics card simultaneously, even with a 5mm increase. This is particularly important given that many graphics cards exceed 33cm in length.
If this article is helpful for you, please share this article with your friends on social media. Thank you!
This article is based on the personality of the reviews. You are responsible for fact-checking if the contents are not facts or accurate.
Title: The emergence of screen cover trends is here—Unveiling the Josebo D31 display edition