
InWin recently unveiled the Shell Monster lineup, which includes the adorable compact case “Case Monster-E: Animal Series” based on “EXPLORER.” Additionally, the Shell Monster collection features a “Case Box” inspired by “AIRFORCE” Monster – A: Laboratory Series.” This series introduces four models simultaneously – Robot Robert, Smart Aircraft Xiao Fei, Artificial Human Frank, and Robotic Dog Ai Dou. Boasting four distinct tech-inspired designs and mid-tower space, this series offers gamers an expanded array of choices.
Specifications:
Case type: Mid-tower case
Material: Tempered glass, SECC galvanized steel plate, ABS
Motherboard: E-ATX (305 x 330 mm) / ATX / Micro-ATX / Mini-ITX
Interface card Expansion slots: 8
displays Card length: 390 mm
CPU cooler height: 170 mm
I/O ports: Type-C x1 (supports USB 3.2 Gen2x2), Type-A x2 (USB 3.2 Gen1), HD Audio
storage installation: 2.5\” x4, 3.5\ ” x2
fan mounting positions (front/upper/rear): 120 mm (3/3/1)
Pre-installed fans: InWin ASL120 x4
radiator: 240 mm above
Power supply: ATX 180mm
Dimensions (LxWxH): 537 x 272 x 240 mm
Net weight: 6.9 kg
Chassis monster-A: Xiaofei unpacks
The Chassis Monster-A: Laboratory Series retains the design of the AirForce series, featuring a mid-tower size chassis that accommodates the largest E-ATX motherboard and graphics card with 8 expansion slots. With no sub-compartment design, the internal space appears quite spacious.
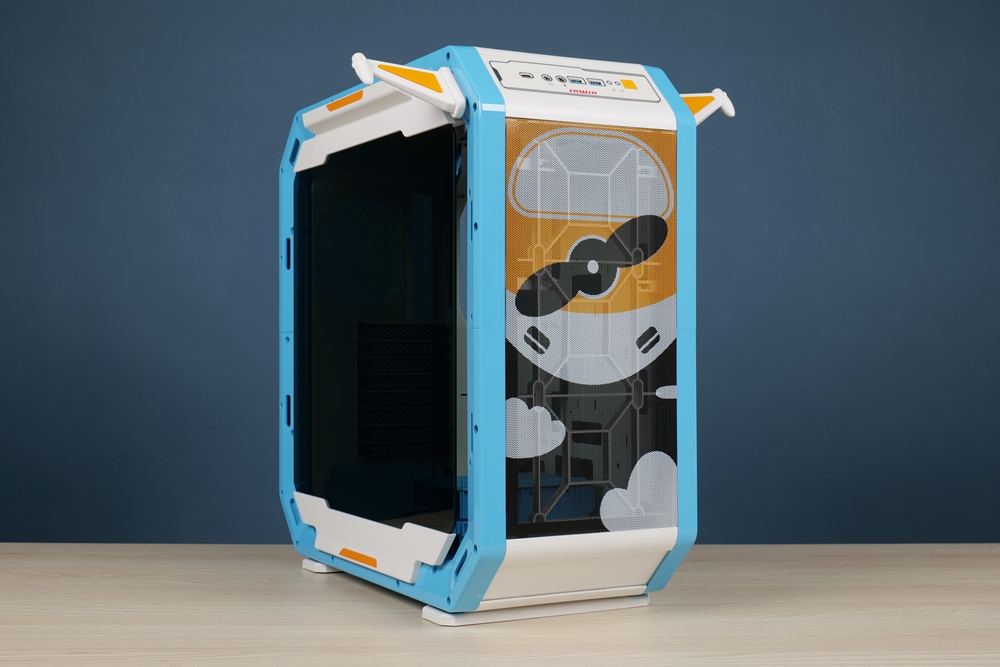
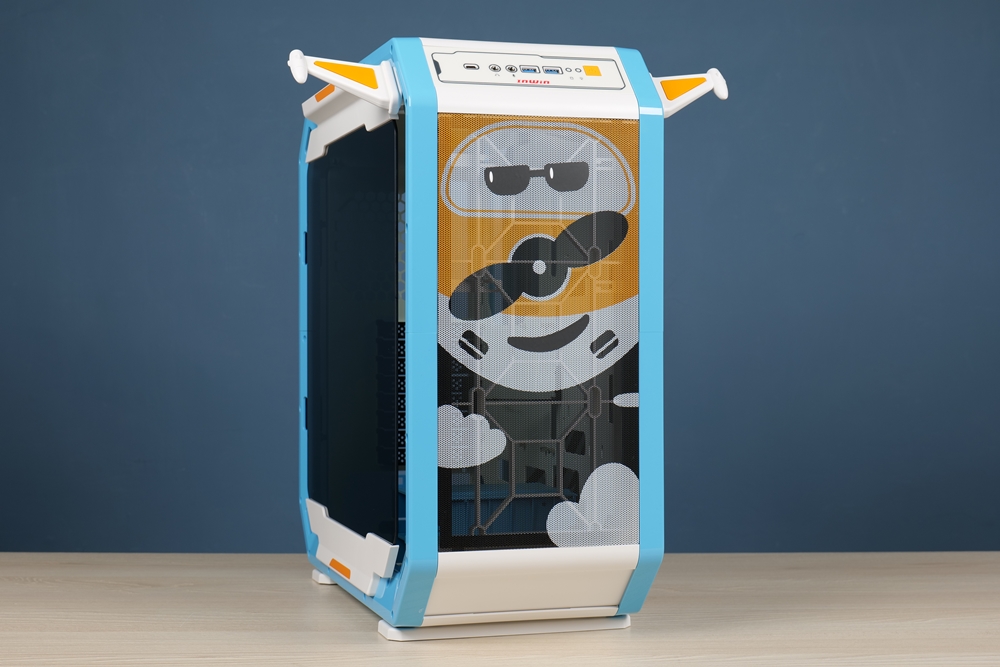
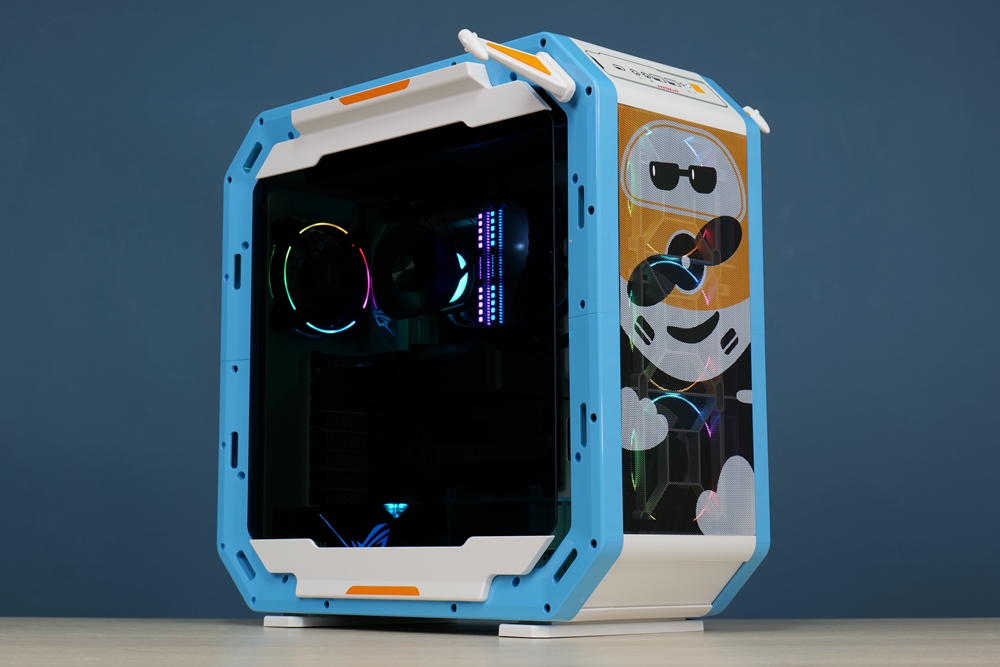
This time, the Case Monster-A: Laboratory Series comes in the form of a smart aircraft named Xiaofei, with more embellishments and a cuter appearance compared to the previous AIRFORCE case. It’s also more suitable for tabletop placement.
Regarding heat dissipation, the case offers seven 120-inch fan installation positions, supports a maximum 360-size water-cooling installation, and comes equipped with four InWin ASL120 ARGB fans. It also features four 2.5-inch and two 3.5-inch storage installation positions. Overall, this mid-tower case is a solid option.
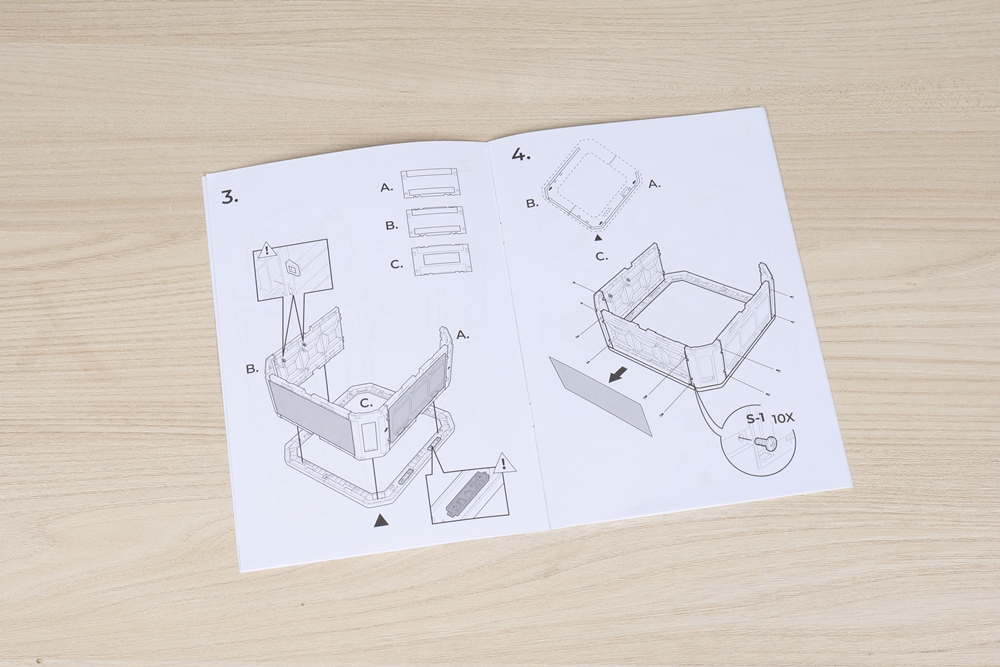
The assembly of super many parts depends on patience
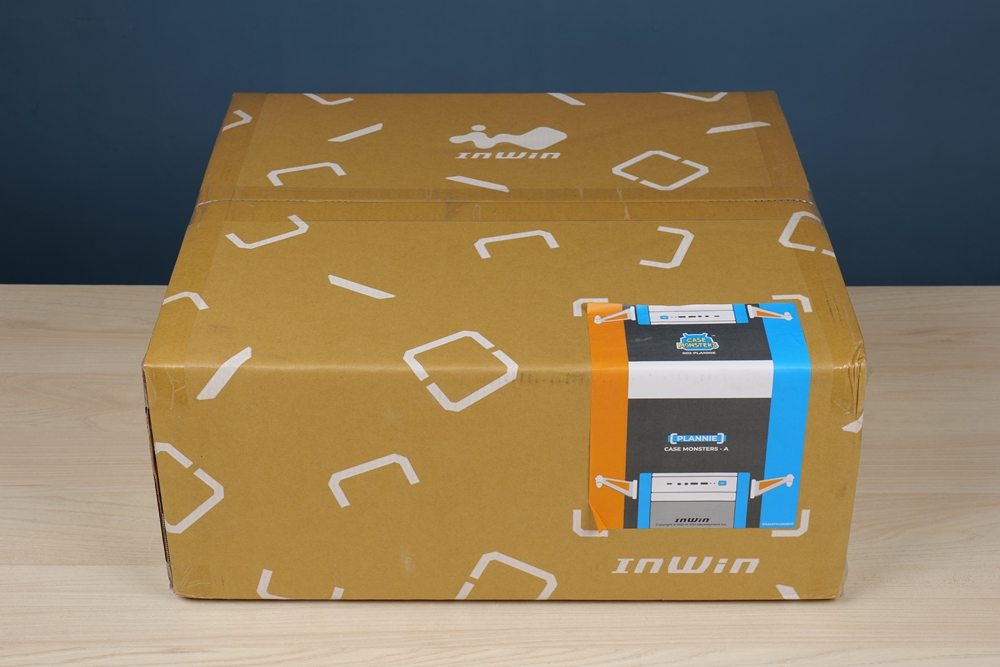
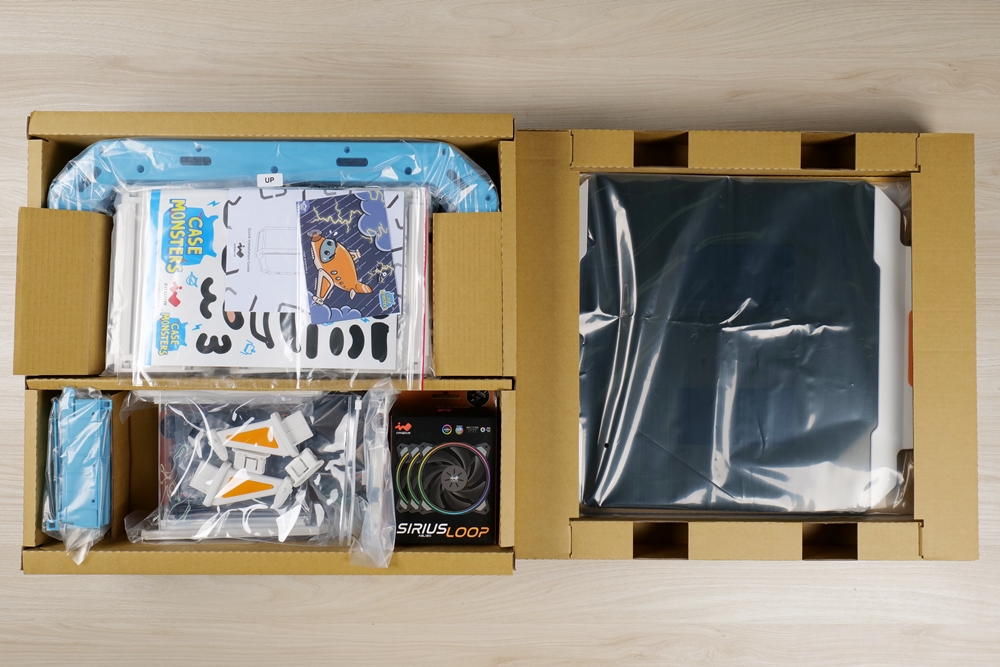
Once the box is opened, all the components that constitute the main body of the monster-A: laboratory series case can be seen. Given the case’s substantial size, there are numerous components visible upon unboxing, which naturally increases the installation time.
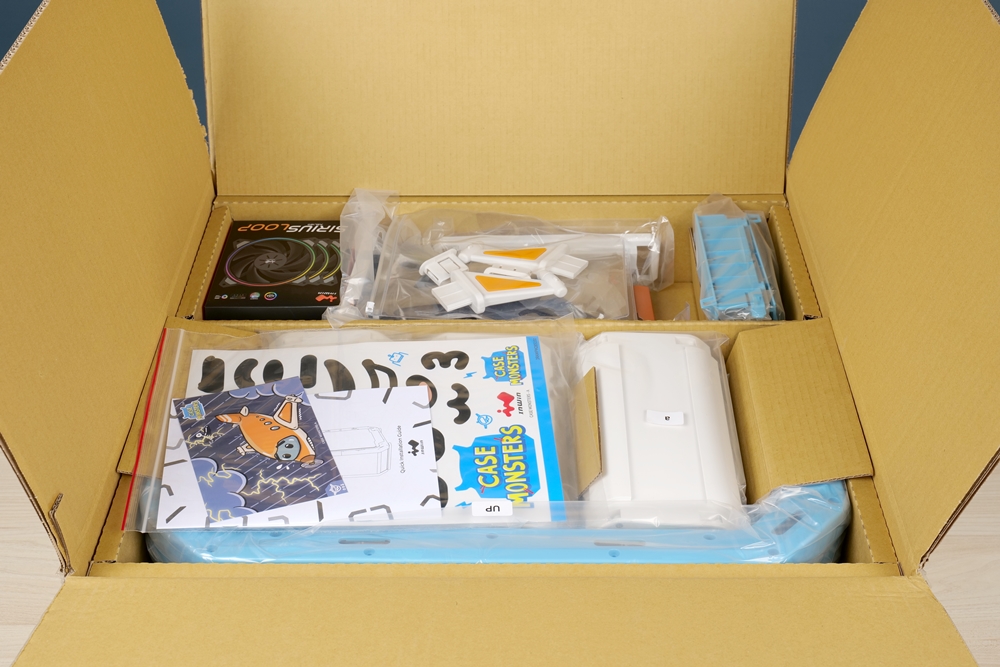
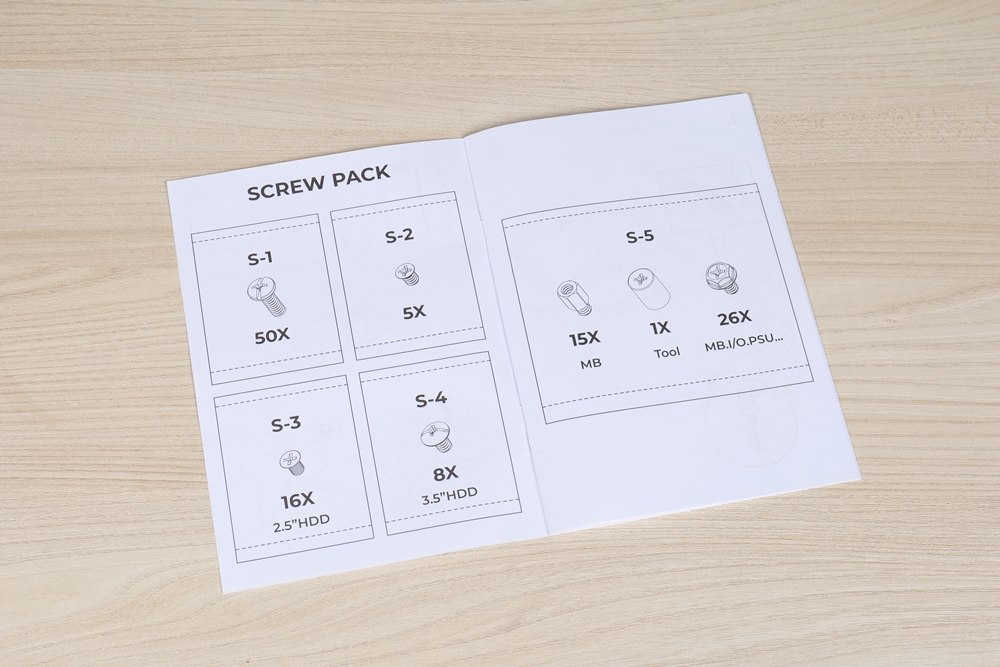
To the comprehensive assembly instructions provided by the manufacturer, there are also assembly videos available for reference by the users. While there should be no issues during assembly, it is suggested that an electric screwdriver be used to aid in the installation process. With dozens of 10mm screws located on both sides of the outer frame, locking them in place using a screwdriver alone can be a somewhat laborious task.
When the case is installed
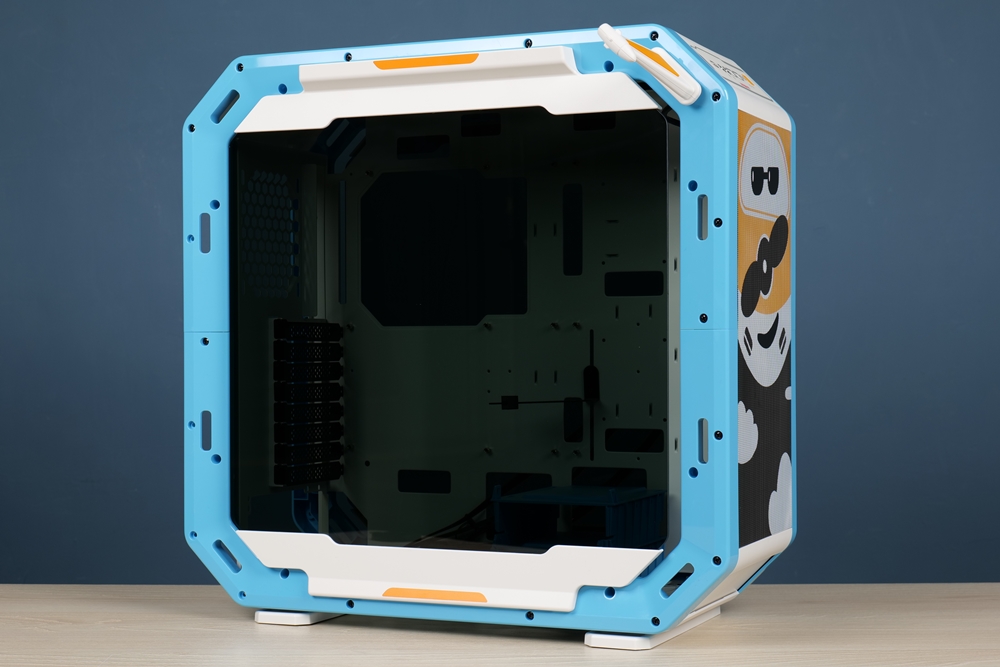
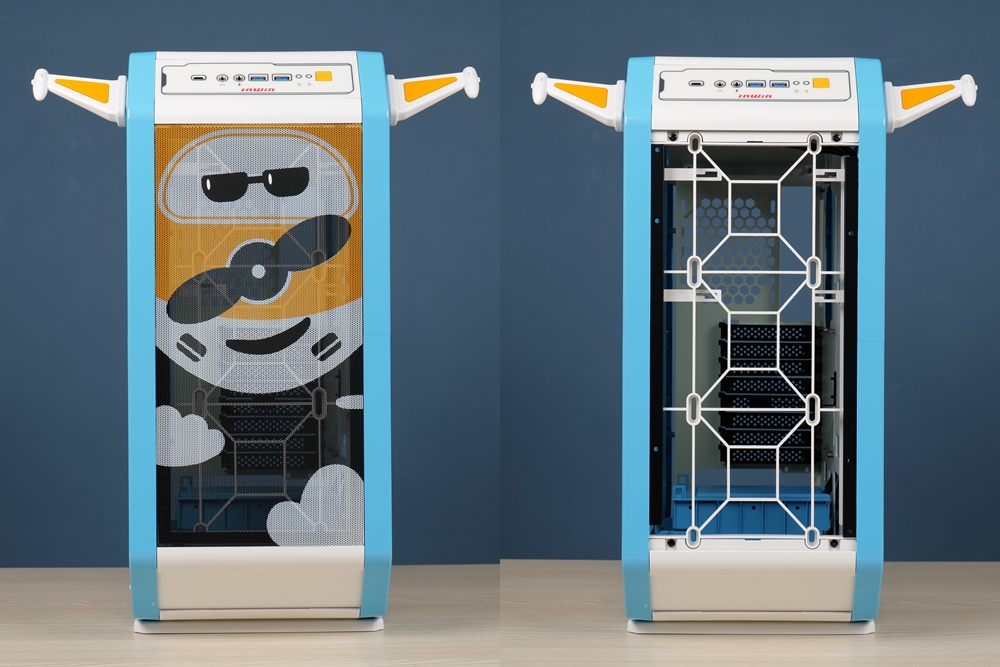
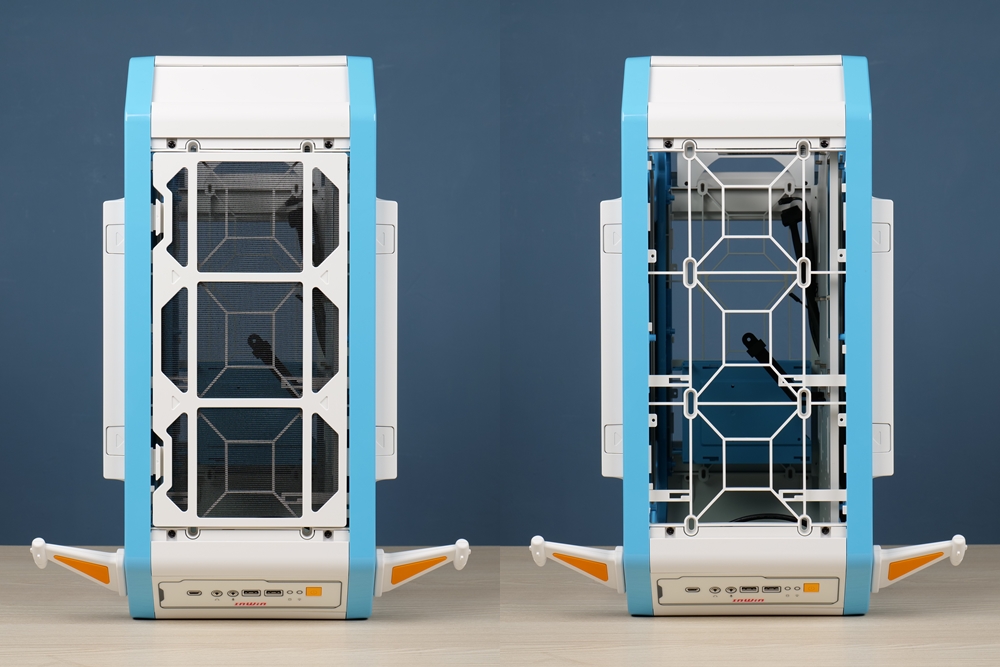
The initial aspect to take note of when observing the monster-A case is its appearance, which features a double-sided glass configuration and a front panel adorned with a painted heat dissipation mesh. Help Xiaofei put the finishing touches on the front panel.
The case features blackened glass side panels on both sides that utilize a tool-free quick-release design, making it incredibly convenient for users to disassemble and reassemble.
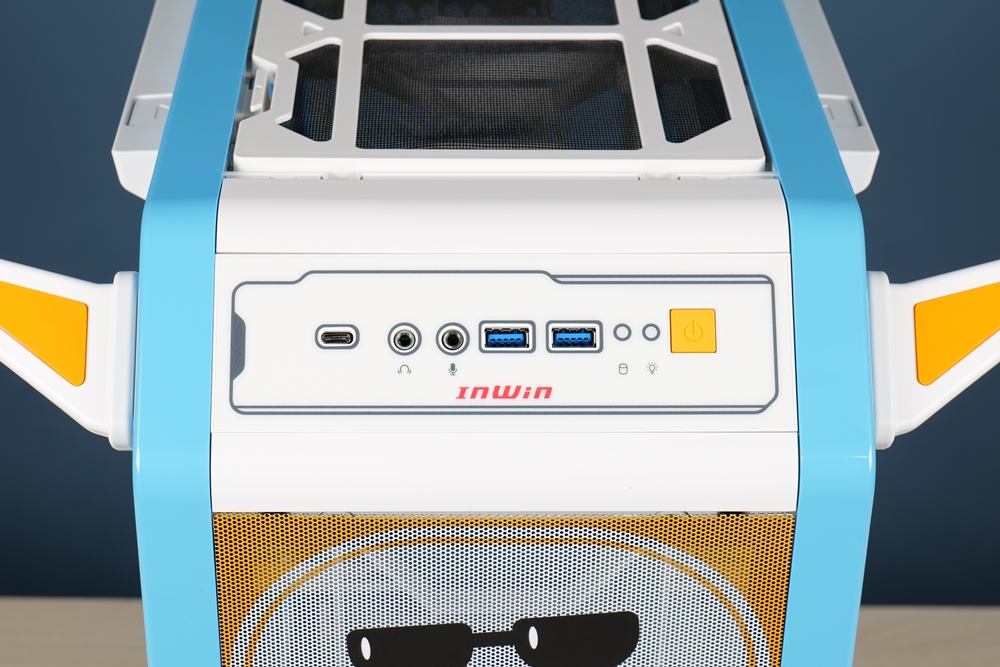
The front I/O section includes a Type-C port that supports USB 3.2 Gen2x2, two USB 3.2 Gen1 Type-A ports, a 3.5mm headphone jack, and a 3.5mm microphone jack. The power supply buttons are located on the side. Additionally, the front panel is equipped with grounding wires, enabling users to connect them to internal metal parts for optimal grounding.

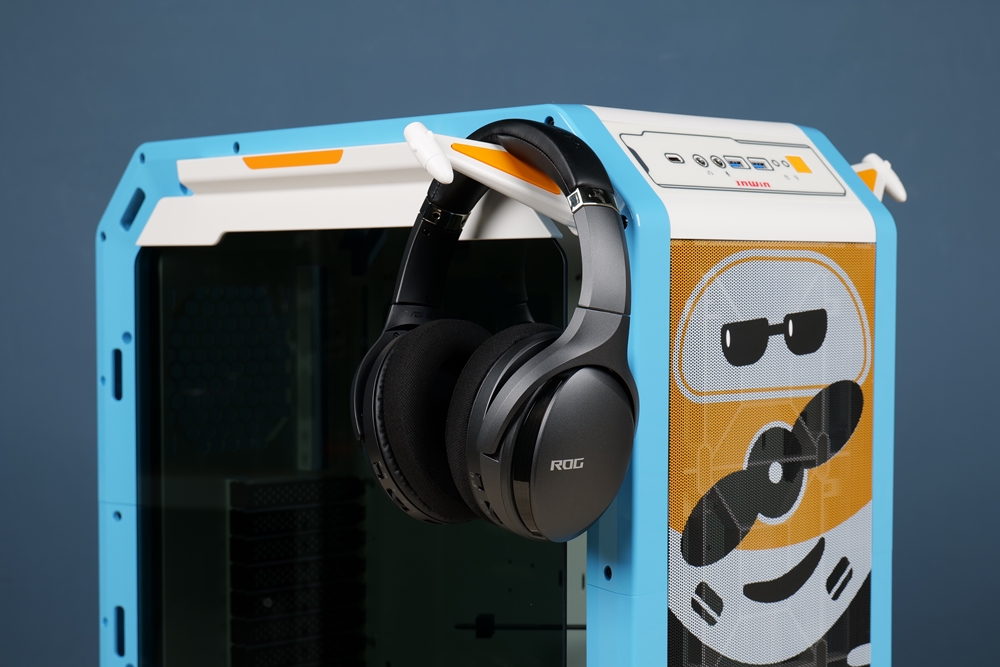
The monster case series is designed with earphone stand kits on both sides of the case. For instance, the monster case, Xiaofei, comes with a wing-shaped headphone stand. This design is intended for users to place the case on their desk, thereby providing a built-in headphone stand and saving desk space that would have otherwise been occupied by a separate stand.
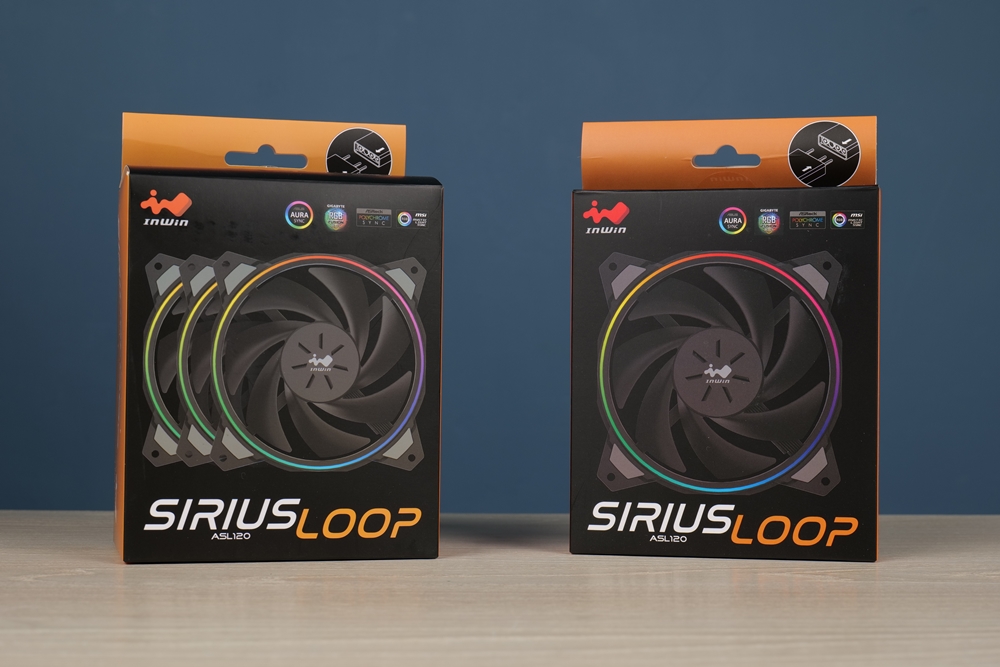
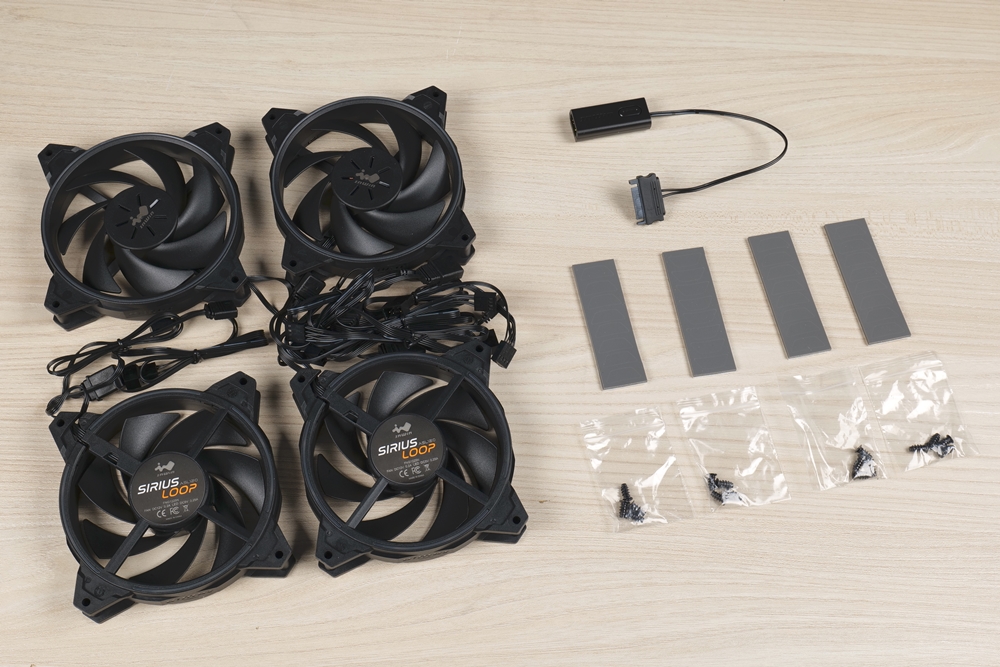
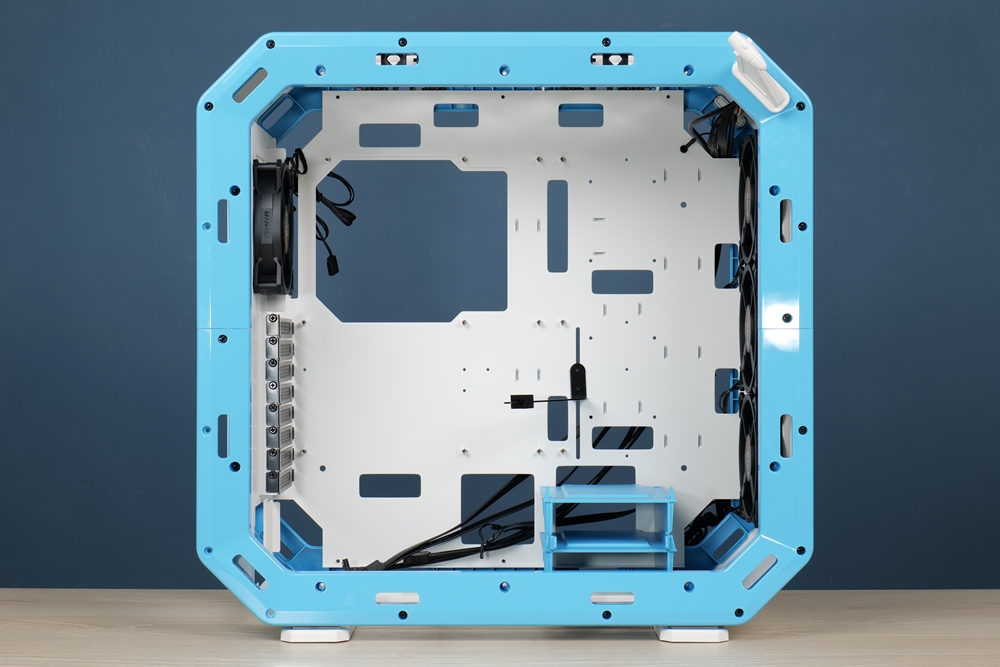
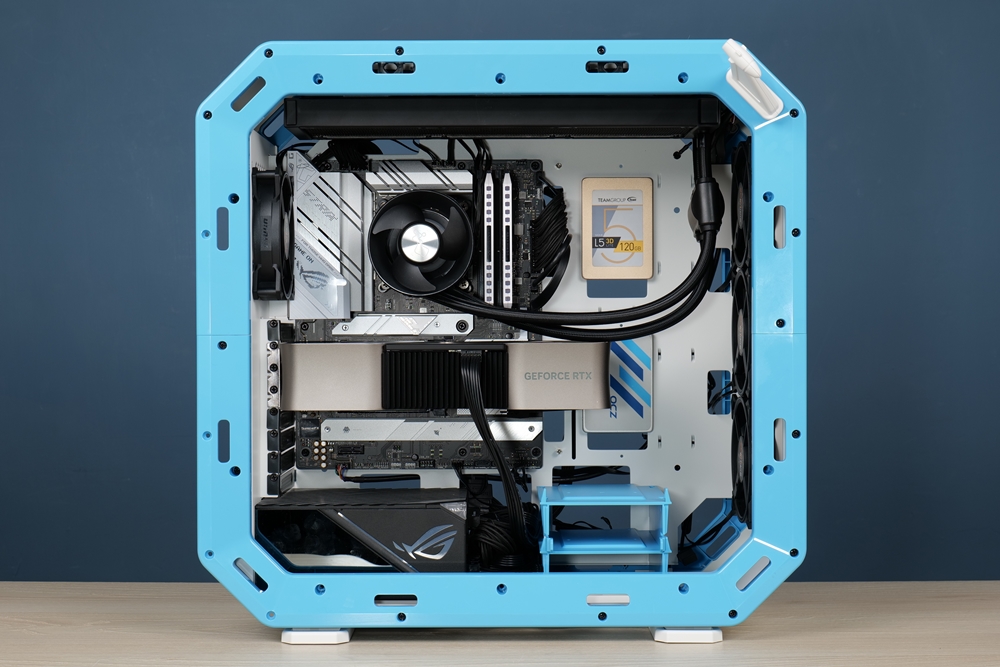
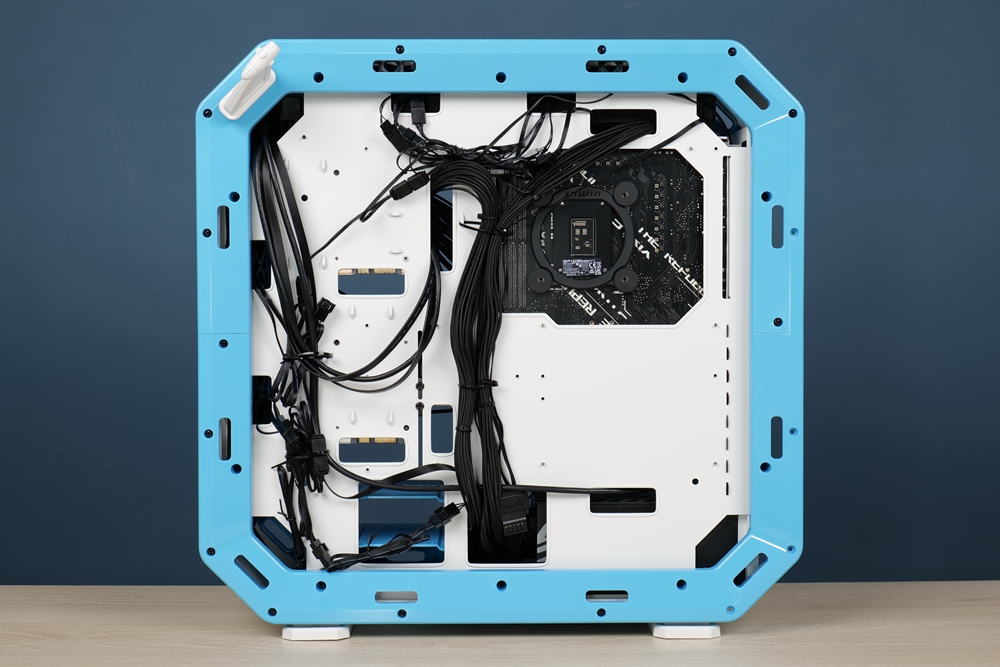
Upon opening the main compartment, the absence of upper and lower compartment design is immediately noticeable. The internal space appears to be quite spacious, but it does require skill in cable management and assembly. The case comes equipped with four Sirius Loop ASL120 ARGB fans – one single pack and one 3-pack, which includes an ARGB controller. This means that users need not worry if their motherboard does not support ARGB lighting effects.
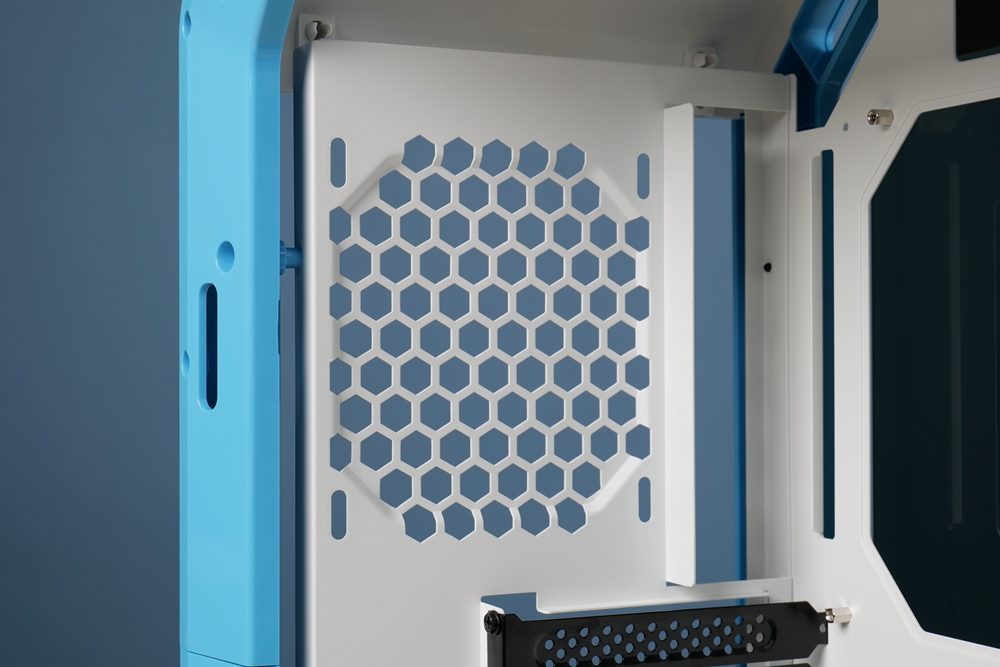
The case supports three 120mm fan installations on both the front and top and one fan installation on the rear. Users have the flexibility to install fans at the front and rear as desired, while a 360mm water-cooling configuration on the top is a perfect fit.
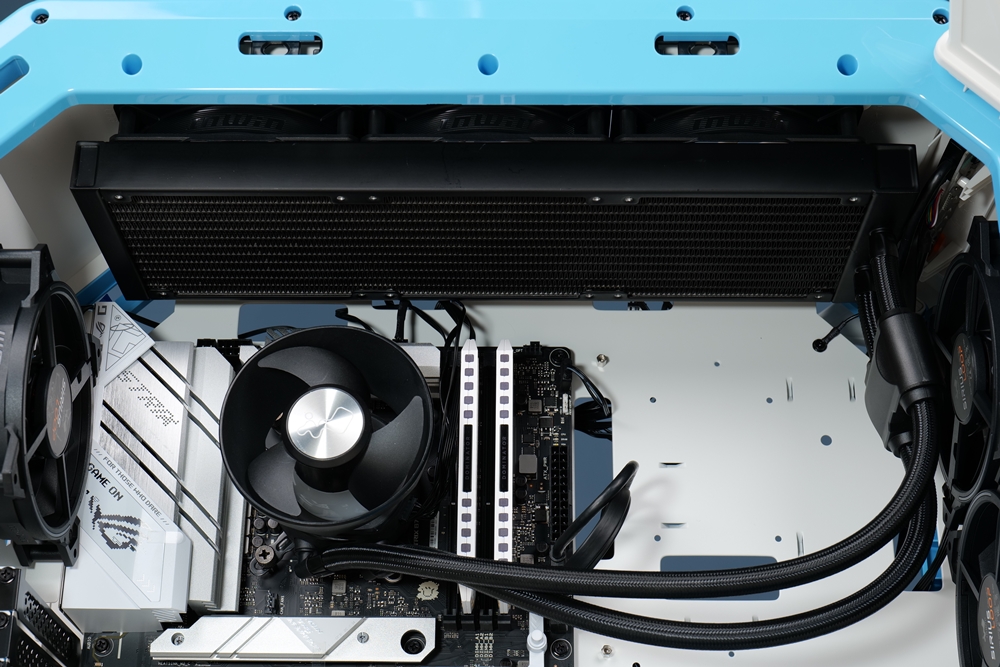
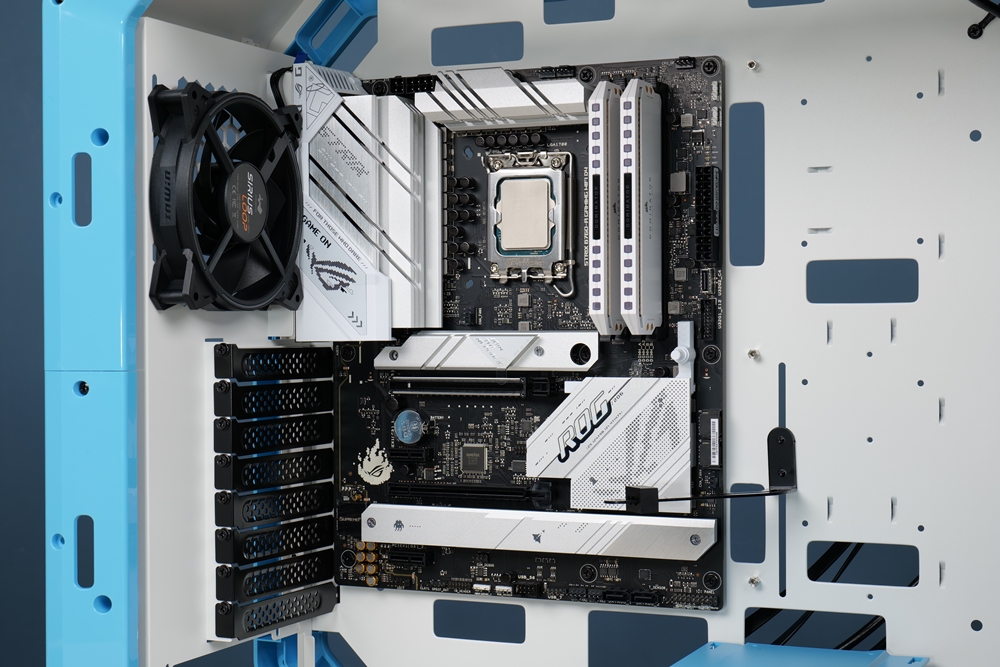
The motherboard area is designed to support the installation of the largest EATX size. In contrast, the graphics card area provides ample space to accommodate even the super-long RTX 40 series cards. The case features 8 expansion slots without structural support in the middle, allowing users to install a general-purpose upright graphics card kit. Furthermore, a graphics card support bracket is included with the chassis, so there is no need to install an additional bracket when installing a large graphics card.
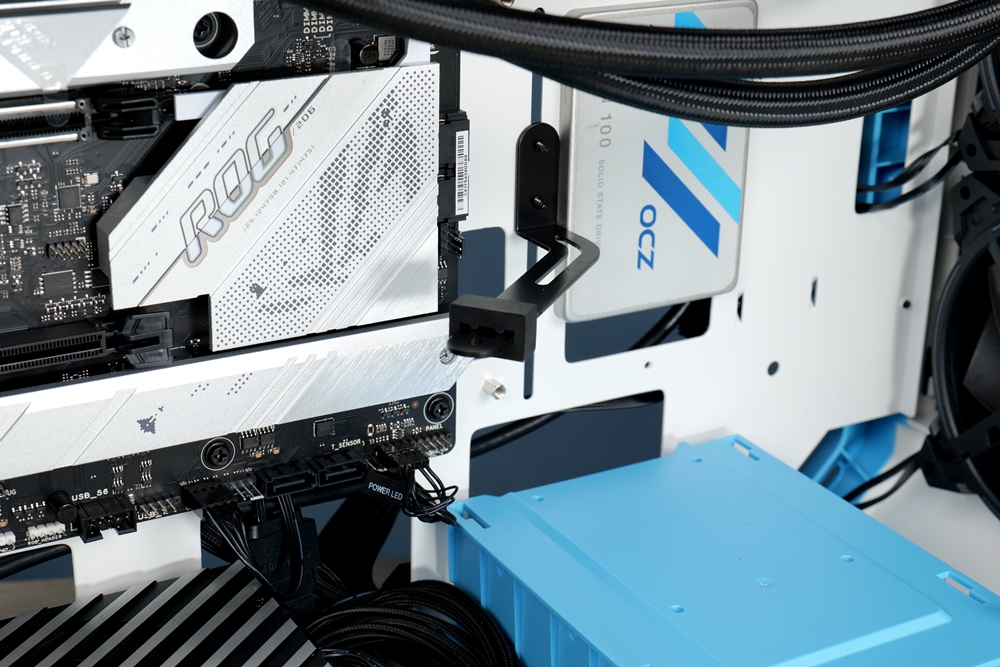

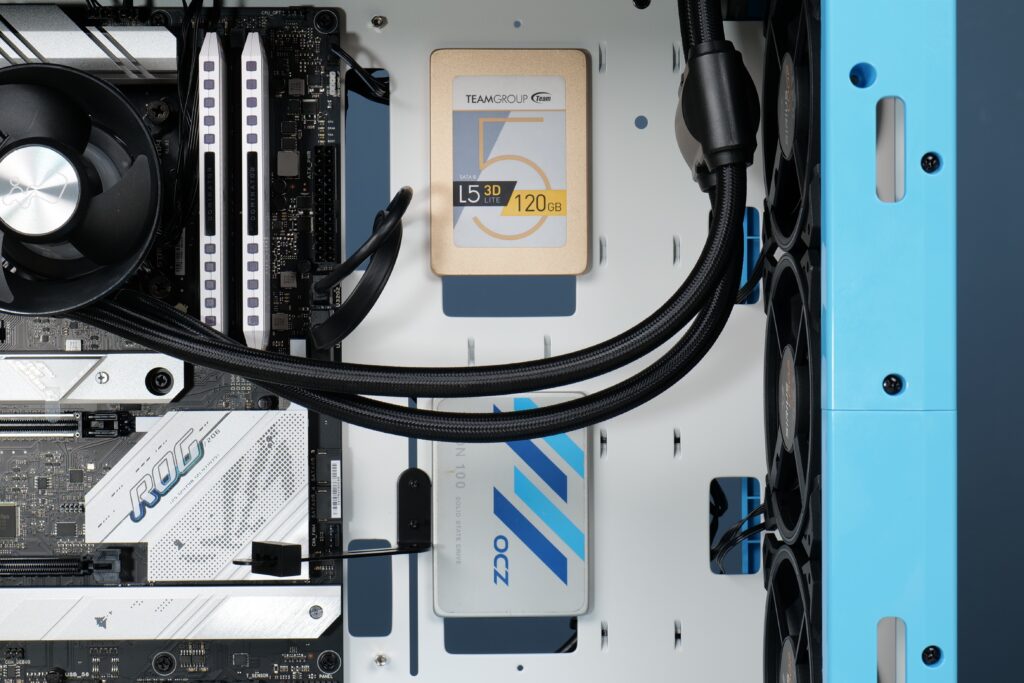
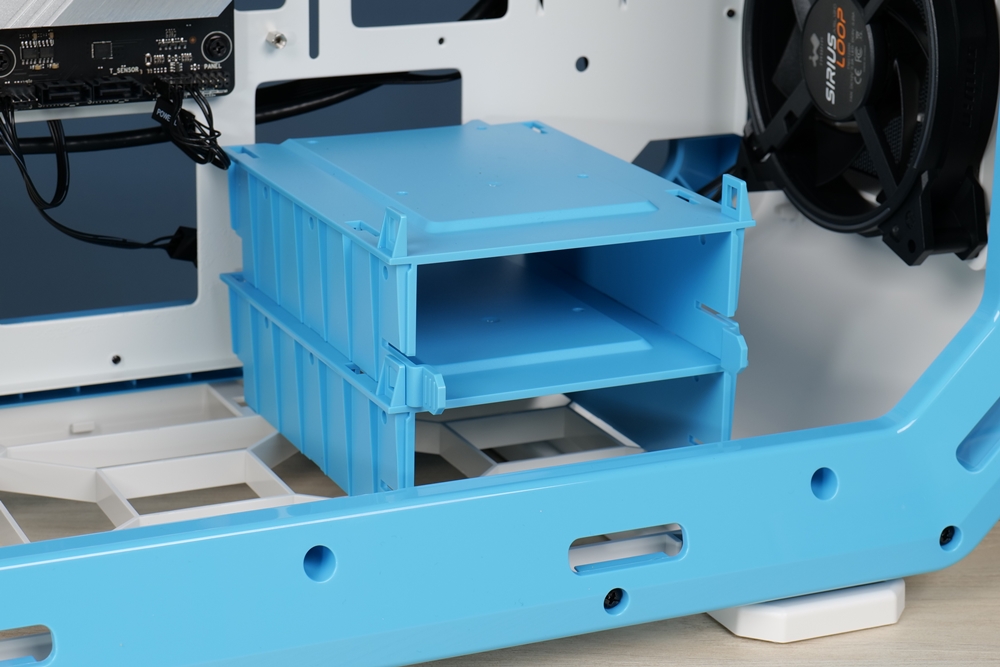
Regarding storage devices, the case features two 2.5-inch mounting positions on the right side of the motherboard and two 3.5-inch compatible 2.5-inch hard drive brackets located at the bottom. The brackets have a stackable design and can be installed without screws, making them very convenient to install.
The power supply area is designed to support ATX size installation, with the official recommendation being to install a power supply of up to 180mm in size. There is some space located behind the power supply unit where excess wires can be stored. However, as there is no compartment cover, it is recommended to use a belt or Velcro to tie the wires down and prevent them from becoming tangled inside the case.
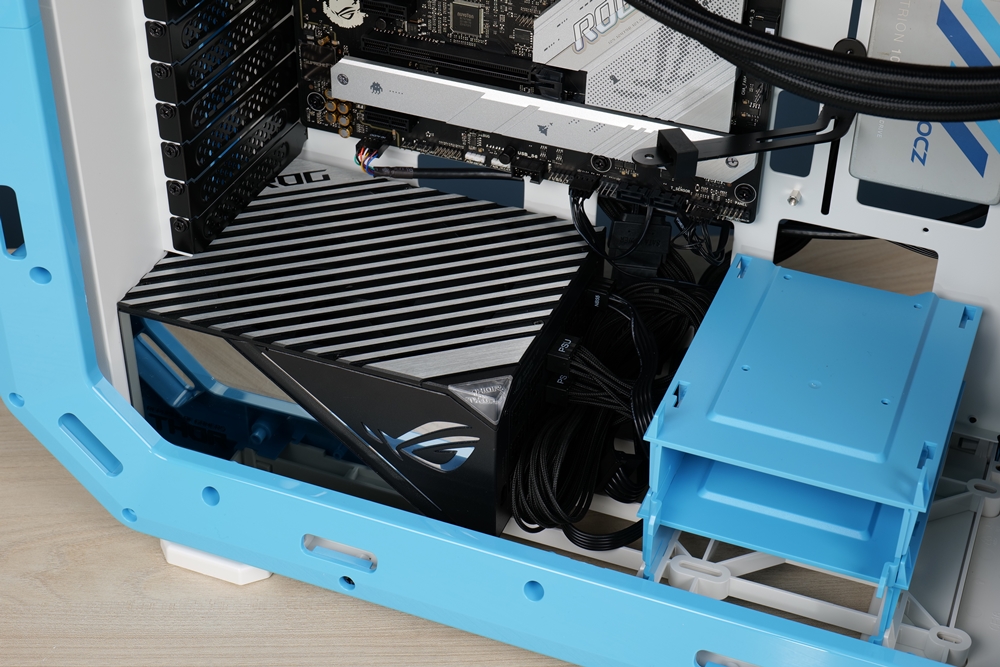
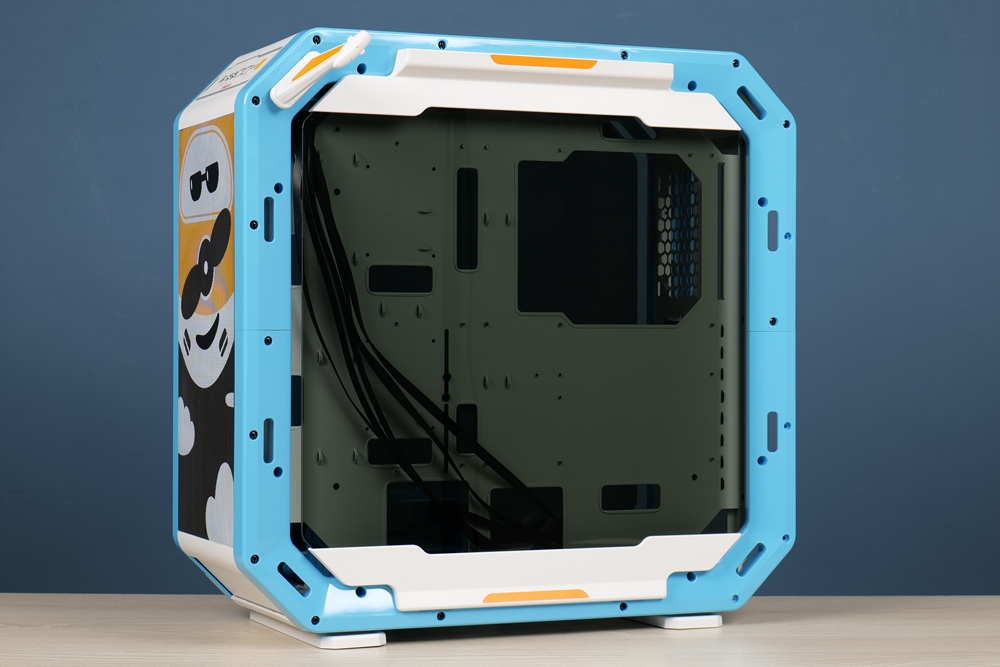
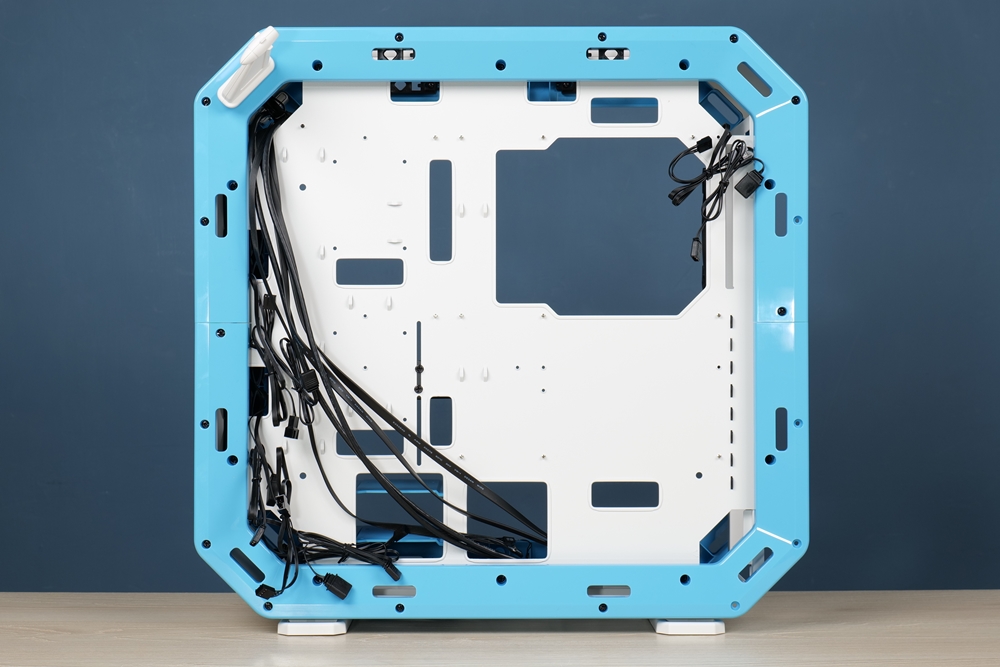
The cable management space located at the rear of the case is approximately 2cm in depth, providing sufficient room for basic cable routing. However, due to the glass side panel design, it is recommended to use a cable management strap or Velcro to secure all cables and prevent them from being visible and becoming an eyesore.
Shell Monster – A: Dumbo Summary
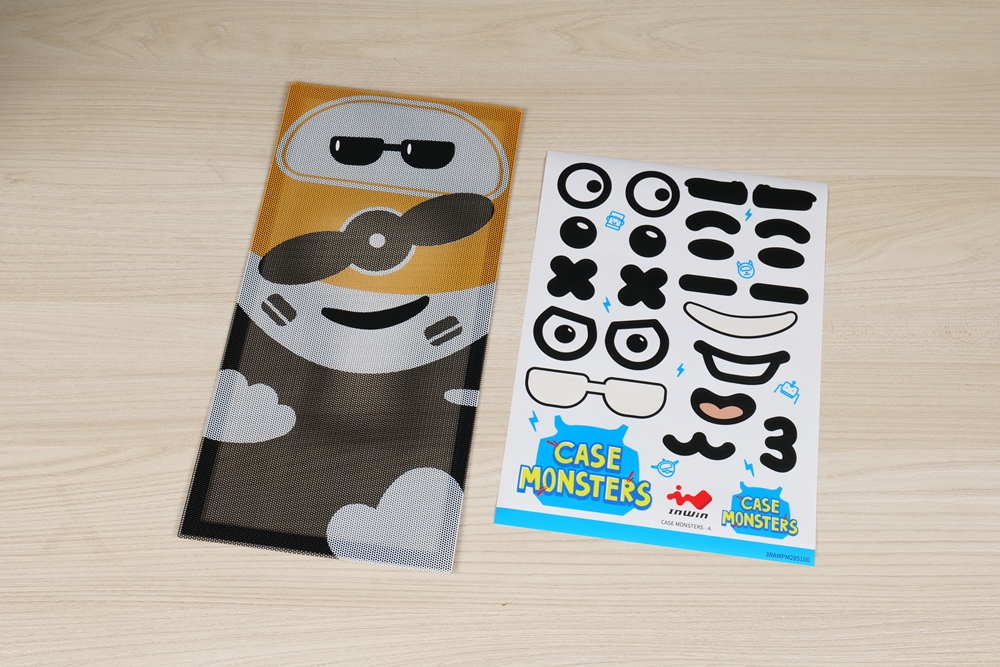
In the current year, InWin has introduced a new range of DIY computer cases with the slogan “iBuildiShare”. This allows gamers to assemble the shells without any concern about their ability to modify them while also providing an attractive appearance and emoticon stickers for added DIY fun.
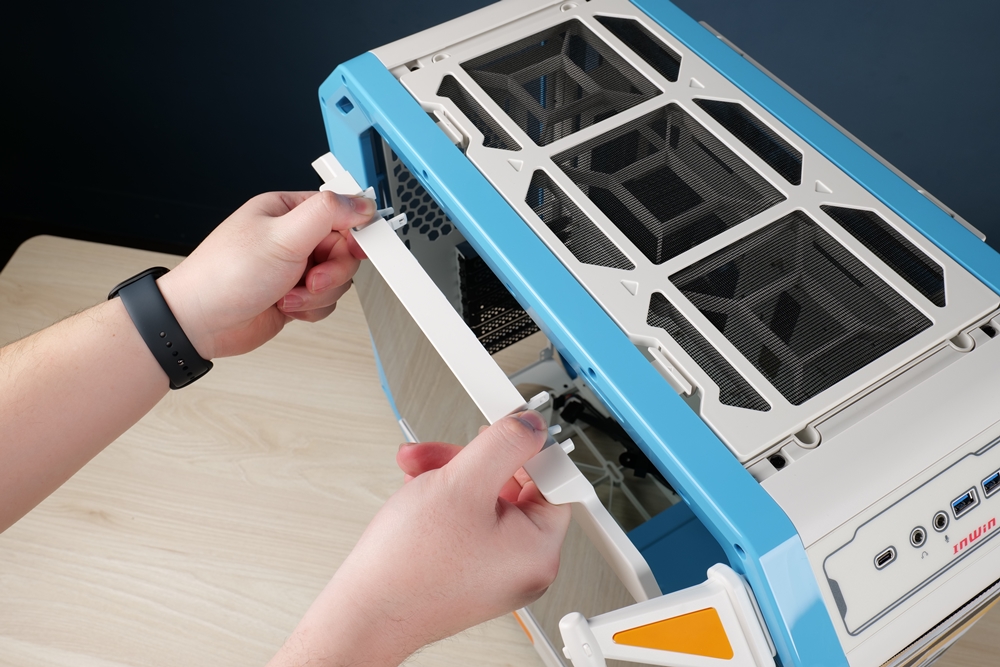
When compared to the Airforce and Explore models that were previously released, the new Case Monster series features an extra headphone holder. In the Case Monster: A Lab series, the front panel now comes equipped with a magnetic filter instead of the framed filter used in previous versions. In the author’s opinion, this change in design gives the case a more appealing appearance.
The official price of the Shell Monster-A Lab series is 229 Euros, but the official price in Taiwanese dollars has not yet been disclosed. Based on the current conversion rate, the price would be approximately 7,000-8,000 yuan in Euros. However, if we consider the pricing of the previous AirForce model, the Shell Monster-A Lab series should be priced at around 6,000 yuan. Nevertheless, the final price will still depend on the official announcement.
If this article is helpful for you, please share this article with your friends on social media. Thank you!
This article is based on the personality of the reviews. You are responsible for fact-checking if the contents are not facts or accurate.
Title: Constructing an aircraft, we’re prepared for departure! InWin Enclosure Beasts Enclosure Beasts – A: Soar